65
10. A message reading, “After your printer is installed, Windows can print a test page so
you can confirm that the printer is set up properly.” Select No and click Finish.
11. Double-click the newly created Printer Name icon.
12. Select Printer and Properties.
13. Click Details tab and select Add Port.
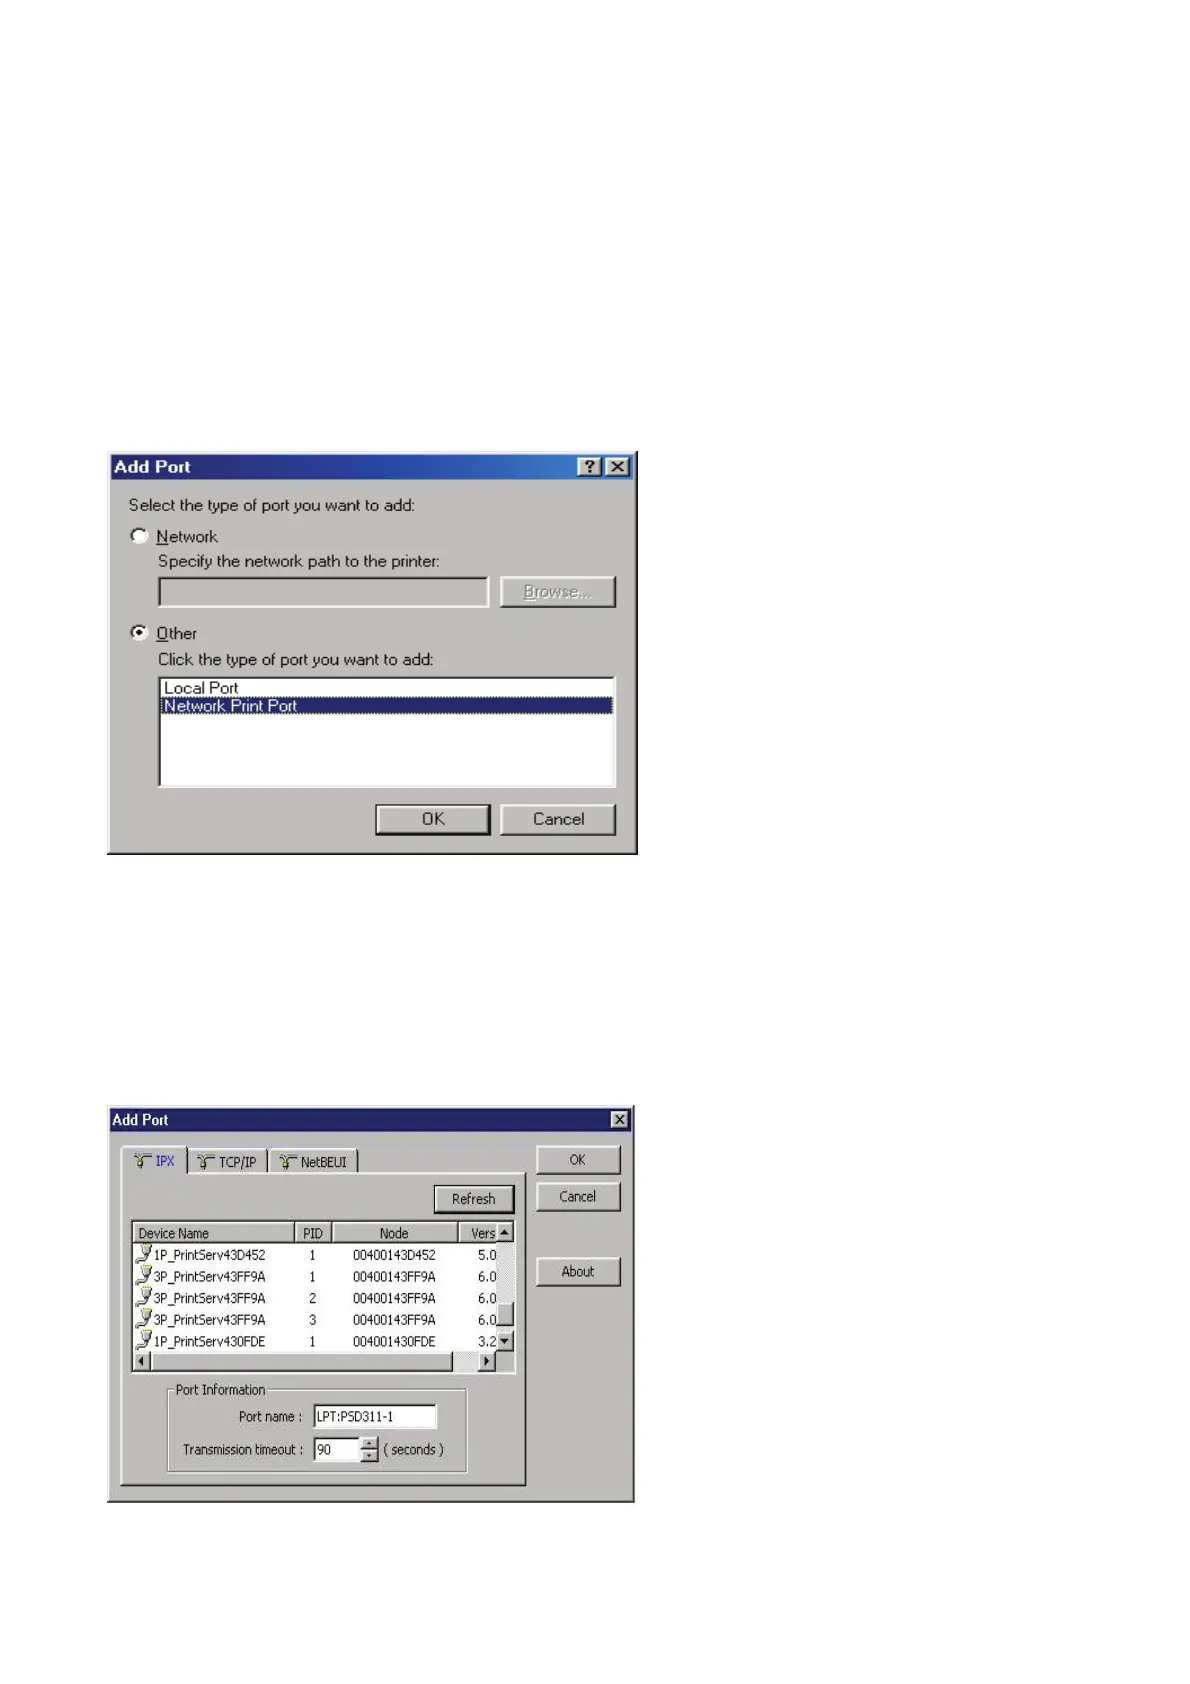
14. In the Add Port dialog box, select Other, as shown in the following picture.
15. Select the Network Print Port and click OK.
16. The Add Port box will then appear, along with the print server’s Node ID (The last 6
digits of the Node ID, located on the back of the print server unit). Select one printer
server port from the list, which is now connected to (one of) your printer(s), as shown
in the following picture.
*Noted If you can’t find the print server in the screen, please check Windows Firewall settings and don’t set up more
than one network card in the PC.