Dingo K9-3 Operation & Maintenance Manual
17
7 Check uid level in hydraulic tank and add oil
to raise level to 75mm below the top of the tank.
DO NOT OVER FILL.
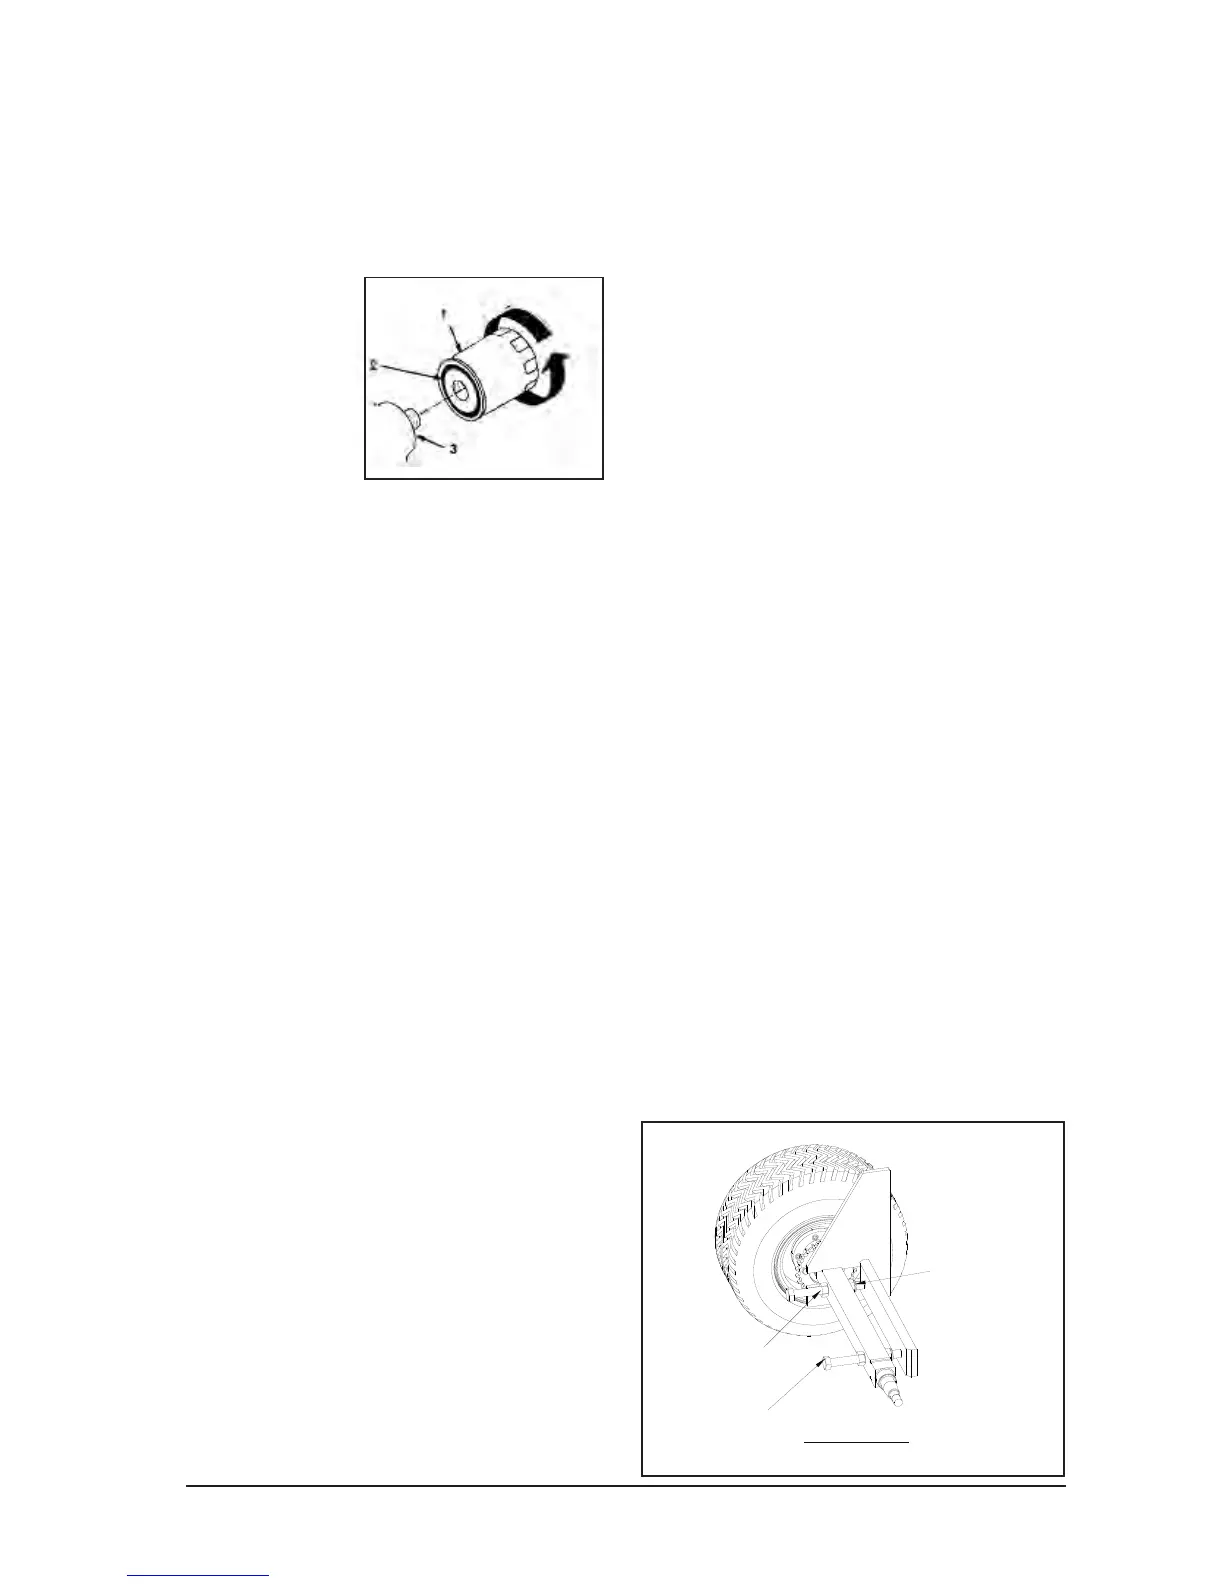
Changing the Hydraulic Fluid
Change the hydraulic uid after every 500 oper-
ating hours.
IMPORTANT: Do not substitute with auto-
motive oil or severe hydraulic damage may
result.
1 Position the Dingo on a level surface, lower
the arms and turn the ignition key to OFF to stop
the engine. Remove the key.
2 Place large drain pan under the machine that
can hold at least 70 litres.
3 Remove the drain plug from the bottom of the
hydraulic tank and allow the uid to completely
drain out.
4 Remove the tank top and wipe out the inside
of the tank and wash out with petrol. If anything
unusual is found, consult your Dingo service
centre or a hydraulic expert. The tank needs to
be spotlessly clean to preserve the hydraulic
system.
5 Install the drain plug.
6 Fill the hydraulic tank with approximately 57
litres of HVI 68 hydraulic oil.
Note: Dispose of used oil in accordance with
local authority regulations. Only use HVI 68
oil. Use of other oil grades can cause loss of
hydraulic power, or damage to machine.
Check Hydraulic Lines
After every 100 operating hours, check hydraulic
lines and hoses for leaks, loose ttings, kinked
lines, loose mounting supports, wear, weather
and chemical deterioration. Replace all mov-
ing hydraulic hoses every 1500 or two years,
whichever comes rst. Make necessary repairs
before operating.
WARNING! Hydraulic oil escaping under
pressure can penetrate the skin and cause
injury.
Keep hands and body away from pin hole leaks
or nozzles that eject high pressure hydraulic
uid. A small leak can be dangerous. To nd
hydraulic leaks use cardboard or paper.
If uid is accidentally injected into the skin a
doctor familiar with this type of injury must
surgically remove it within a few hours.
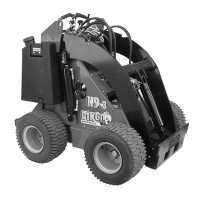
Adjusting Drive Chains
When properly adjusted, drive chains should
have approximately 50 - 75mm of slack. On
newer models this can be checked by using the
Tension Gauge on the Chain Guard. The chain
tension adjustment bolts are on the front axle.
To check the chain tension:
1 Remove the chain guard (Unless chain guards
have Tension Gauge cut into them)
2 Tilt the bucket so that the front wheels lift off
the ground
3 In that position, check the chain by pressing
down on the top chain. There should be 50
- 75mm between the top of the chain and the
bottom of the mudguard. If tted with the Ten-
sion Gauge in the chain Guard, pull down on
the chain. The bottom of the chain should sit
between the two notches in the slot.
Chains should be run dry for maximum chain
life - do not use oil or chain lubricant.