12
© 2016 Directed. All rights reserved.
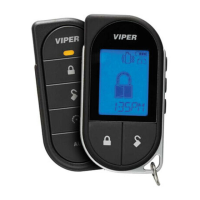
Pairing a Remote Control
Your system comes with the remote controls already programmed, how-
ever, if you are replacing or adding additional remote controls, they
must be paired to the system prior to operating the system. To pair the
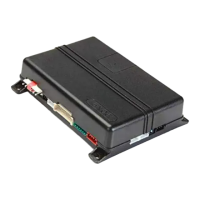
remote, you need to know where the Control button is located. If the
horn honk is not connected, the main unit LED needs to be visible for
visual confirmation. If you cannot locate or access the main unit, it is
recommended that you visit your authorized dealer to pair the remote.
The system is capable of accepting up to four remote controls.
1. Turn key to the ON position
2. Within 10 seconds, press and release the Control button once.
3. Within 10 seconds, press and hold the Control button. The LED
on the module flashes one time and the horn (if connected) honks
to confirm entry into remote pairing. Do not release the Control
button.
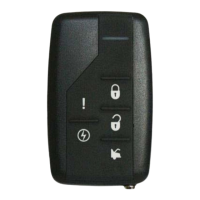
4. Press the
AUX
AUX
AUX
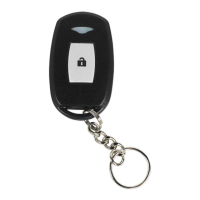
Your 1-way remote coin cell battery can be changed by using a small at blade screwdriver to pry case apart. Replace battery and then snap case together.
button on the remote control. The horn honks to con-
firm the remote has been paired.
5. Release the Control button.
6. Turn the key to OFF position. The horn sounds one long honk (if
connected) to confirm that remote pairing has exited.
The programming routine exits if any of the following occurs:
• The ignition is turned off.
• There is no activity for 30 seconds.
• The Control button is pressed too many times.