1820 - MAINTENANCE 73
TRENCHING ATTACHMENT
1820 - MAINTENANCE 73
TRENCHING ATTACHMENT
TRENCHING ATTACHMENT
Chain Wear
Replace worn or broken chains. If sidebars are bending or getting
loose on chain pins, chain spacers should be used to join
sidebars.
Digging Chain
Visually check digging chains for wear on rollers and sidebars.
Check pins and bushing wear by measuring distance between
chain pins and comparing it to new chain.
Replace sprockets when new chain is installed.
To remove digging chain:
1. Start unit, following directions in OPERATION section.
2. Turn digging chain until connector pin is on top of boom.
3. Lower boom to ground.
4. Stop engine.
5. Secure chain.
Sprocket booms - Lock rear idler sprocket.
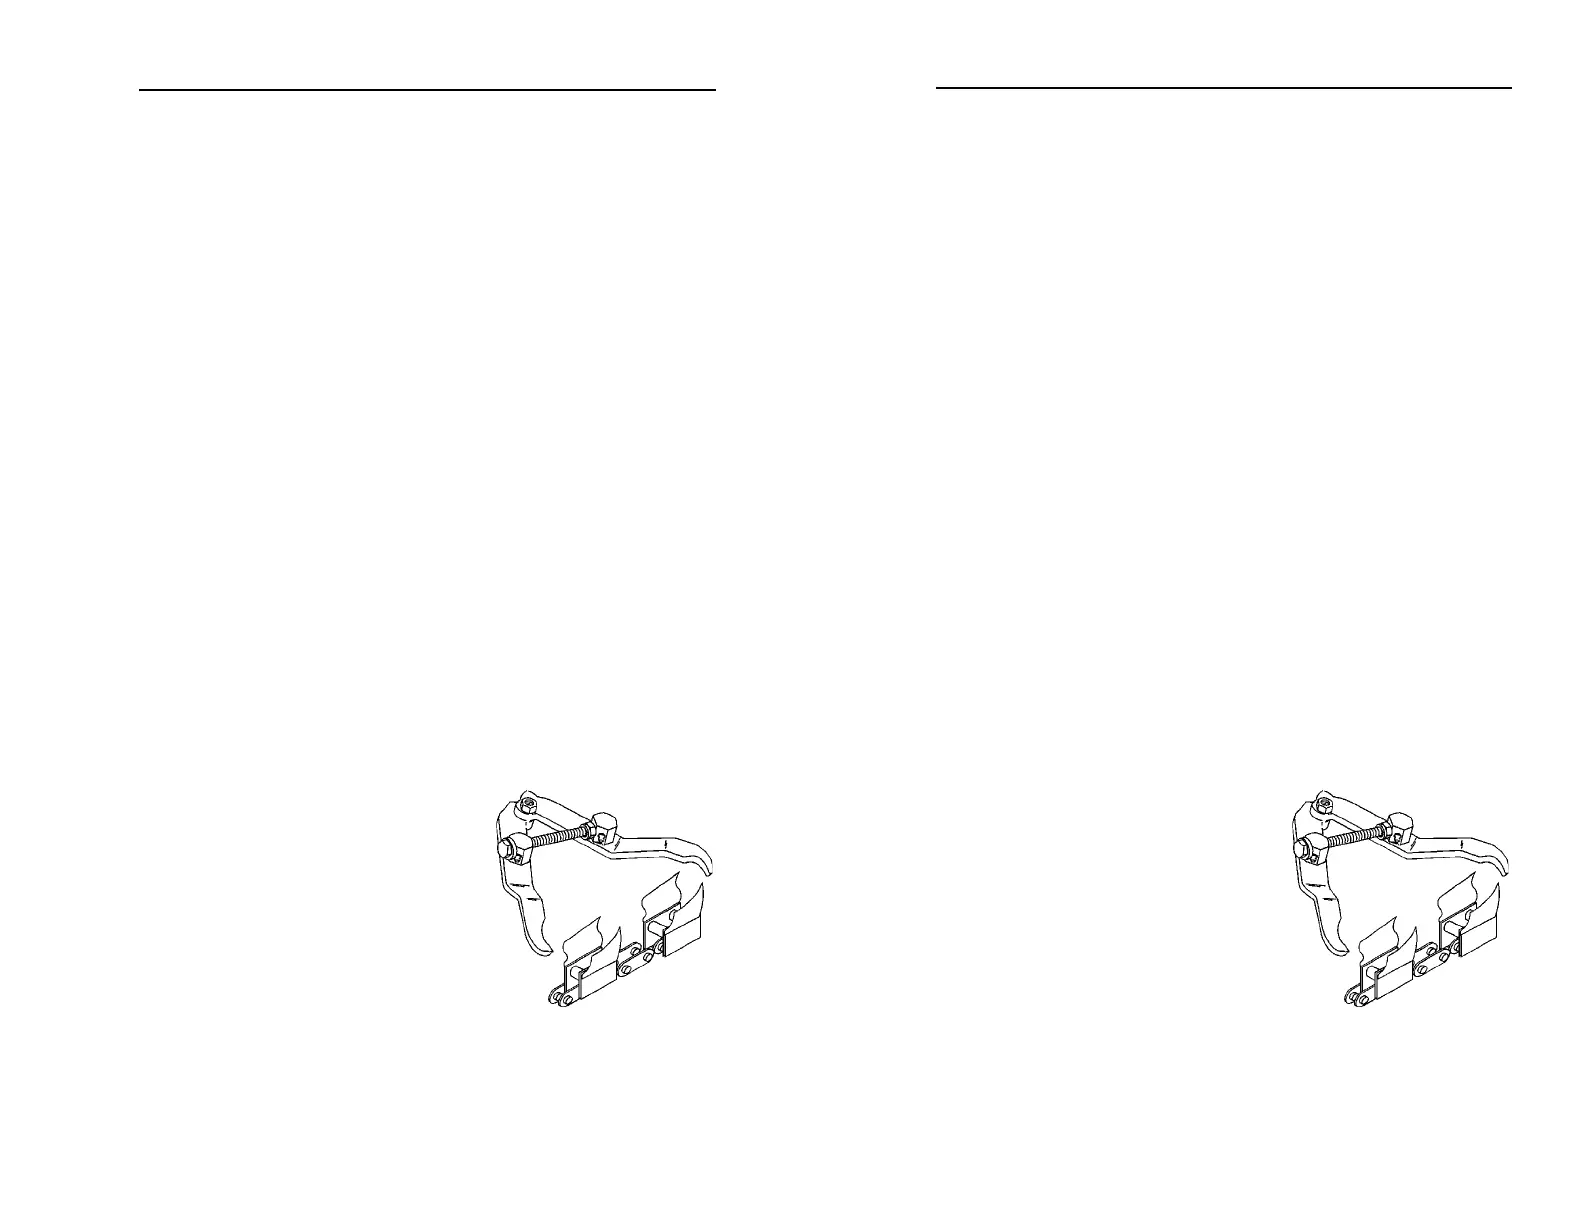
Roller booms - Clamp links on
either side of connector pin with
chain jaws. Squeeze jaws to
reduce pressure on connector pin.
om1752
TRENCHING ATTACHMENT
Chain Wear
Replace worn or broken chains. If sidebars are bending or getting
loose on chain pins, chain spacers should be used to join
sidebars.
Digging Chain
Visually check digging chains for wear on rollers and sidebars.
Check pins and bushing wear by measuring distance between
chain pins and comparing it to new chain.
Replace sprockets when new chain is installed.
To remove digging chain:
1. Start unit, following directions in OPERATION section.
2. Turn digging chain until connector pin is on top of boom.
3. Lower boom to ground.
4. Stop engine.
5. Secure chain.
Sprocket booms - Lock rear idler sprocket.
Roller booms - Clamp links on
either side of connector pin with
chain jaws. Squeeze jaws to
reduce pressure on connector pin.
om1752