Universal-XR 14/17 UXR01212015_REV1.4mm
Installation and Operating Instructions
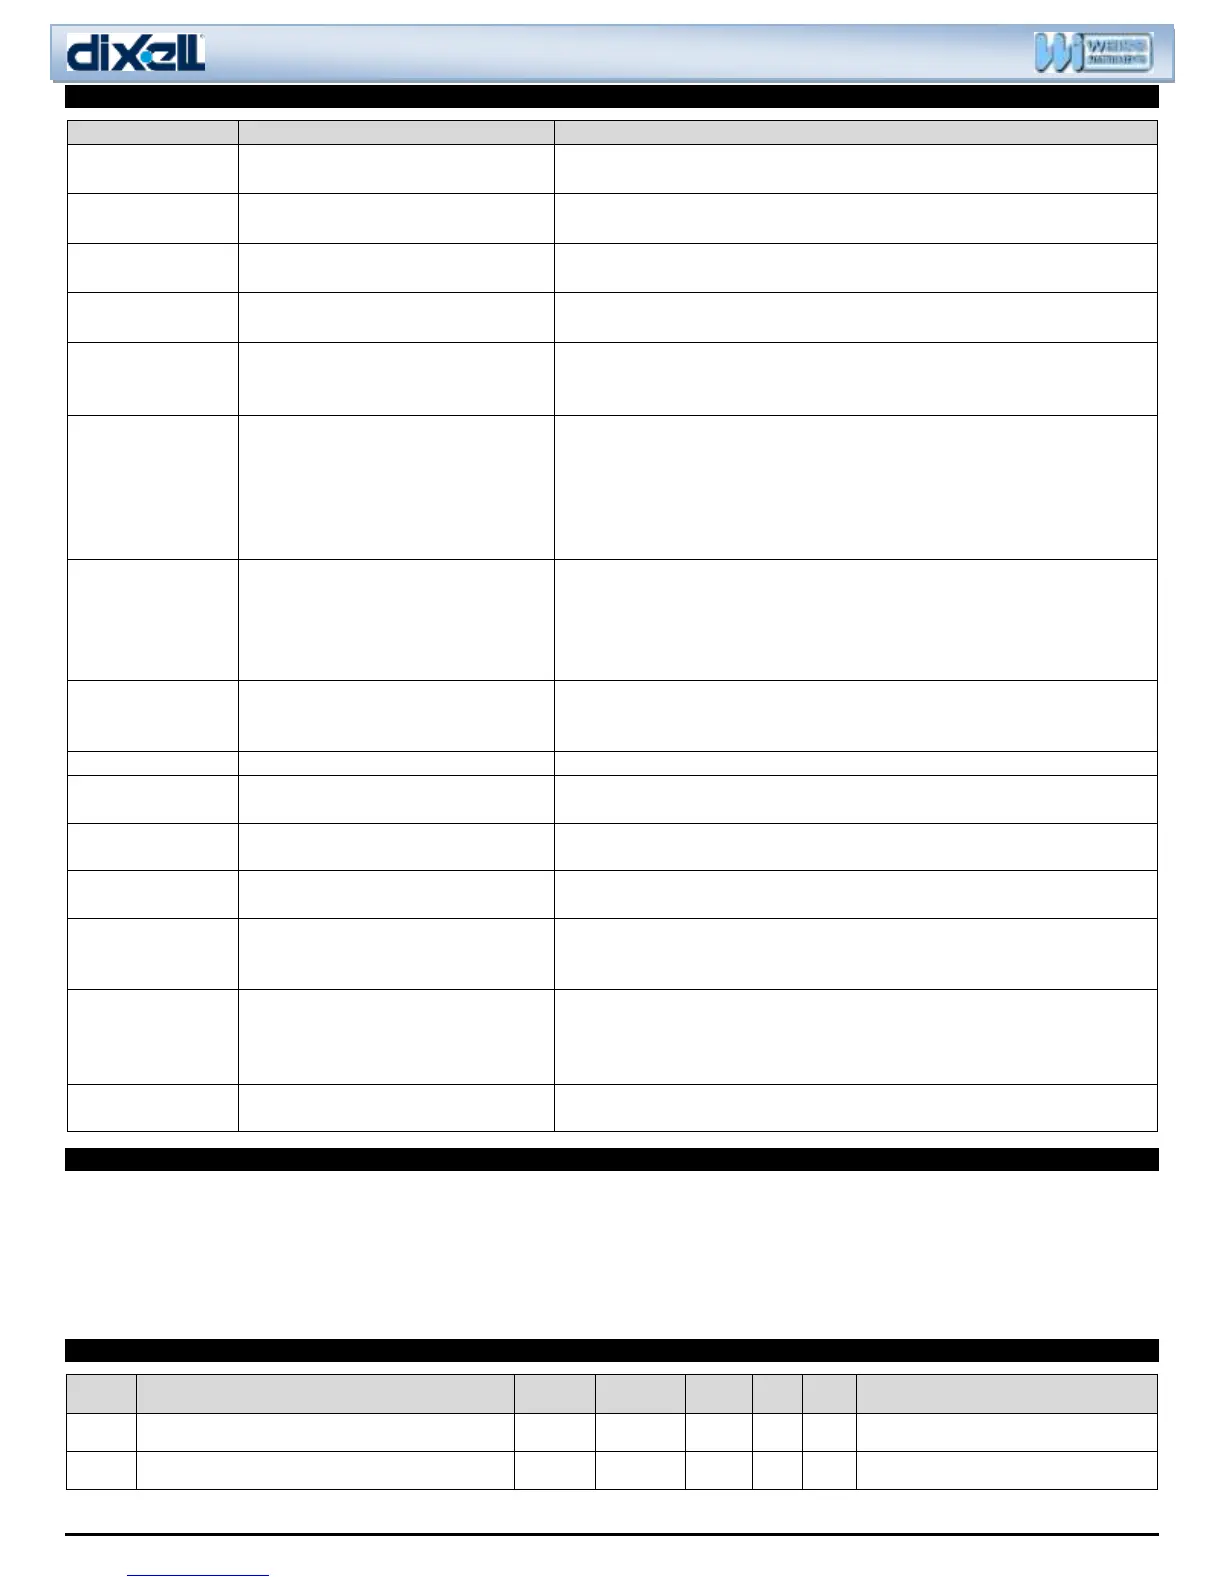
• Check cooling system.
• Check alarm settings.
• Check cooling system.
• Check alarm settings.
• Condenser temperature too high.
• Check condenser cooling system.
• Check alarm settings.
• Condenser temperature too low.
• Check condenser cooling system.
• Check alarm settings.
• Fault with thermostat probe.
• Wrong type of probe fitted
(NTC/PTC).
• Check probe connections and resistance value.
• Change probe type or alter a parameter PbC.
• Fault with evaporator probe.
• Wrong type of probe fitted
(NTC/PTC).
• Parameter tC has been set to 4, 5
or 6 without evaporator probe
fitted.
• Check probe connections and resistance value.
• Change probe type or alter parameter PbC.
• Fit evaporator probe or alter parameter tC.
• Fault with third probe.
• Wrong type of probe fitted
(NTC/PTC).
• Parameter tC has been set to 6
without third probe fitted.
• Check probe connections and resistance value.
• Change probe type or alter parameter PbC.
• Fit evaporator probe or alter parameter tC.
Check for electrical spikes and interference. Fit filters DIXL930 & DIXL932.
Ensure probe cables are separated from power cables. Re-check all parameter
settings. Replace controller if still not working.
Door has been left open too long.
A non-serious external alarm has been
detected by the digital input.
Trace and rectify the external problem.
A serious external alarm has been
detected by the digital input.
Trace and rectify the external problem.
Buttons have been locked.
Unlock buttons by pressing both UP & DOWN buttons until display flashes Pon.
Parameter cannot
be adjusted over its
full range
Some other parameter is conflicting and
preventing further adjustment.
Check other parameter settings.
Power on but no
output operates
Small LED’s
flashing
Anti-short cycle delay in progress, all
relays being held off until it expires.
Wait or adjust parameters AC or odS.
Evaporator fan short
cycling
Parameter FSt set too low.
Adjust FSt to a higher setting. During commissioning, set it above ambient until
pull down is complete, then re-set to a more suitable temperature.
22. CHANGE OVER FROM F TO C OR VIS-VERSA
1. Hold the Set & Down (n) buttons, until HY is displayed, release both buttons then hold the Set and Down (n) buttons until Pr2 is
displayed. Release the buttons.
2. Scroll with the up button to CF, then press and release Set. Change the 1 to 0, then press and release Set.
3. Scroll down and adjust the ALL, ALU, FST, AFH, ALH, LS, US, rES as well as the HY.
4. Let the control time out to the temp display.
Adjust the Set temp by holding the Set until the C or F starts to flash, adjust the set point.
23. ENTER YOUR SETTINGS HERE FOR FUTURE REFERENCE
 Loading...