6
©
2020
大疆创新 版权所有
DJI ENTERPRISE X-PORT User Manual
2. Secondary Arm Mounting
A secondary arm mounting screw (M3), an arm sleeve, and an arm plug are needed. Ensure that the
secondary arm mounting screw goes through the pitch axis centerline.
3. Mass Center Position Requirement
a. For a payload with a constant mass center, ensure that the mass center is on the pitch axis
centerline.
b. For a zoom camera with a variable mass center position, ensure that the mass center is on the
pitch axis centerline when the lens is at maximum magnication.
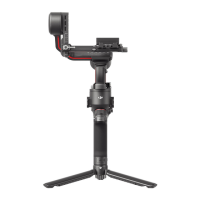
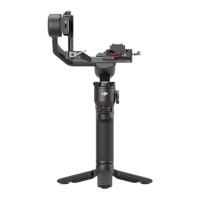
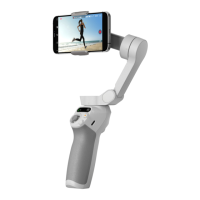
Mounting
Mounting the Payload to the X-Port Gimbal
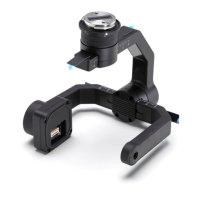
Payload Interface Mounting
The connector used to connect the gimbal and payload is a 20-pin board-to-wire connector from ACES
Electronics Co., Ltd. The model is S-50420-020HKH0-001.
Make sure to reserve a hole on the position where the payload is mounted on the gimbal pitch
primary arm so that the connector end and the cable (the length is about 100 mm) can come
out.
DO NOT plug in or unplug the payload from the connector when powered on.
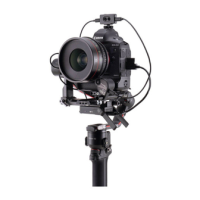
Payload Mounting Steps
Follow below steps to mount the payload to the gimbal.
1. Insert the 20-pin connector’s male end to the gimbal mainboard’s female end on the pitch primary
arm, make sure to keep the payload and the gimbal facing the front, while the microSD card slot
points to the gimbal rear. Then use four M2 screws to install the payload onto the gimbal, with some
thread glue applied on the screws to ensure secure installation.
2. Gently open the pitch secondary arm to put the secondary arm sleeve between the gimbal and
payload. Apply an appropriate amount of 243 thread glue to the thread of the secondary arm
mounting screw, tighten the screw from the other side of the secondary arm, and nally attach the
secondary arm plug and ensure that it is pressed to the end.
1
2 3
 Loading...