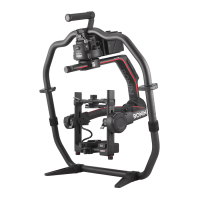
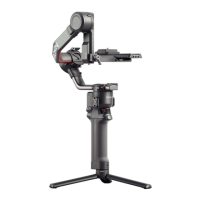
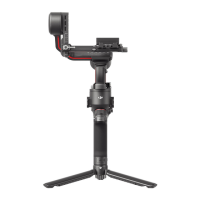
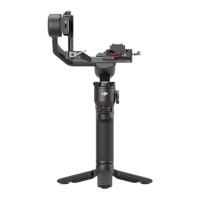
Ronin-S
User Manual
20
©
2019 DJI OSMO All Rights Reserved.
By enabling Push mode, users can manually adjust the pan and tilt axes before launching
the Timelapse. Users can push Ronin-S to alter the camera orientation and adjust the
framing. Tap the Virtual Joystick icon to use the virtual joystick to adjust the camera
orientation.
Motionlapse allows you to set up to five waypoints so that the camera moves during the
Timelapse.
To adjust the position of a waypoint, adjust the camera to the desired position, and tap
the + icon to confirm the waypoint. You can also use the virtual joystick to control the pan,
tilt, and roll axis as well.
To add another waypoint, tap the highlighted waypoint to deselect it and tap the + icon
above the grid map. Afterwards, move the gimbal to the next waypoint. To delete a
waypoint, select the waypoint and tap the trash icon.
After setting up the waypoints, you can either tap Preview to make sure the Motionlapse
includes everything or tap the shoot button to start shooting. Make sure the camera and
gimbal have been connected using a corresponding camera control cable.
Track
Track is designed to capture video with up to 10 waypoints with repeatability. The stay
time in between two waypoints can also be set.
You will need to select the waypoint by manually moving the gimbal or using the virtual
joystick. The duration parameter beneath the grid map indicates how much time it will
Timelapse
In Timelapse mode, Ronin-S triggers the camera to capture still images with your desired
interval time and will automatically stop when completed. The duration for the Timelapse
and the frame rate can be set so that Ronin-S can calculate the exact number of images
required.

 Loading...