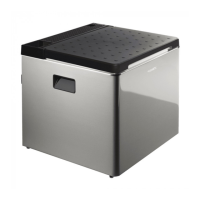
Operation ACX3
22
A
I
6.6 Connecting the cooler to an external gas connection
socket (ACX3 30 and ACX3 40)
!
Proceed as follows (fig. 8, page 6):
➤ Place the cooler on a firm, level surface.
➤ Connect the hose line to the gas connection port of the cooler.
To do this, use two open-end spanners of 13 mm and 17 mm.
➤ Make sure that the hose line
– is not crushed or kinked
– is a safe distance from the burner
➤ Take the safety cap off the safety coupling of the gas port.
➤ Push the sleeve of the hose line into the safety coupling until you hear it latch.
➤ Open the valve on the safety coupling.
➤ Open the valve of the gas cylinder or container.
➤ Check all connections with leak spray.
NOTICE!
• Only use cylinders of propane or butane gas (not natural gas or city
gas) with an approved pressure reduction valve and suitable head.
Compare the pressure information on the type plate with the
pressure information on the pressure regulator on the propane or
butane gas cylinder.
• Observe the pressures which are permitted in your country. Use a
DIN-DVGW-approved pressure regulator with a fixed setting:
– The following applies for Germany: DIN EN 16129.
– The following applies for Europe: EN 732, EN 521 and
EN 437:2019-04.
• The cooler may only be operated with hose lines in a perfect
technical condition. Replace any porous or damaged hose lines.
NOTE
Use a gas pressure controller to match the gas pressure that is specified
on the type plate.
WARNING!
There must be a shut-off device in the gas line so that the cooler can be
cut off separately. The shut-off device must be easily accessible.
DometicACX3_30-ACX3_40-ACX3_40G_OPM_4445103211 _EMEA16_202x-xx-xx.book Seite 22 Montag, 16. November 2020 9:58 09
 Loading...