11
EN
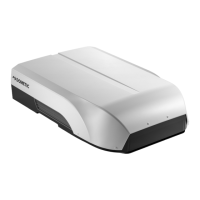
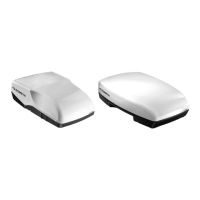
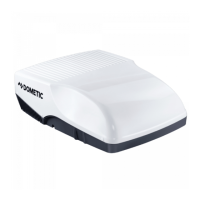
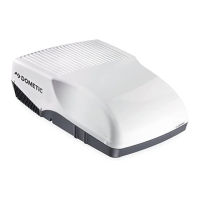
Rooop Air Conditioner (Air Distribution Box, Wall Thermostat Controls) Pre-installation
7 Pre-installation
WARNING: FIRE OR ELECTRICAL SHOCK
HAZARD. Failure to obey these warnings
could result in death or serious injury.
• Shut off the gas supply, disconnect the 115 VAC
power from the RV, and disconnect the positive
(+) 12VDC terminal from the supply battery before
drilling or cutting into the RV.
• Make sure there are no obstacles such as wires or
pipes inside the RV’s roof.
• Provide grounding in compliance with all applicable
electrical codes.
CAUTION: LIFTING HAZARD.
Use proper liing technique and control when
liing the rooop component. Two people are
required to li the rooop component to the roof.
Failure to obey this caution could result in minor or
moderate injury.
NOTICE: Failure to follow these notices could
result in damage to the rooop component and/
or the RV.
• Never create a low spot on the RV roof.
• Maintain the structural integrity of the RV roof. The
roof must be designed to support 130 lbs (59 kg)
when the RV is in motion. Normally, a 200 lb (91 kg)
static load design will meet this requirement.
• Read this entire section before beginning the
installation.
This section describes how to install and set up the unit.
7.1 Determining your cooling needs
When determining your cooling requirements, consider
the following items:
• The size of the RV
• The RV window area (which could increase heat gain)
• The amount of insulation in the walls and the roof
• The geographical location where the RV will be used
• The personal comfort level required
7.2 Preparing the thermostat
opening
1. Confirm the gas supply is shut off, and the 115 VAC
power from the RV and the positive (+)12VDC
terminal from the supply battery are disconnected.
2. Consider the dimensions and placement for a new
opening or modifying an existing opening. See
“Placement requirements” on page7.
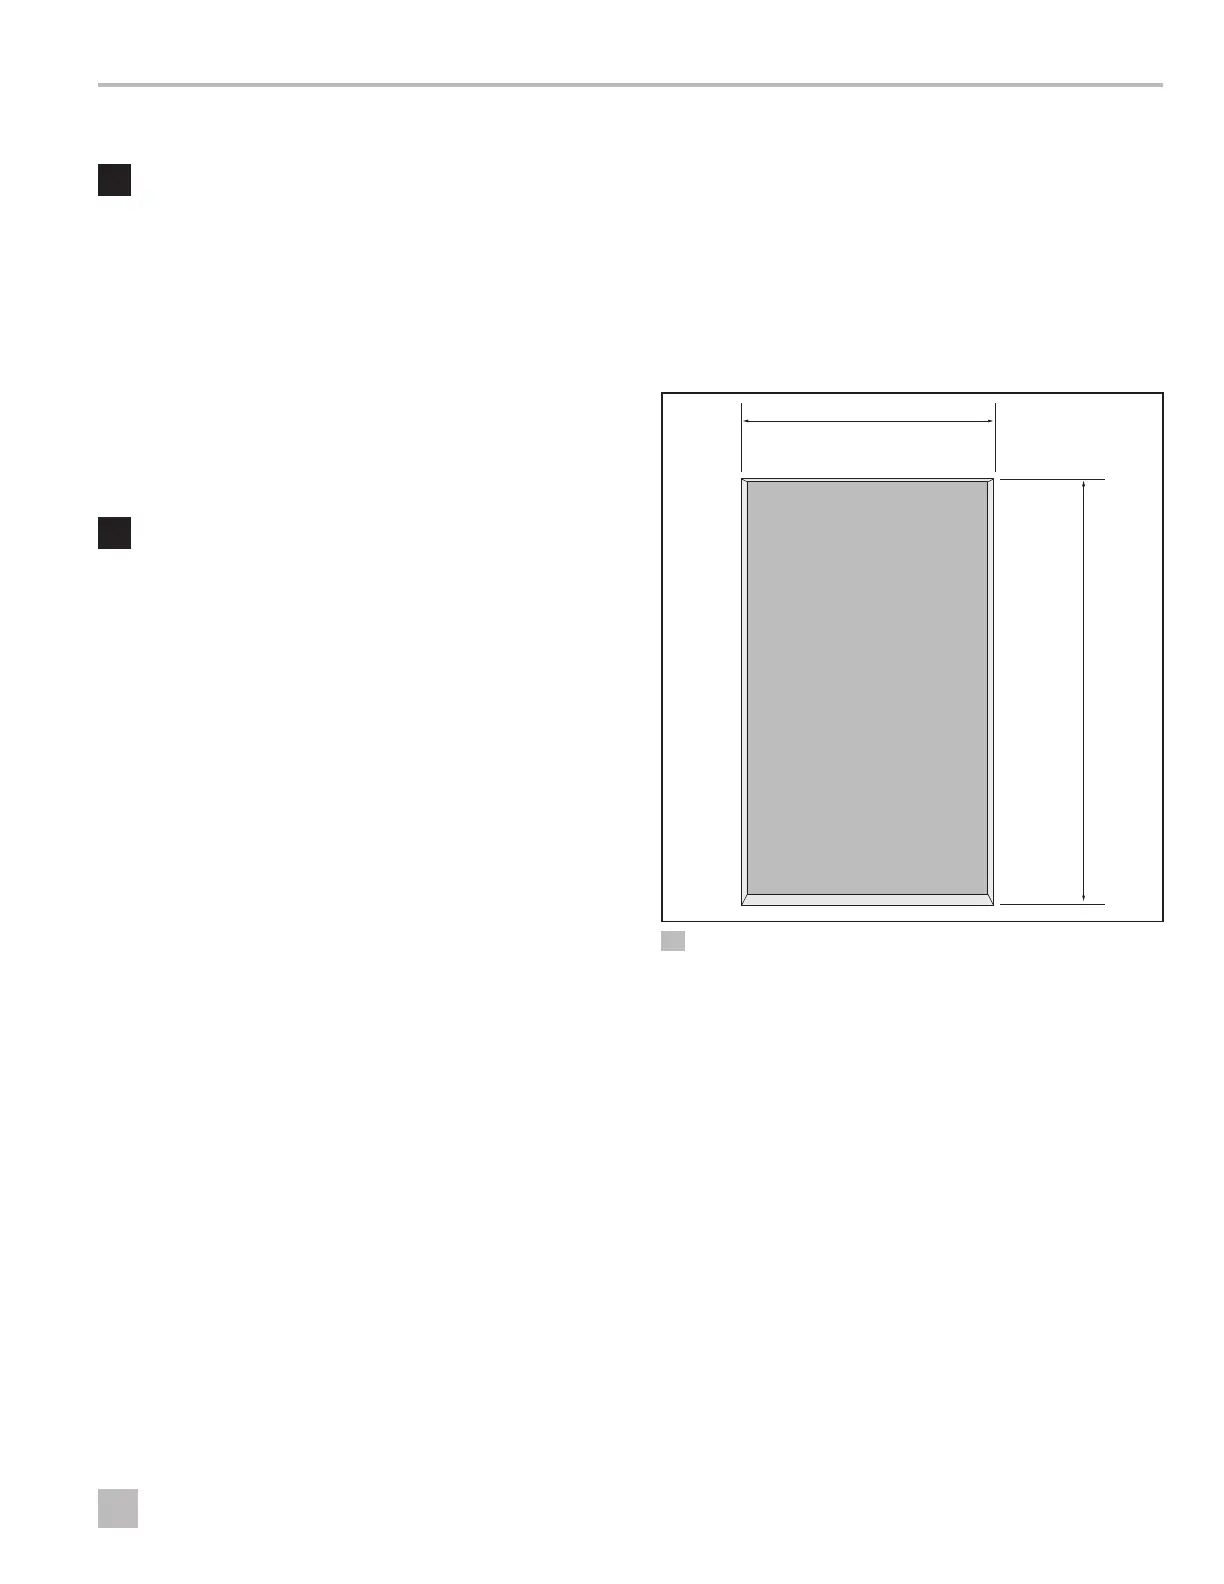
qq
ww
6 Thermostat cutout dimensions
q
2.6 in. (67 mm)
w
4.4 in. (112 mm)
3. Create the opening for the thermostat.
4. Create a minimum 0.6 in. (16 mm) diameter hole in
the opening as required for the thermostat wiring.

 Loading...