15
EN
Rooop Air Conditioner (Air Distribution Box, Wall Thermostat Controls) Pre-installation
7.4.7 Routing an automatic generator
start (AGS) feature via RV-C (optional)
If installing an AGS feature, you must complete one of
the following actions:
• If the generator is equipped with RV-C
communication capabilities and an AGS device:
1. Ensure that the generator and AGS device are
congured on the network.
2. Set the values relevant to the AGS as prescribed
by the RV-C specications.
• If the generator is equipped with RV-C
communication capabilities but not equipped with an
AGS device:
1. Install an RV-C compliant AGS interface device
on the network.
2. Set the values relevant to AGS as prescribed by
the RV-C specications.
7.5 Positioning the rooop
component
NOTICE: Do not slide the rooop component along
a surface or damage to the gasket on the bottom of the
rooop component could occur and cause a leak.
1. Remove all the contents from the carton and discard
the carton.
2. Place all the ADB kit contents in the RV. The ADB kit
contains mounting hardware for the ADB that will be
installed inside the RV.
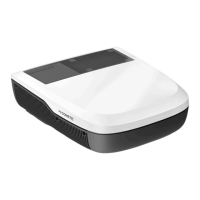
3. Move the rooop component to the roof.
qq
ww
10 Placing the Rooop Component
q
Front of the rooop
component
w
Roof opening
4. Li and place the rooop component over
the prepared opening using the gasket on the
rooop component as a guide.
I
The outside work is complete. Minor adjustments
can be made from inside the RV if required.
7.6 Preparing to work inside the RV
This section describes the interior preparation.
1. Confirm the ADB kit is inside the RV.
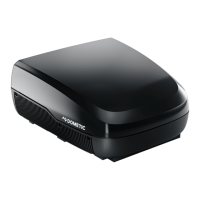
qq
11 Centering the rooop component from inside the RV
q
Roof gasket
2. From inside the RV, check the gasket alignment of
the rooop component over the roof opening. If
necessary, adjust the rooop component from below
by gently pushing up.
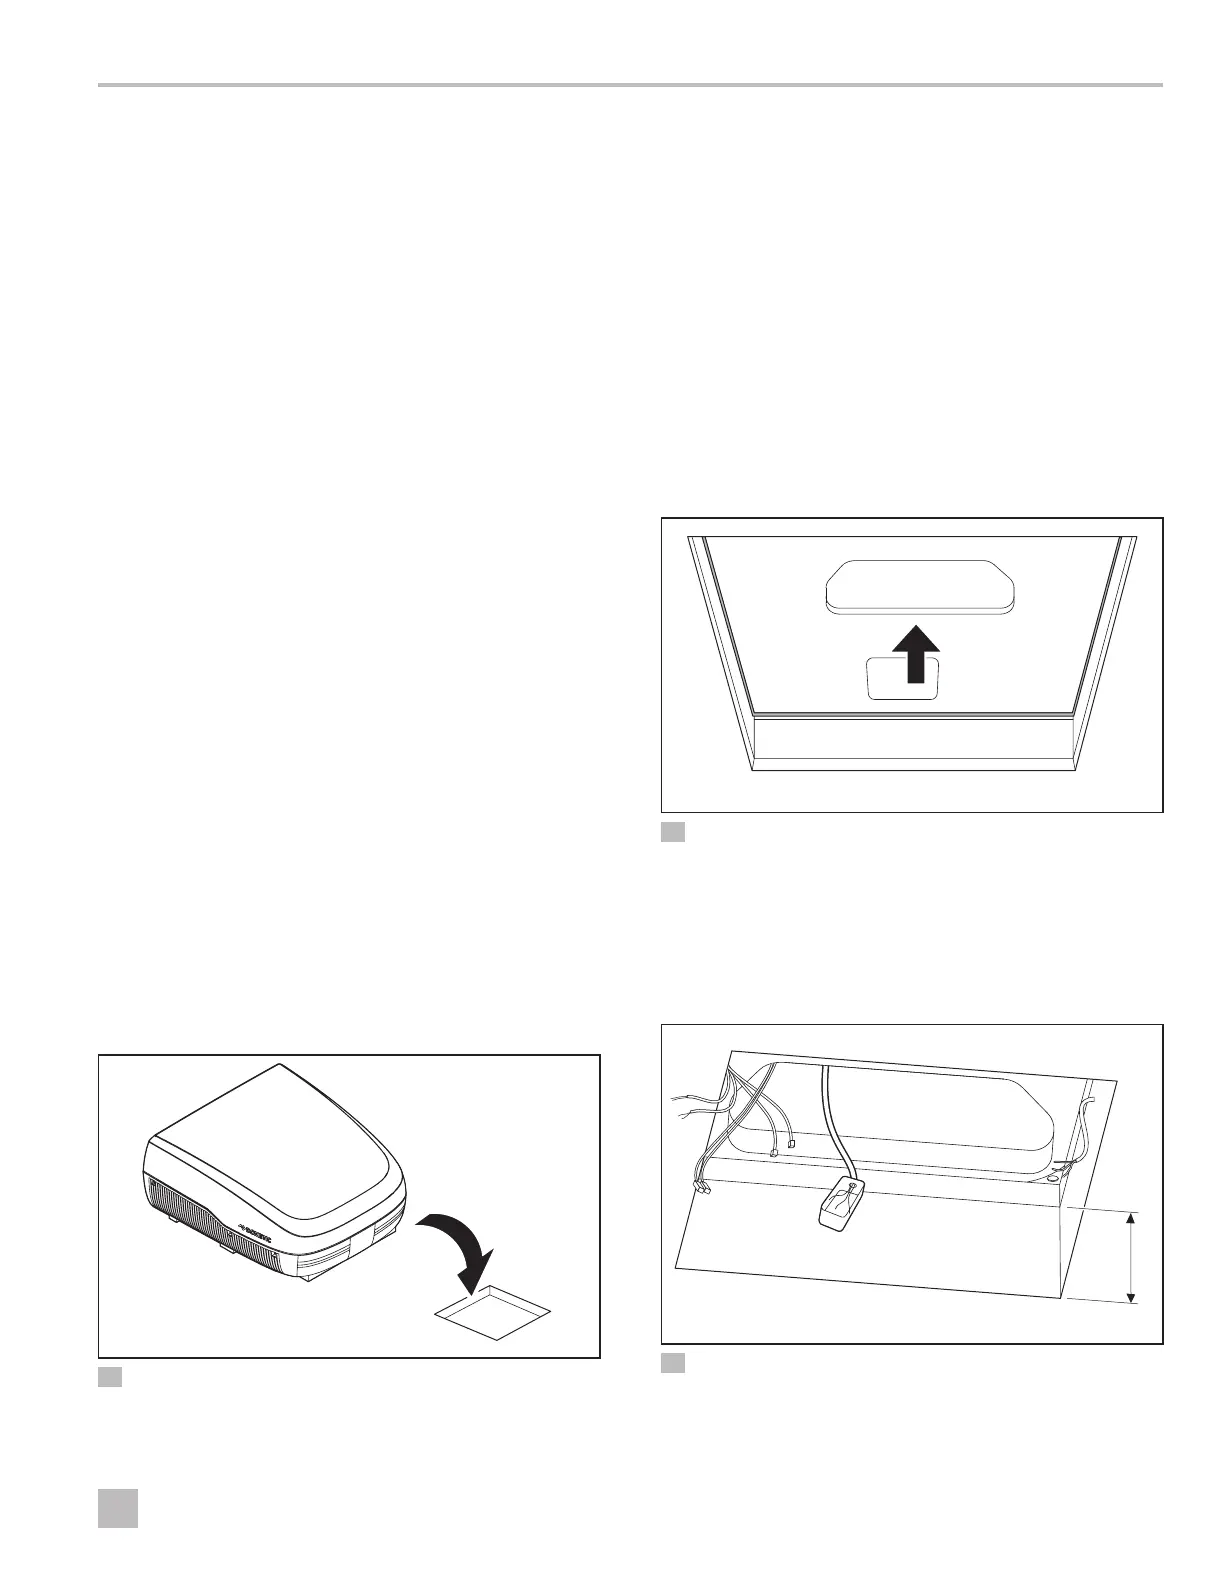
qq
ww
12 Return Air Opening
q
Wiring harness
w
Ceiling thickness

 Loading...