MSI924M Fitting the inverter
13
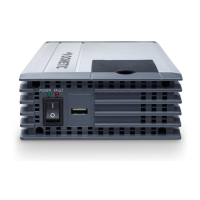
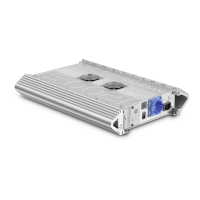
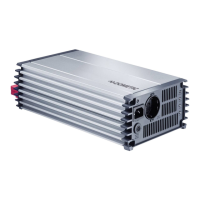
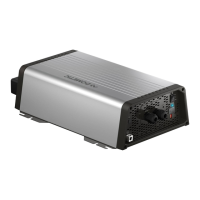
8 Fitting the inverter
8.1 Tools required
For the electrical connection you will need the following tools:
• Crimping tool
• 3 multi-coloured, flexible connection cables. Determine the necessary thickness
from the table in chapter “Connecting the inverter” on page 14.
• Cable lugs and conductor sleeves
For fastening you will require the following tools:
• Machine bolts (M4) with washers and self-locking nuts or
• self-tapping screws or wood screws.
8.2 Mounting instructions
When selecting the installation location, observe the following instructions:
• The inverter can be mounted horizontally or vertically.
• The inverter must be installed in a place that is protected from moisture.
• The inverter may not be installed in the presence of flammable materials.
• The inverter may not be installed in a dusty environment.
• The place of installation must be well ventilated. A ventilation system must be
available for installations in small, enclosed spaces. The minimum clearance
around the inverter must be at least 25 cm (fig. 2, page 3).
• The air intake on the underside or the air outlet on the back of the inverter must
remain clear.
• For ambient temperatures higher than 40 °C (such as in engine or heating
compartments, or direct sunlight), the heat from the inverter under load can lead
to automatic shutdown.
• The device must be installed on a level and sufficiently sturdy surface.
A
NOTICE!
Before drilling any holes, make sure that no electrical cables or other
parts of the vehicle can be damaged by drilling, sawing and filing.
MSI924M-IO-16s.book Seite 13 Mittwoch, 5. April 2017 5:18 17
 Loading...