Mounting the Display Passport I/O Control Operations Manual
4 L-2231 ENGLISH
above or below a supply-air or return-air grille. Do not mount the display behind a door, in a corner, under a stairwell or any
place where there is no freely circulating air.
If you can not mount the display in a suitable location for accurately sensing room temperature, install the optional remote air
sensor.
MOUNTING THE DISPLAY
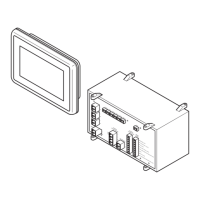
1. Make the cut-out for the display panel.
• For Compact - Cut-out size is 2.5" (63mm) wide by 1.875" (48mm) high.
• For legacy model - Cut-out size is 3.375" (86mm) wide by 2.875" (73mm) high.
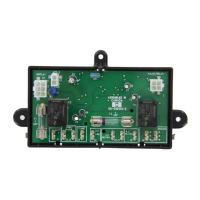
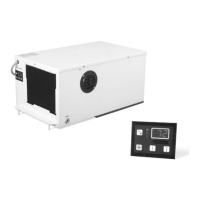
2. Plug one end of the display cable (8-pin connector) into the upper-right socket on the circuit board in the electric box
and the other end into the back of the display panel.
3. Clean the mounting surface with isopropyl alcohol only (test alcohol on hidden portion of surface first), then secure
the display panel to a bulkhead with the adhesive strips provided. If the adhesive strips cannot be used directly on the
bulkhead, use the plastic bulkhead adapter. The bulkhead adapter (sold separately) mounts to the bulkhead with
screws and the display panel is secured to the adapter with adhesive strips. Do not use a screw gun and do not over-
tighten screws when mounting adapter.
MOUNTING THE OPTIONAL SENSORS
REMOTE AIR SENSOR
Install the optional remote air sensor if the display can not be mounted in a proper location for accurately sensing room
temperature. Installing the remote air sensor overrides the display’s built-in sensor. The standard cable length for the remote air
sensor is 7 feet (2.1m).
1. Mount the remote air sensor in the return-air stream behind the opening of the return-air grille.
2. Plug its cable (6-pin connector) into the “INSIDE” jack #J3 in the upper-left corner of the circuit board.
OUTSIDE AIR TEMPERATURE SENSOR
Install the optional outside air temperature sensor to monitor the temperature outside the cabin. Outside air sensor cables are
available in various lengths.
1. Mount the sensor outside but not in direct sunlight.
2. Plug its cable into the 2-pin white jack #P3.
SERVICE SENSOR
Install the optional condenser coil temperature sensor into the “H2O OUT” 2-pin blue jack. Use of this sensor must be enabled
via program parameter P-9, the Pump Sentry feature. See “P-9: Optional Pump Sentry” on page 9 for details.
OPERATION
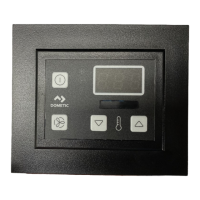
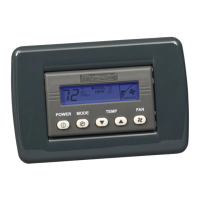
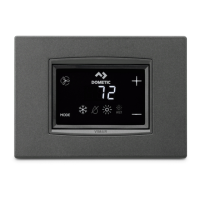
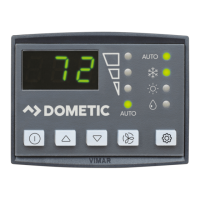
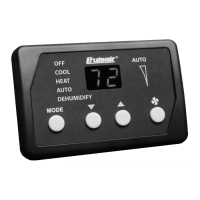
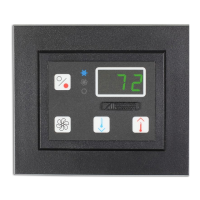
OPERATOR CONTROLS AND DISPLAY PANEL
Refer to Figure 1, page 2 for the button locations and display functions listed below.
DISPLAY INDICATORS
• Cool Mode Indicator - The Cool Mode LED lights when the cool-only mode is selected or when the unit is in an
Automatic Mode cooling cycle.
• Fan Indicator - The Fan Indicator LED lights when a manual fan speed is selected.
• Heat Mode Indicator - The Heat Mode LED lights when the heat-only mode is selected or when the unit is in an
Automatic Mode heating cycle.
• Digital Display - The 3-digit, 7-segment digital display shows inside air temperature when the control is on. It displays
the set point when either the Up or Down button is pressed. The display also indicates program information and fault
NOTE
Do not staple any sensor cables when mounting.
 Loading...