23
2.4. The cooling unit
2.4.1. Replacing the cooling unit
- Open refrigerator door.
- Remove cover panel from refrigerator. Remove evaporator board from
evaporator pipe, remove sensor tip from seating. (see 2.3.2.2.1.))
- Turn refrigerator to its door.
- Remove flange and electrical cover. (see 2.2.3., 2.3.2.2.)
- By pressing horns, lift Fuzzy III panel from its seating.
- Remove PCB connector of heating cartridge from Fuzzy III panel, and
disassemble heating cartridge as per 2.3.2.2.3..
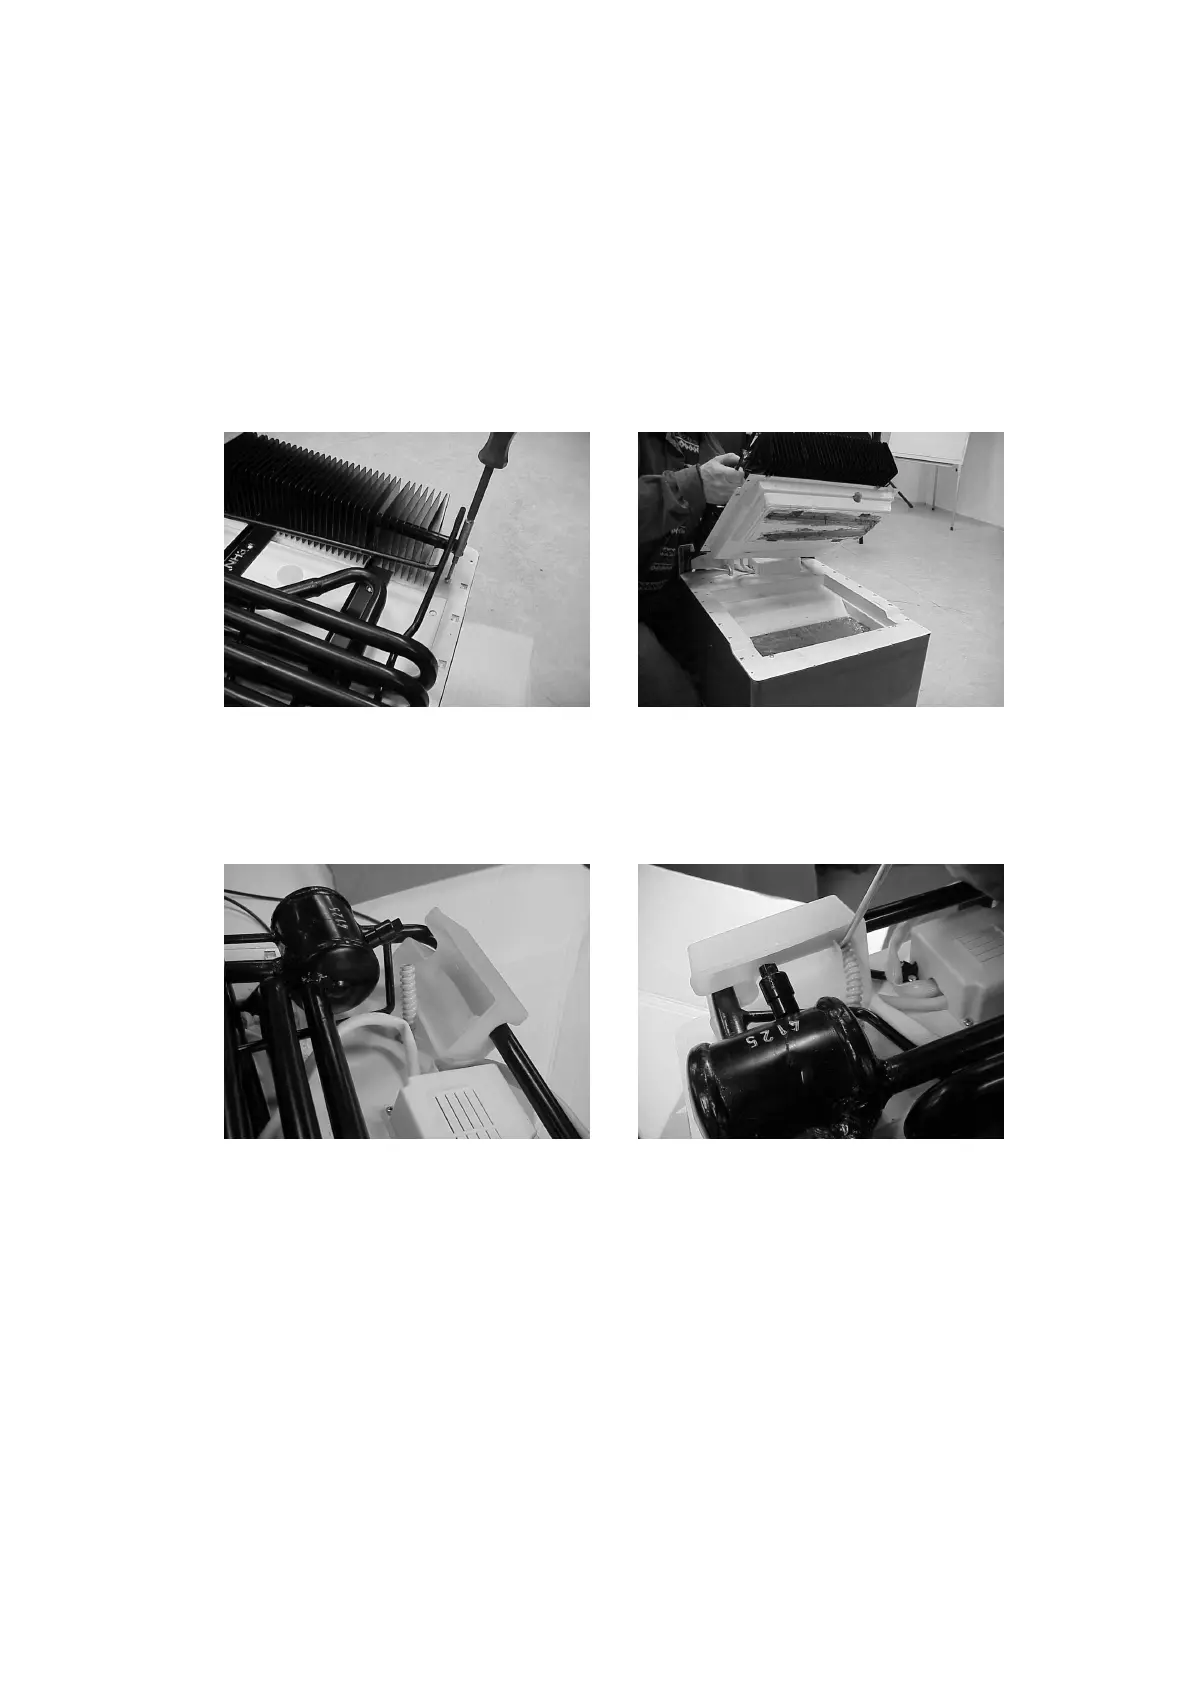
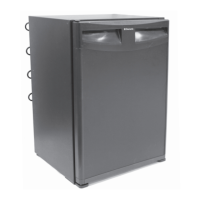
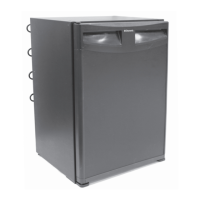
- Remove cooling unit fastening screws, lift faulty cooling unit, and isolate.
(Figure 76, 77)
- Restore new unit to cabinet body.
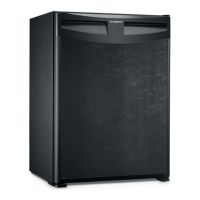
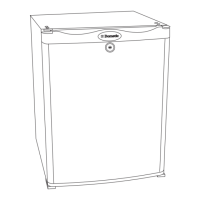
- Place condensate evaporator on liquid heat exchanger, taking care that
end of condensate outlet pipe reaches the condensate evaporator.
(Figure 78, 79)
- Fasten cooling unit with screws.
- Assemble heating cartridge and boiler insulation as per 2.3.2.2.3.
- Restore heating cartridge PCB connector to Fuzzy III panel.
- Restore electrical cover, flange, fasten with screws. (see 2.3.2.2., 2.2.3.)
- Turn refrigerator on feet.
- Restore evaporator board, evaporator sensor. (see 2.3.2.2.1.)
- Test electrical insulation resistance (with testing apparatus for 1000 V
electrical insulation resistance).
Insulation resistance is R
ins
> 2Mohm
Figure 77 Figure 76
Figure 79
Figure 78



 To Next Page