5
EN
Slide Topper Pre-Installation
3.1 Extending the Slide-Out Room
q
w
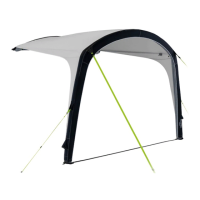
1 RV Slide-Out Room Extension
q
Slide-Out Room Width
(including Flange)
w
Slide-Out Room
Maximum Extension
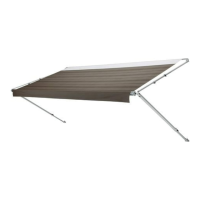
Begin by extending the slide-out room. The full extension
of the slide-out room must not exceed 42 in. (106.7 cm).
Refer to the Slide Topper Application Guide (located
on dometic.com) to determine the appropriate Slide
Topper width for the slide-out room application and
to select the fabric, mounting brackets, and optional
spacers needed for the installation of the Slide Topper.
3.2 Identifying the Required
Clearances
NOTICE: Employ as steep of a pitch as possible for the
awning fabric without exceeding the maximum distance
required between the awning rail and mounting bracket
(refer to Figure 2 and Figure 3). Exceeding the maximum
distance exposes the awning fabric to wind, causing the
fabric to billow or tear.
Use this section to confirm your Slide Topper clearance
measurements.
t
q
w
t
y
u
i
e
r
o
a
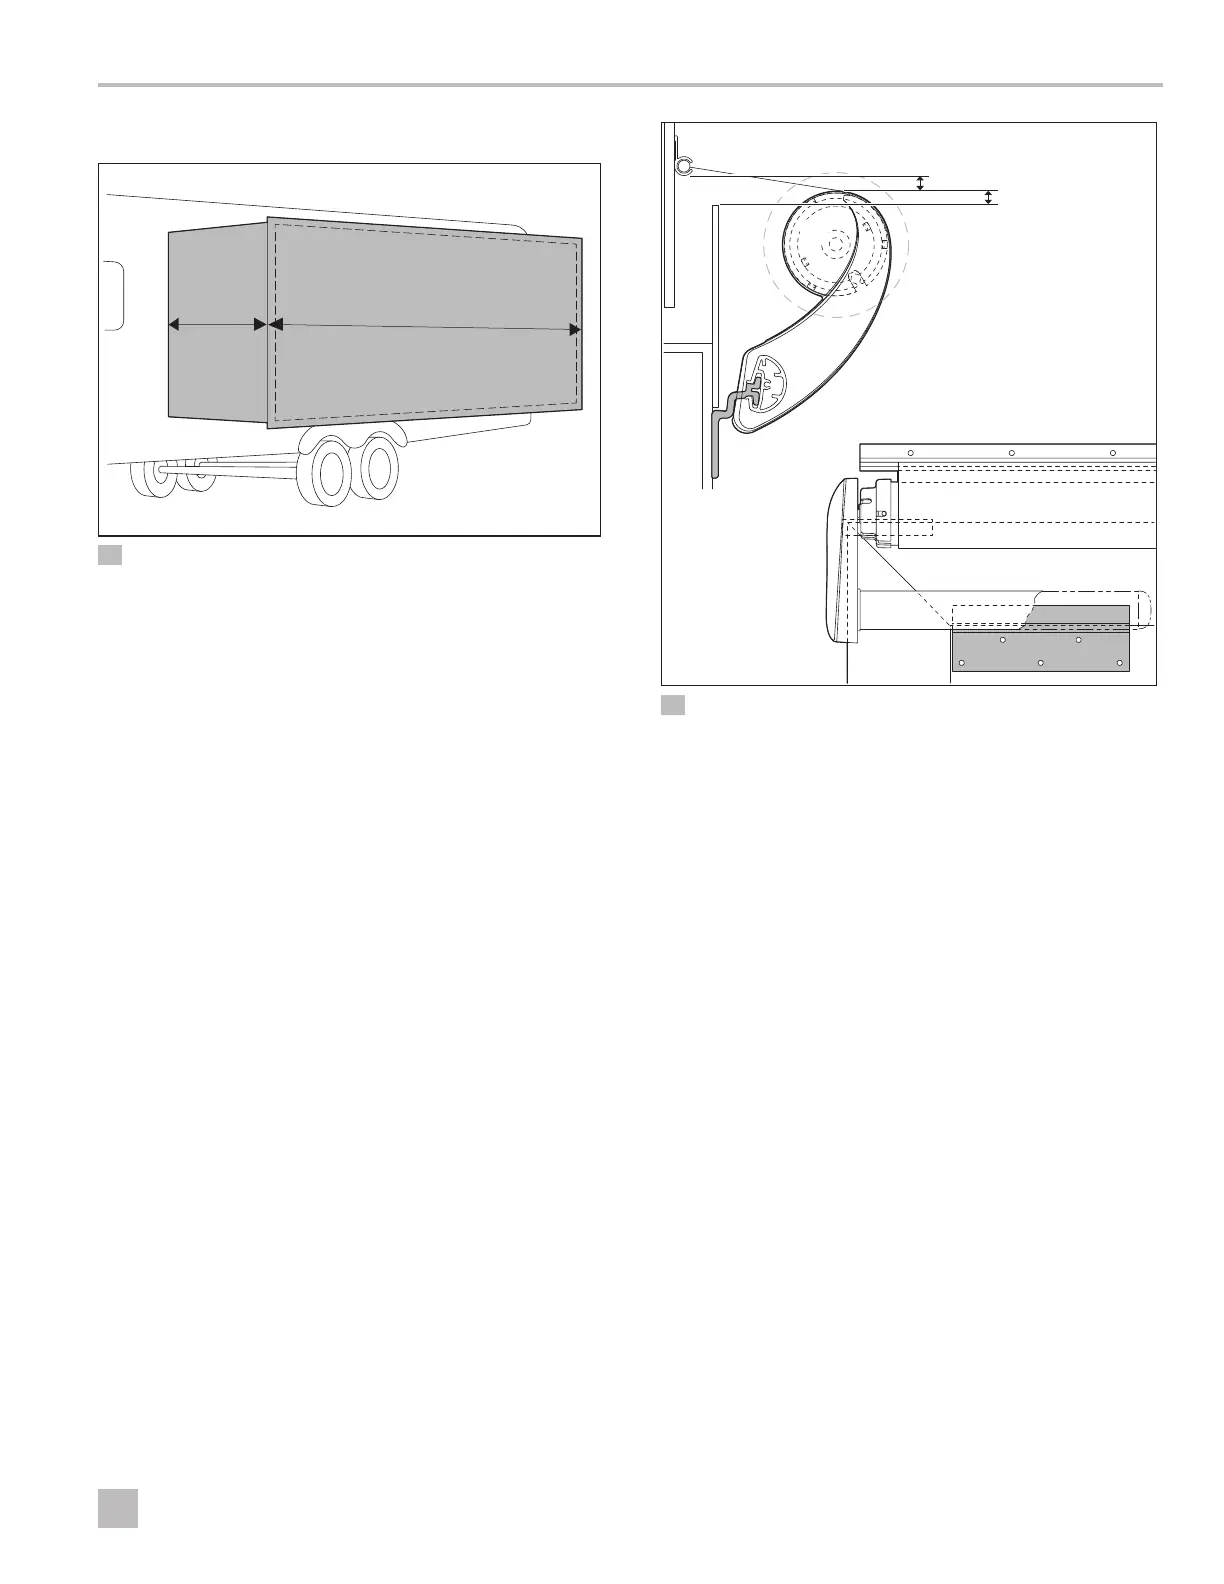
2 Tall Mounting Bracket Clearance
q
0.5 in. (1.3 cm) min. –
4 in. (10 cm) max.
y
Slide-Out Room
Flange
w
0.25 in. (0.6 cm) min.
u
Extension
e
Mounting Bracket
i
Mounting Bracket
r
Slide-Out Room Flange
o
Rotating Assembly
t
Awning Rail
a
0.5 in. (1.3 cm) min.
* Callout 10 represents the minimum clearance required
between the Slide Topper rotating assembly, all
obstructions on the RV slide-out room, and all
obstructions on the stationary wall.