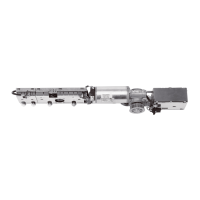
Auf-Wand Montage On-wall mounting
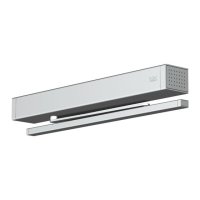
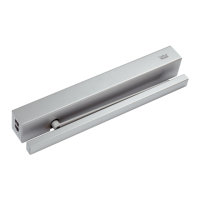
CS 80 MAGNEO
WN 058347 45532, 11/12
Türenkit Glasklemmschiene / Door kit glass clamping rail
11
1.
3.
2.
3.
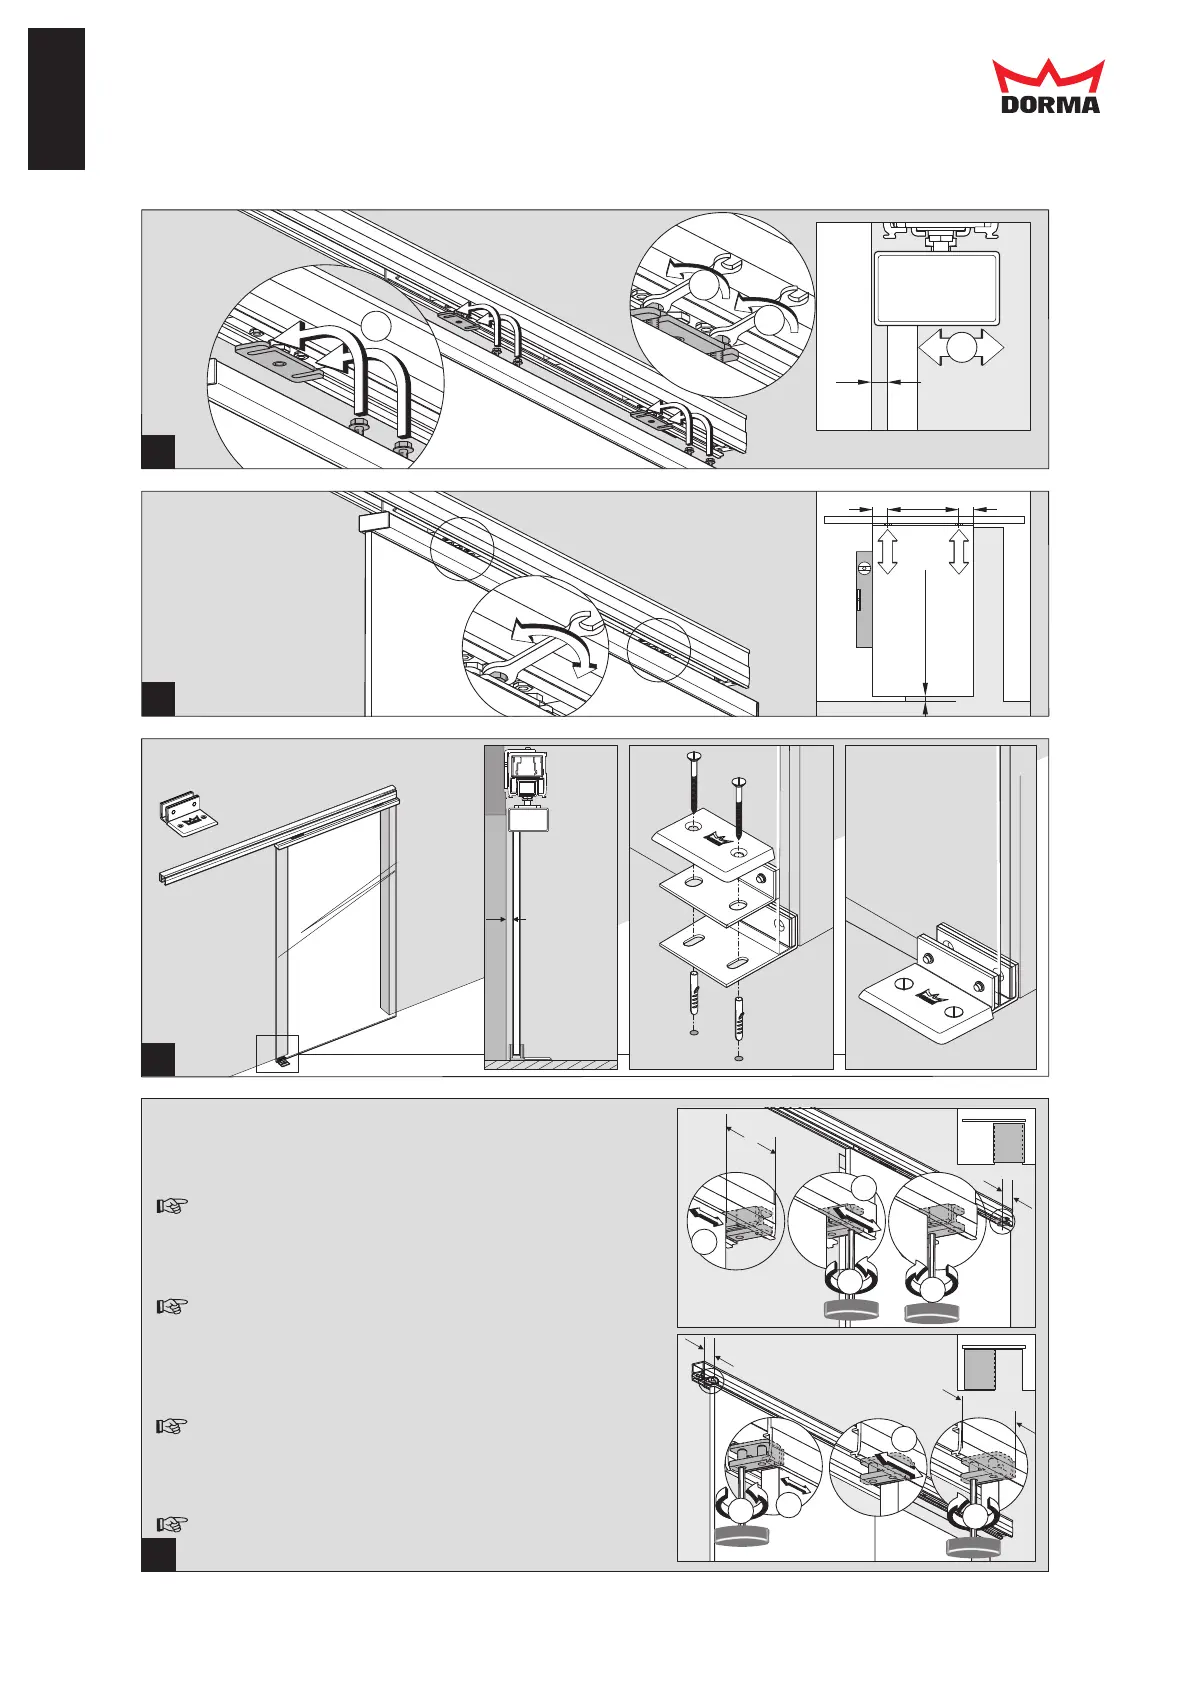
Türflügel einhängen (1), zur Wand ausrichten (2), festschrauben (3)
Fix the door panel (1), align the door with regard to the wall (2),
and screw down (3).
Türflügel einhängen (1), zur Wand ausrichten (2), festschrauben (3)
Fix the door panel (1), align the door with regard to the wall (2),
and screw down (3).
13
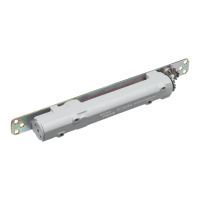
Bodenführung Auf-Wand
Floor guide rail for on-wall systems
Bodenführung Auf-Wand
Floor guide rail for on-wall systems
14
Y
“Tür offen” und “Tür zu” Position einrichten. Endanschläge verschieben.
1. Tür in die gewünschte ZU bzw. OFFEN Position schieben.
2. Endanschlag lösen
3. Endanschlag an die Tür heranschieben.
Endanschläge nicht aus dem Profil nehmen!
Endanschläge dürfen nur in begrenztem Maß nach innen verschoben werden.
Bei Antriebslänge (L): 1.750 mm => Y max. 200 mm
2.000 mm => Y max. 250 mm
2.250 mm => Y max. 300 mm
4. Endanschlag festschrauben. Schrauben mit 5 Nm anziehen.
Der Endanschlag darf nicht nach außen überstehen
Adjust the door's “open“ and “closed“ position. Move the end stops.
1. First relax the end stop and move the door to the desired “open“ or “closed“ ´
position.
2. Now move the end stop along until it meets the door.
3. Do not remove the end stops from the profile!
You may only move the end stops to the inside to a limited extent.
With operator length (L): 1,750 mm => Y max. 200 mm
2,000 mm => Y max. 250 mm
2,250 mm => Y max. 300 mm
4. Then fix the end stop and tighten the screws with 5 Nm.
The end stop must not overlap.
12
Türflügel in der Höhe ausrichten
Adjust the height between
the floor and the door panel
 Loading...