Prepare the designated position for installation,
• Make sure that the drilled holes are at least 8,4 mm or M8 threaded and that they correspond to the holes
of the enclosure.
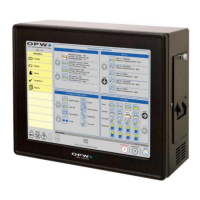
• Position the Rack Monitor 88XX in front of the drilled holes (see Figure 4),
• Attach the hexagon socket head bolts M8x65 [or 5/16” x 2.5” Lg] and fixate them with M8 nuts [or 5/16”]
(see Figure 4),
Or
Use 4 x M10 bolts to mount the enclosure from the rear. Mounting holes
are machined with 4 x M10 thread. (see Figure 4).
Mounting Points
• Tighten the housing mounting bolts and the nuts (shown in Figures 5 & 6 above) with a minimum
of 14.5 Nm [10.3 Ft Lbs]and a maximum torque of 27.6 Nm [20.3 Ft Lbs],
When Using Cable Glands (Housing with M20 Entry Holes)
• Select a suitable cable gland that meets the cable outer diameter.
• Install the (Ex “d” M20x1,5mm and/or M16x1,5mm Certified) cable glands into the desired location.
• Determine the conductor length required to connect to the designated terminal block and prepare the cable
accordingly, removing part of the outer sheath where required to reveal the insulated conductors. (wires
should be cut to length with no excessive wire coiled inside the enclosure).
• Strip the insulated wires to the desired length (OPW recommends the use of bootlaces or crimping pins to
connect multi-stranded wires. This provides a secure connection to terminal blocks and captive terminals
and stop wire strands short circuiting to adjacent connectors).

 Loading...