22 DR
®
FIELD and BRUSH MOWER
Removing and Replacing the Blade
Replace the Blade when worn or damaged, but do not use it for over five years.
Tools and Supplies needed:
15/16" Wrench or Socket
Torque Wrench (optional)
Gloves
2" x 4" to brace the Blade
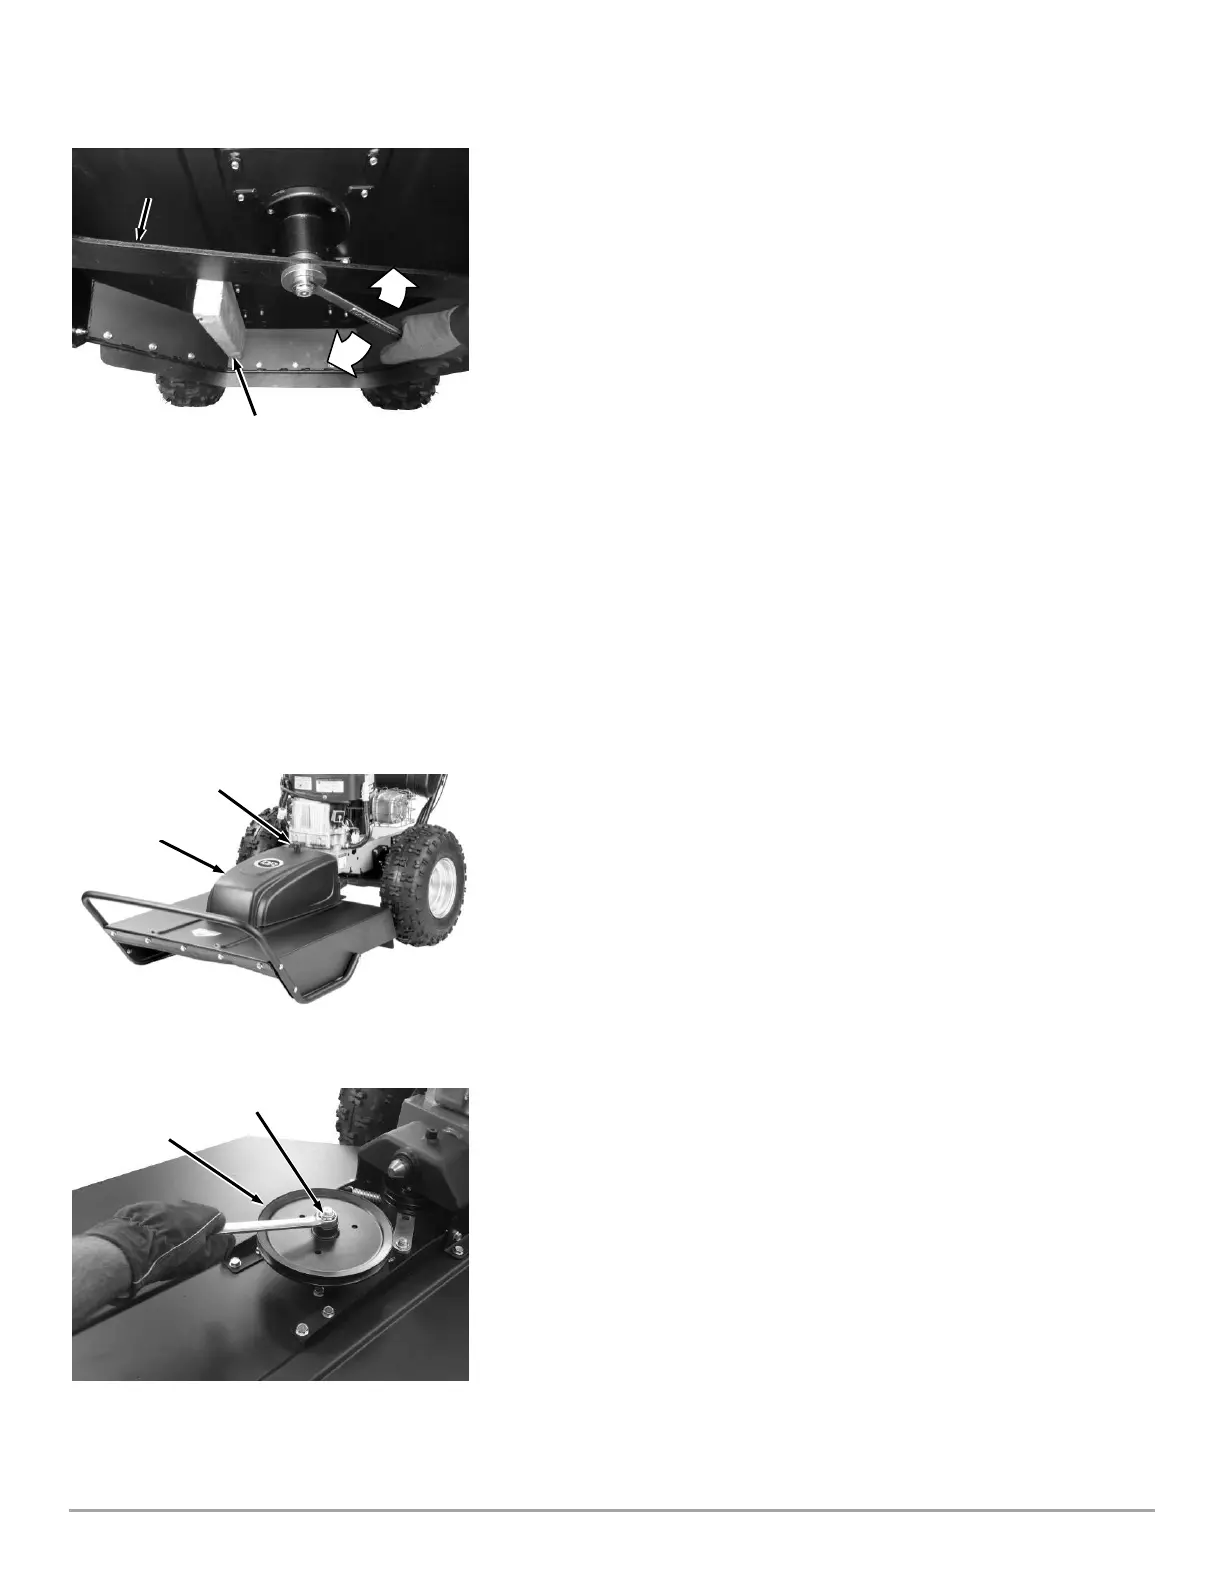
1. Block the Blade with a piece of wood between the Blade and the Skid on the
side of the Deck
(Figure 43).
2. Remove the Blade Lock Nut (standard, right-hand thread) and Washer.
3. Remove the Blade.
4. Mount the new Blade, Washer, and Lock Nut and tighten securely (Torque to
100 ft-lbs.). If the Locknut is removed and installed more than once, it
should be replaced with a new one.
NOTE: Be sure to seat the Blade completely over the small ridge in the Spindle Hub
before tightening the Lock Nut.
Removing the Wheels
Tools and Supplies needed:
3/4" Socket with extension
1. Loosen the Wheel Nuts a couple of turns with the Wheel on the ground.
2. Block the machine so the Wheel you are removing is off the ground.
3. Remove the Five Nuts and slide the Wheel off.
4. Replace the Wheel and finger-tighten the Wheel Nuts before unblocking the
machine.
5. Tighten the Wheel Nuts with the Wheel resting on the ground.
Replacing the Blade Pulley
The Bladed Pulley is designed to protect the drive system of the machine. If the
machine is overloaded the hub and pulley may fail. Please follow these
instructions to replace
Tools and Supplies Needed:
15/16" Wrench
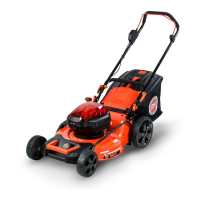
1. Unscrew the Hand Knob and remove the Belt Guard (Figure 44).
2. Remove the Belt from the Pulley (Refer to “Removing and Replacing the
Blade Belt,” above).
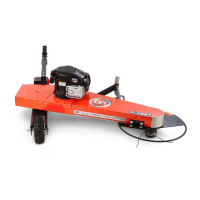
3. Block the blade with a piece of wood (Figure 43) as you remove the Locknut
using a 15/16" Wrench (Figure 45).
4. Remove the damaged Pulley and replace with a new Pulley.
5. Secure the Pulley with the Locknut and torque to 50lb-fts (68N-m).
6. Install the Belt (Refer to “Installing the Brush Deck” on page 8).
7. Replace the Belt Guard and Hand Knob.