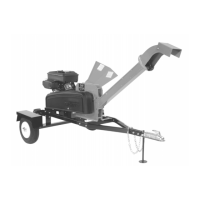
STEP V – ATTACHING THE SWIVEL TOP AND DEFLECTOR
1. Get three 5/16-18 X ¾” carriage bolts (item #2, pg. 29), two 5/16-18 nylock nuts (item #5, pg. 29), three 3/8”
flat-washers(item #60, pg. 30), and the locking knob (item #12, pg 29) from the bolt bag.
2. Hold the Swivel Top (item #10, pg. 29) in place and insert two of the 5/16-18 x ¾” bolts through two 3/8”
washers and then through both the top two slots of the top plate on the discharge chute (item #7, pg. 29), and
the top two holes on the swivel top. Secure snuggly with two 5/16-18 nylock nuts.
3. Insert a 5/16-18 X ¾” carriage bolt through a 3/8” flat-washer and then the lower slot, and hole and secure with
the locking knob.
4. DO NOT RUN MACHINE WHILE MAKING THIS ADJUSTMENT, PLEASE DISCONNECT THE SPARK PLUG
BEFORE CONTINUING! To change the side-to-side direction of the flow simply loosen the locking knob and
rotate to the desired direction.
5. To attach the deflector (item #11, pg. 29), remove two 5/16-18 X ¾” bolts(item #8, pg. 29), and two 5/16-18
nylock nuts(item #5, pg. 29) from the bolt-bag.
6. Hold the deflector in place and insert two of the 5/16-18 x ¾” bolts, from the inside out, through swivel top(item
#10, pg. 29), and then through the deflector.
7. Secure snuggly with the two 5/16-18 nylock nuts.
8. DO NOT RUN MACHINE WHILE MAKING THIS ADJUSTMENT, PLEASE DISCONNECT THE SPARK PLUG
BEFORE CONTINUING! To change the height, loosen the two 5/16-18 bolts and adjust the deflector up and
down to the desired height.
13

 Loading...