5
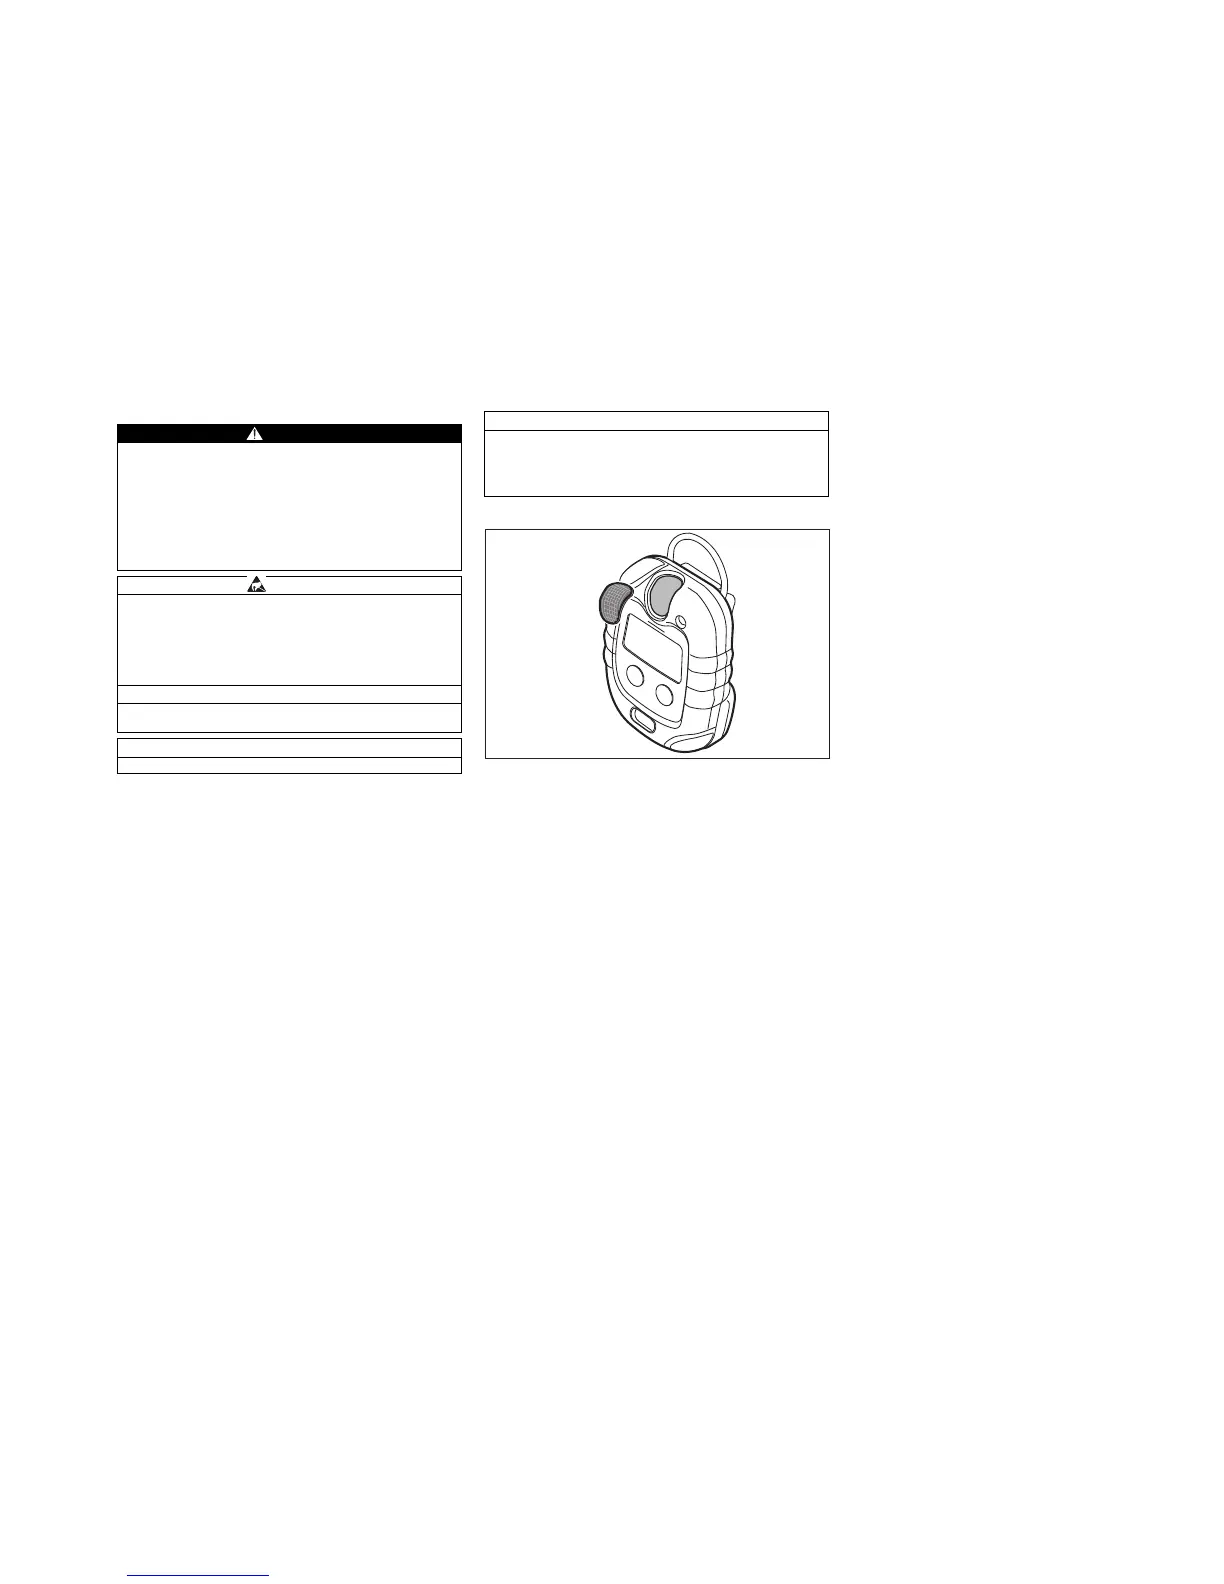
9 Changing the sensor
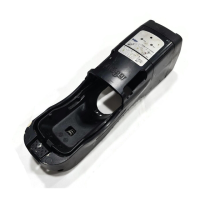
– Turn the instrument off.
– Unscrew the 4 screws from the back case.
– Open the front case and remove the battery.
– Remove the sensor.
– Insert the new sensor and note the imprinted sensor code.
– Press and hold [OK] for approx. 3 seconds while battery is
not installed.
– Insert the battery according to specified polarity (+/–).
– Place front case back and fasten it by tightening the 4 screws
of the back case.
– After inserting the battery a sensor warm up time is needed
(see chapter 12.3). The gas value flashes until the warm up
time has passed.
– Connect the device with a PC via the communication
module.
– Use CC-Vision
*)
function "Assistant for changing the sensor"
and register the sensor with the previously noted sensor
code.
– After the battery was replaced, the sensor requires a warm-
up phase (see 12.3). The indicated concentration blinks until
the warm-up phase is completed.
– After changing the sensor and after the warm up time is
finished the instrument must be calibrated (see chapter 5.3)
WARNING
Danger of explosion! Do not change the sensor in explosion-
hazard areas.
Substitution of components may impair intrinsic safety!
To prevent ignition of flammable or combustible
atmospheres, and to avoid compromising intrinsic safety of
the equipment, read, understand, and adhere to the
maintenance procedures below.
Take care when changing the sensors not to damage or short
out components, and do not use sharp tools to remove the
sensors.
CAUTION
Damage to components!
The instrument contains components that are sensitive to
electrical charges. To prevent damage to the instrument,
make sure that the person working on the instrument is
earthed prior to opening it for sensor replacement. Earth
contact can, for example, be ensured by an ESD (electrostatic
discharge) workplace.
Notice
Replace sensor when instrument can no longer be
calibrated!
Notice
Use only the DrägerSensor XXS with the same part number!
*) A free version of the PC software Dräger CC-Vision can be downloaded
at the following link: www.draeger.com/software.
.
10 Changing dust and water filter
11 Instrument alarm
– The alarm and LED will be activated three times, periodically.
–The [X] icon is flashing; a 3 digit error code will be shown in
the display.
– If an error appears in the display see chapter 11.1 and if
necessary please contact Service of Dräger.
11.1 Display of error and warning codes
– The error sign
[X]
or the warning sign
[!]
flashes and a three-
digit error code is displayed.
– If errors or warnings are active, "
– – –
" is displayed and the
error sign
[X]
or the warning sign
[!]
flashes.
– Press the
[OK]
button to display the error or warning codes.
– If several error or warning codes are active, the next error or
warning code can be displayed by pressing
[OK]
.
– If error or warning codes are active, first the error and then the
warning codes are displayed.
– If no action has occured for approx. 10 s, the device
automatically returns to the "
– – –
" display.
Notice
If the sensor code of the new sensor is different from the
previous one, the new sensor must be registered with the PC
software CC-Vision as described above. Dräger
recommends a registration with the PC software CC-Vision,
even if the sensor code is identical.
 Loading...