50 Technical Manual | X-act
®
7000
en | Operation
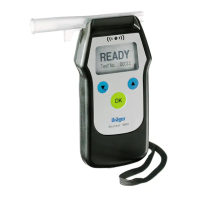
1. Hold down the OK key for approx. 3 seconds until the countdown finishes.
2. Wait for the self-test to complete.
– The result of the self-test is displayed.
– After confirming with the OK button, you are prompted to insert an MT.
WARNING
Faulty device functions/settings!
Faulty device functions/settings may be fatal and/or pose an explosion hazard.
► Before every use, check whether the display elements and information are
correctly displayed. Do not use the X-act 7000 if one of the above points
malfunctions or is faulty and ensure that the device is inspected.
4.3.2 Turning off the X-act 7000
1. Hold down the OK key for 3 seconds until the countdown finishes.
4.4 During operation
4.4.1 Preparing the measurement
The preparations for operation must be fulfilled before performing a measurement.
For further information see: "Preparation for operation", page 48.
4.4.2 Performing the measurement
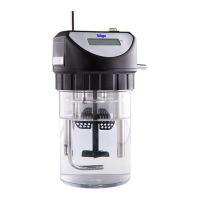
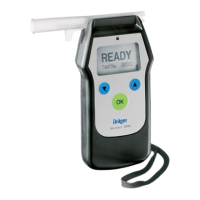
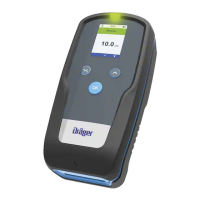
1. Insert the Dräger MicroTubes (graphic D/3a)
To do so, place the desired Dräger MicroTubes into the compartment with the
label facing upwards and gently push it.
– Stop pushing it as soon as you feel a slight resistance. The device
independently draws the Dräger MicroTubes in.
– Once the device has drawn the Dräger MicroTubes in, the name of the
Dräger MicroTubes appears on the display: in this example, benzene. The
number of remaining measurements for the inserted Dräger MicroTubes,
their lot number as well as the concentration range are also displayed.
2. Start measurement (graphic D/3b).
● Press OK.
– The information Measurement in progress appears on the display during
measurement. The measurement may take a few seconds or minutes.
– The measurement has been successfully completed when the LED above
the display is illuminated green. The measurement result is shown on the
display. The upper section of the display shows the number of the
measurement that this relates to. In this example, it is measurement 10 of 10.
3. The following options are now available:
● Assign the result to a measurement location (graphic D/3c).
● Perform additional measurements (graphic D/3d)
● Discard or replace Dräger MicroTubes
● Turn the device off after measurement.
 Loading...