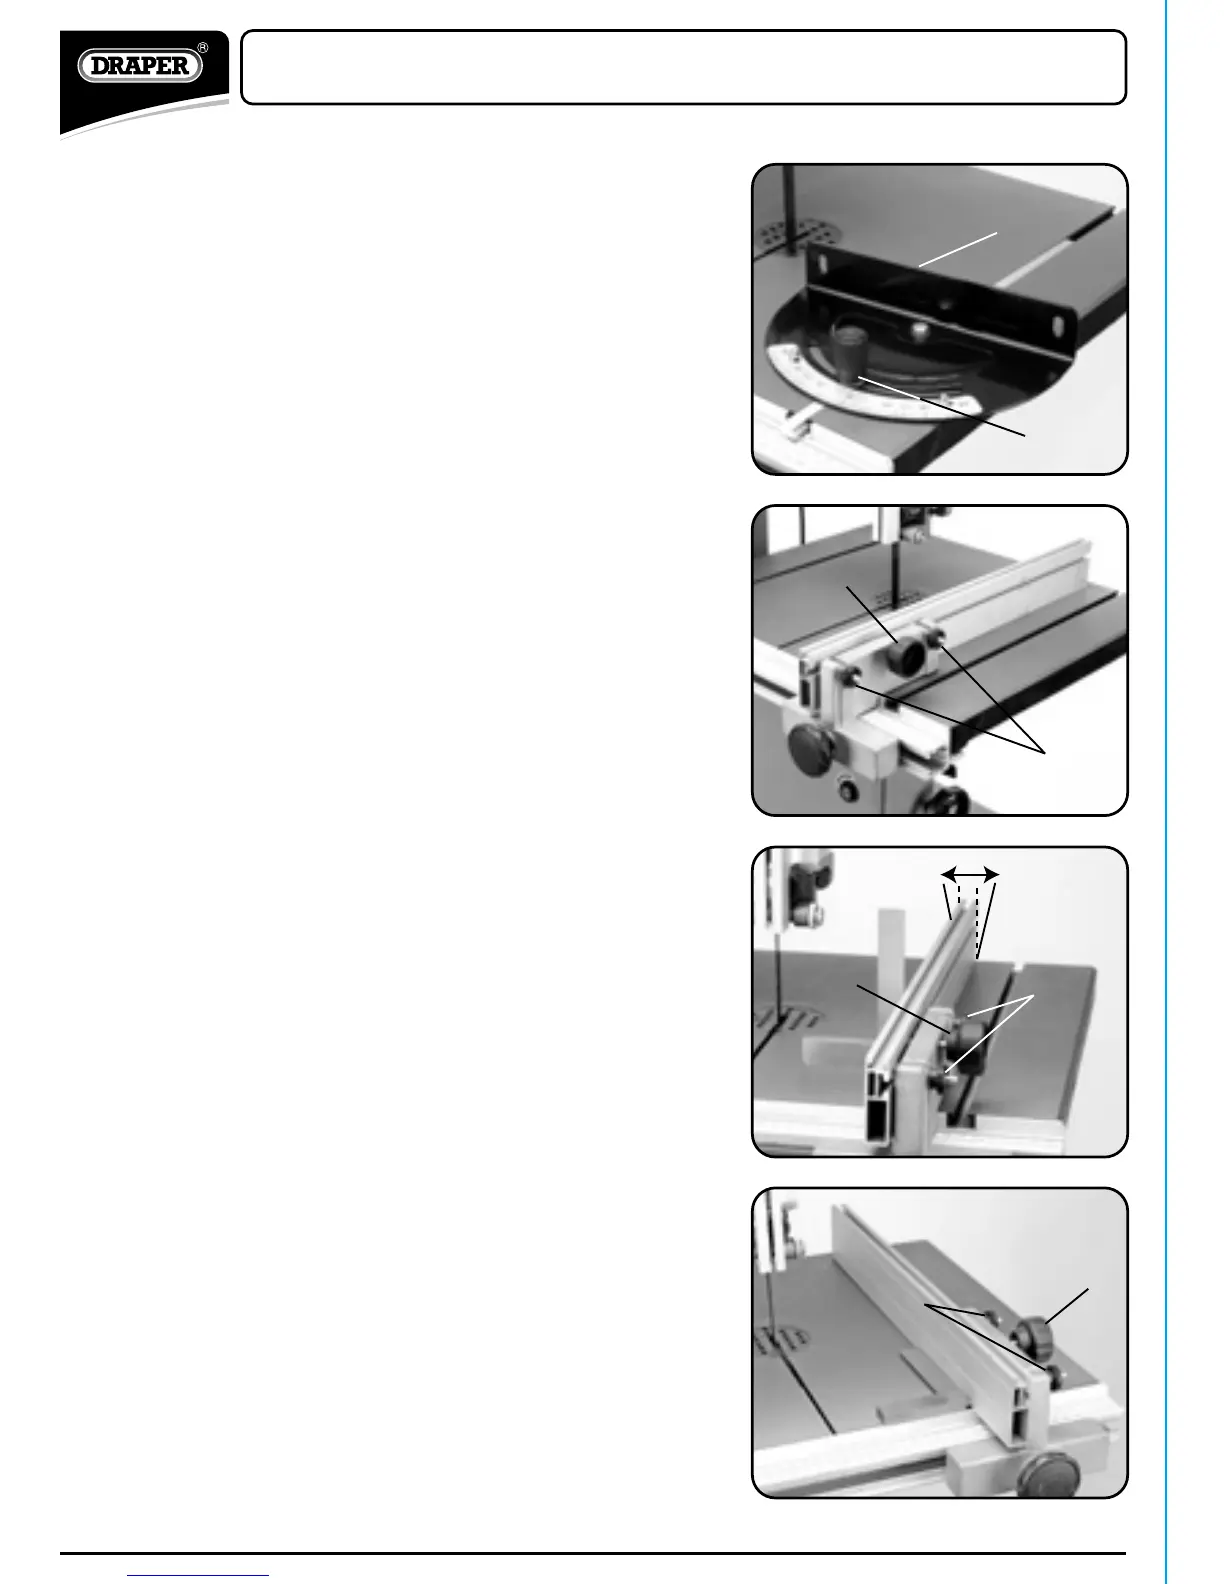
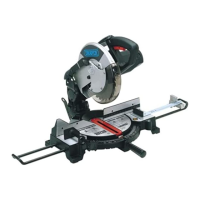
- MITRE GUIDE (Fig.26.):
Most cross cut work, especially with small pieces is more
easily controlled with the use of the mitre guide $,.
The guide is graduated to 45˚ for both left and right
hand angles.
Simply slide the guide into one of the two channels
provided in the work table.
To alter the angle loosen knob $-, set to desired
angle and retighten.
NOTE: The scale on the mitre guide is a guide only.
/
FIG.26
FIG.29
FIG.27
$0
FIG.28
OPERATION AND USE
$2
$1
$.
$/
$,
$-
$3
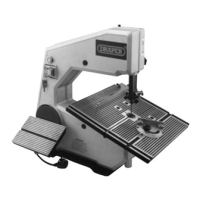
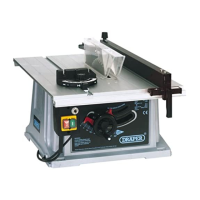
- RIP FENCE (Fig.27.):
The rip fence supplied with this saw can be used both
sides of the blade.
For use on the right hand side of the blade assemble as
in Fig.23. For use on the left side of the blade loosen
knobs $. and remove fence. Move knob $/ to the
right of the holder. Slide holder to the left of the blade
and replace fence.
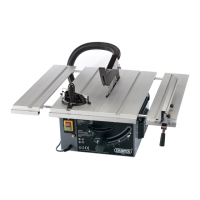
- ADJUSTING THE RIP FENCE (VERTICALLY)
(Fig.28.):
Place the engineers square on the table. Loosening
knobs $0 slightly will allow the vertical angle to be
altered more or less by screwing in and out of knob
$1.
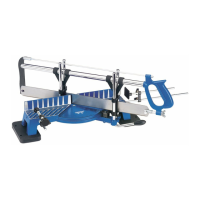
- ADJUSTING THE RIP FENCE (HORIZONTALLY)
(Fig.29.):
Place the engineers square on the table with the knob
$2 as the pivot, loosening and tightening of $3
will cause the fence’s horizontal angle to alter.
Using a combination of both these adjustment
procedures it is possible to set the rip fence up square
with the table, horizontally and vertically.