This section will guide you to install the AP through hardware connection and
configure the settings through web browser.
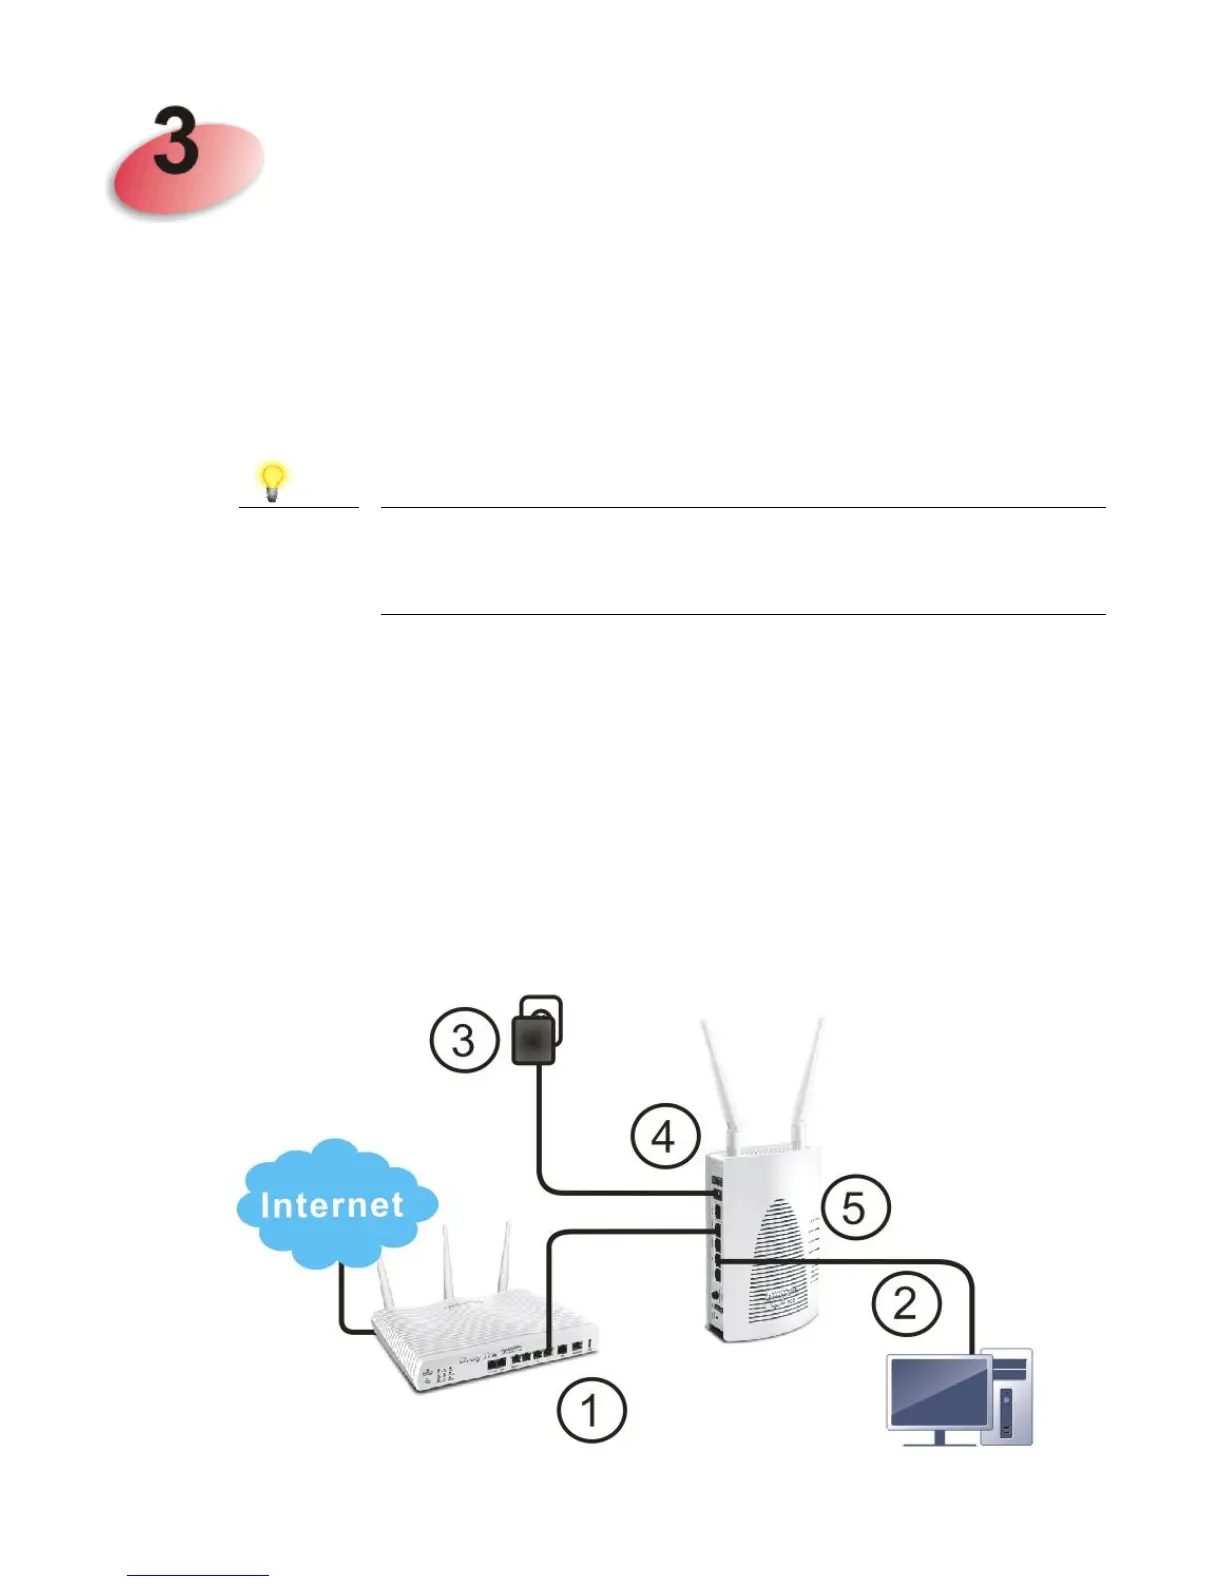
Before starting to configure the router, you have to connect your devices correctly.
1. Connect VigorAP 902 to xDSL modem, router, or switch/hub in your
network through the LAN A port of the access point by Ethernet cable.
You can also connect VigorAP 902 to a Vigor router via
wireless connection. For detailed information, refer to
VigorAP 902 User’s Guide.
2. Connect a computer to other available LAN A port. Make sure the subnet IP
address of the PC is the same as VigorAP 902 management IP, e.g.,
192.168.1.X.
3. Connect the A/C power adapter to the wall socket, and then connect it to the
PWR connector of the access point.
4. Power on VigorAP 902.
5. Check all LEDs on the front panel. ACT LED should blink, LAN LEDs
should be on if the access point is correctly connected to the xDSL modem,
router or switch/hub.
 Loading...