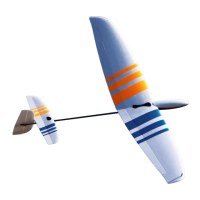
10. As shown below, attach clevis to elevator control horn at outermost hole. If necessary, use a small flat-
bladed screwdriver to spread clevis apart. If you are having difficulty, try removing stabilizer to make
clevis connection easier (re-install stabilizer after connection has been made). IMPORTANT: Clevis must be
installed with correct orientation (screw head on right side of tail boom) for sufficient pushrod
clearance. You may need to loosen clevis clamping screw to allow pushrod to slide freely in clevis for
adjustment. Do not tighten clamping screw yet.
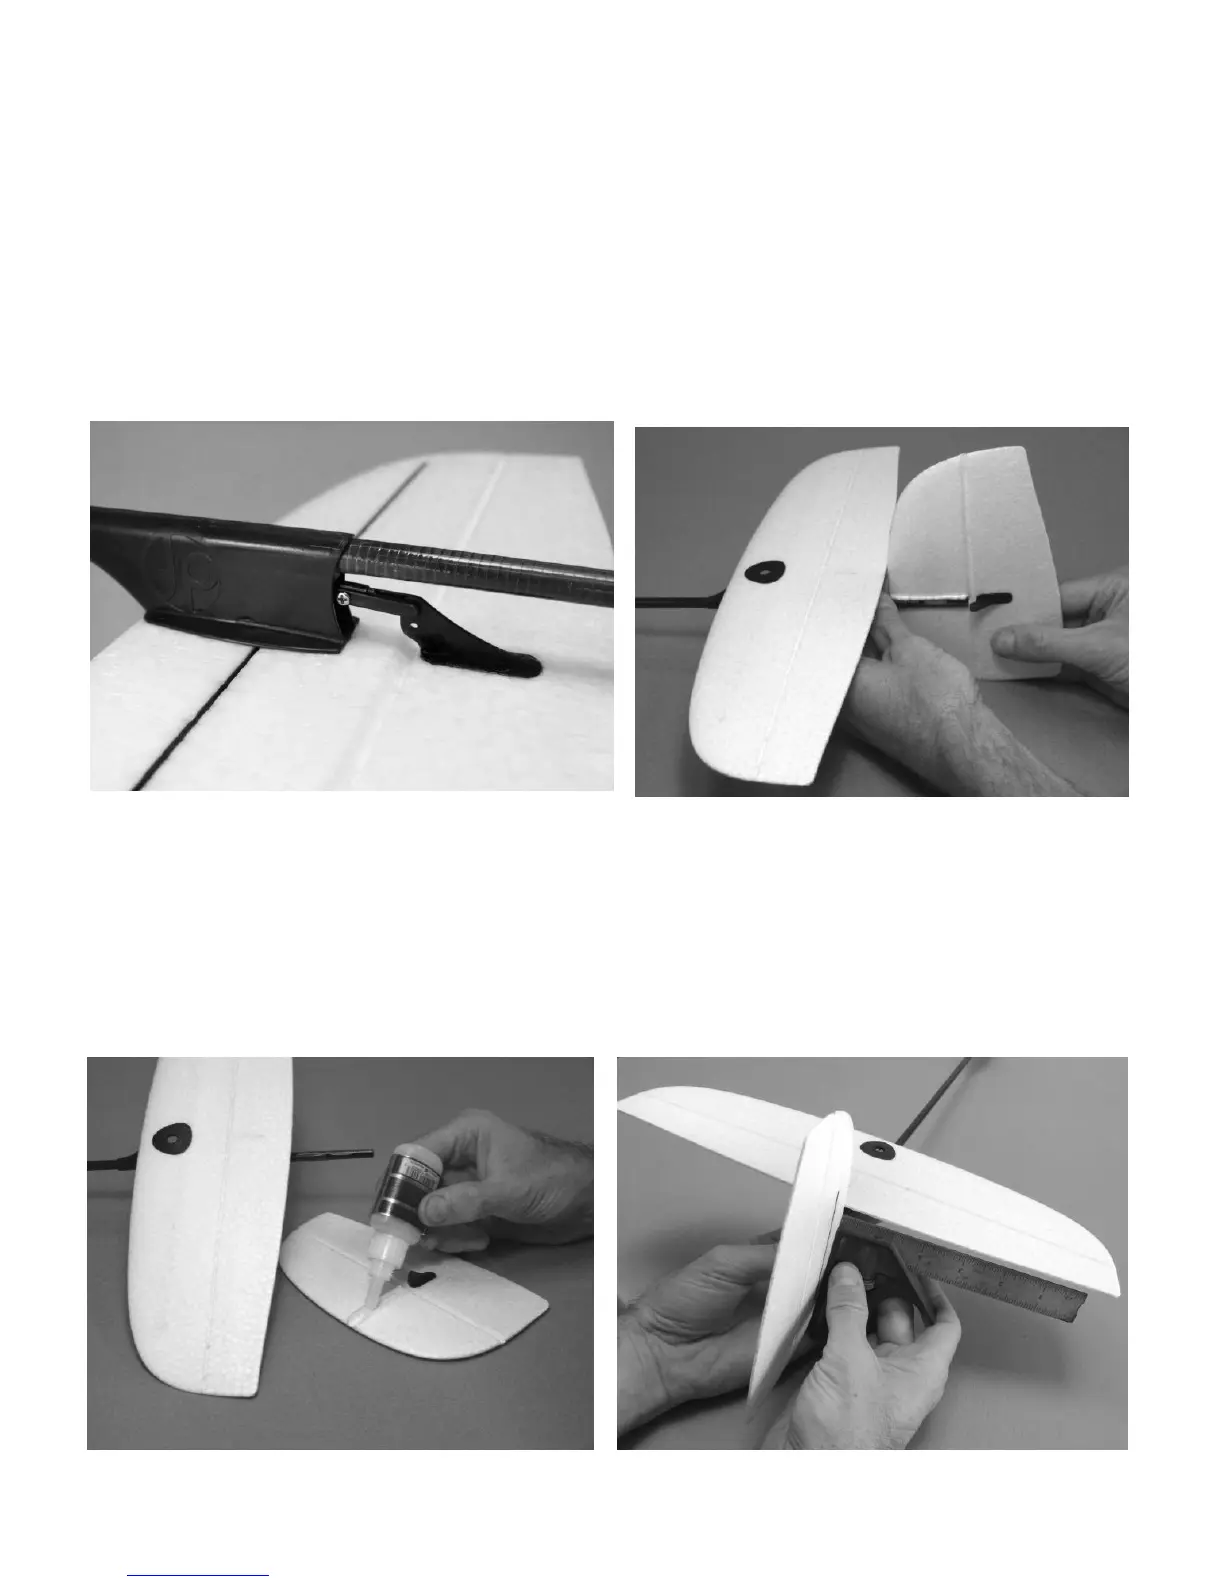
11. As shown below, test fit vertical fin onto tail boom. Note foam index tab on fin which aligns with tail boom,
providing correct positioning.
12. When gluing fin onto tail boom, ensure fin is mounted at 90 degrees to horizontal stabilizer. Apply
medium instant glue to cutout in vertical fin as shown below. You can substitute 5-minute epoxy for more
working time and a stronger joint. Lightly press vertical fin onto tail boom while aligning index tab with tail
boom cutout. Looking from rear of glider as shown below, ensure fin is mounted 90 degrees to horizontal
stabilizer using a 90º square - adjust fin as needed before glue sets! When fin is perfectly vertical, apply
pressure to glue joint for several seconds or use painter's tape to hold fin in place while glue cures. Wipe
away any excess and allow glue to cure for several minutes before proceeding.
 Loading...