Concerto CF
Fitting the glass panel
Once the logs are in place, the glass can be replaced in the
brackets nges and tightened with the two socket-head
bolts. In the event of damage or breakage, the glass should
be replaced immediately.
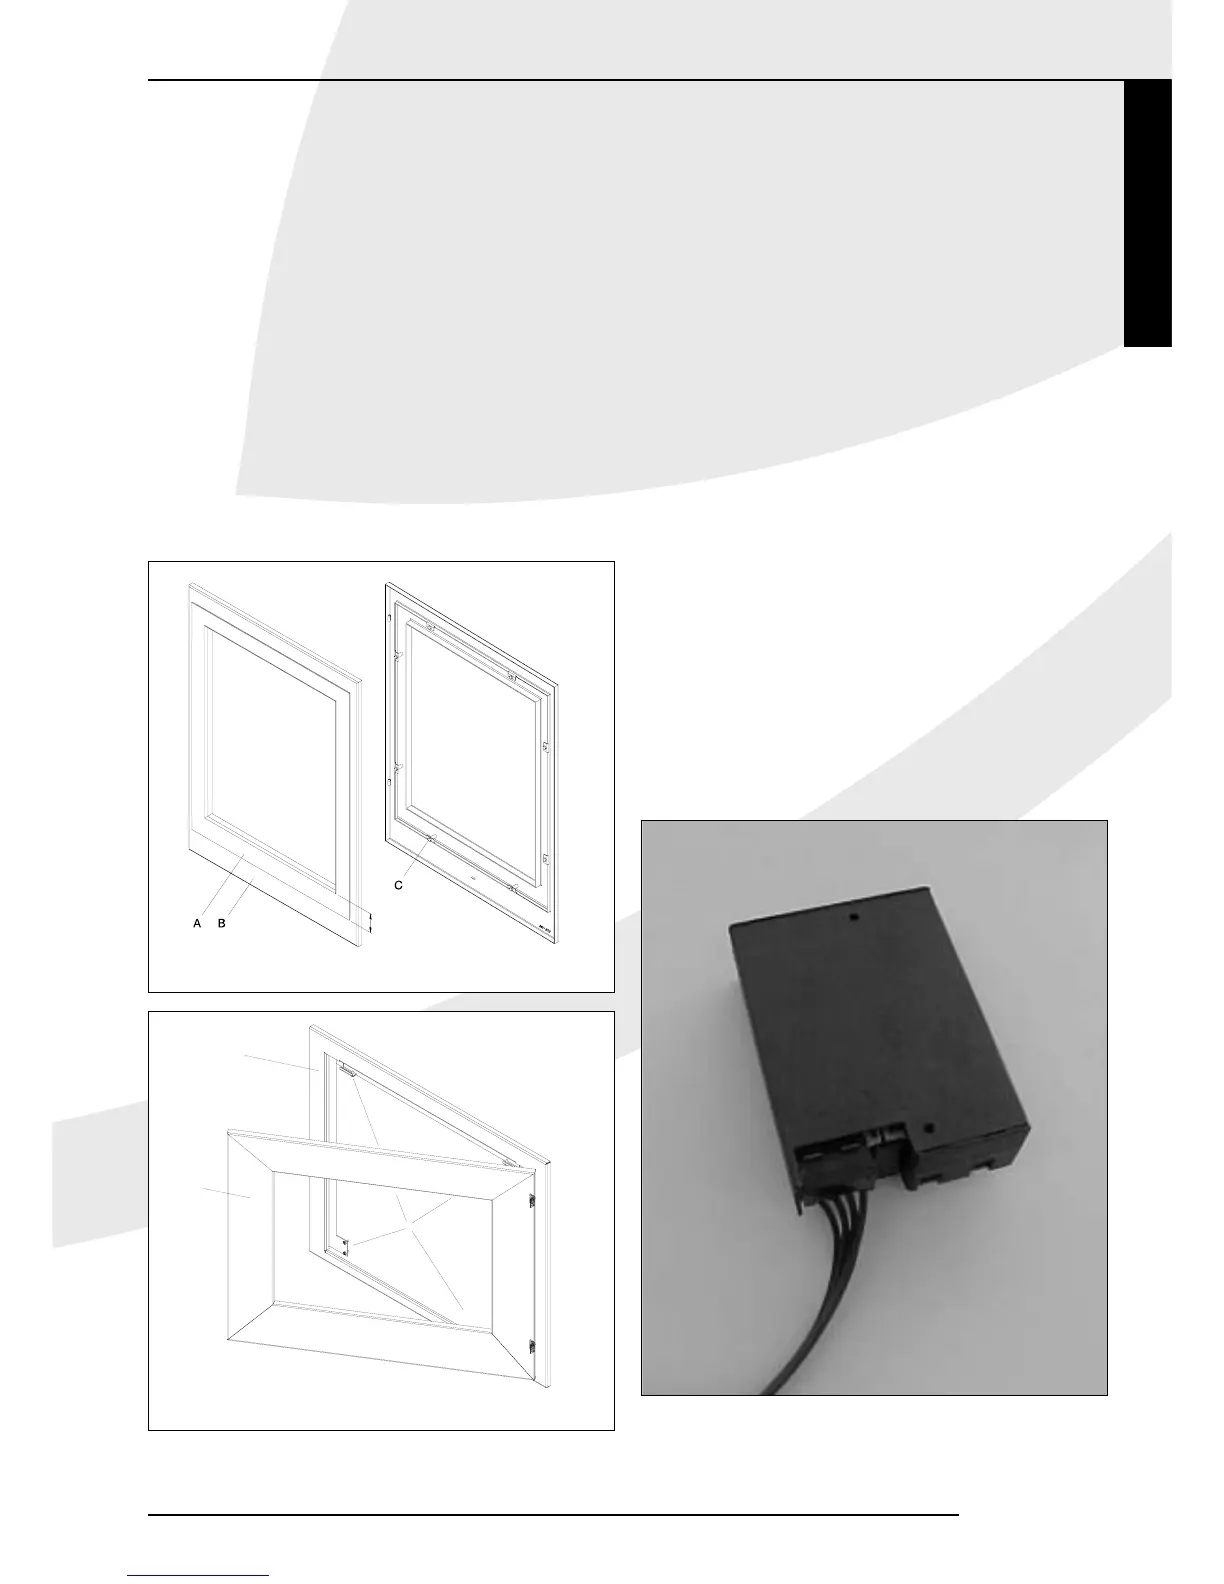
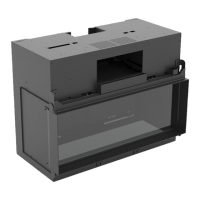
Mounting the front panel Concerto (fig. 9a)
The coloured or stainless steel frame (A) is packed
separately from the basic set.The frame is fitted to the
front panel (B) using the 8 bolts supplied (C). Make sure
that the tall edge is at the bottom.
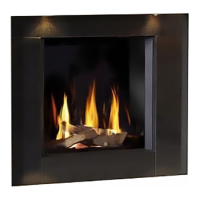
Mounting the front panel Concerto Vision
(fig. 9b)
The front panel is packed separately to the basic set, and
fitted as follows.
Remove the magnets to the basic set.
Fix the mounting frame (A) to the base set with the sheet
metal screws (B).
Now hang the front frame (C) onto the mounting frame.
Remote control
Remote control is supplied as a standard accessory.
The heater has a freely adjustable. Batteries, with a life
expectancy of approximately one year, feed the electrical
supply.The remote control will only work if the pilot light
is lit.
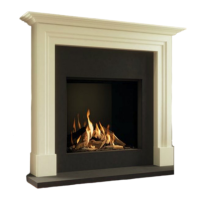
Connecting the Receiver
The remote control system comprises a receiver and a
remote control, packed together in one box.The receiver
must be connected to the appliance fitting the batteries.
This is done as follows:
• Take the receiver out of the box.
• Slide the white plug of the cable onto the receiver circuit
board (fig. 17a).
• Connect the wires to the connectors on the gas control
valve.The different sized plugs correspond with the
connectors on the gas control valve.
• Open the lid.
• Insert 4 penlight batteries (type AA). Make sure they are
the right way round.
• Replace the lid.
• Place the receiver under the appliance on the floor. Make
sure that the red LED points forwards. Place the reciever
as far away from the burner tray as possible to prevent
the reciever from getting too hot.
English
INSTRUCTIONS FOR INSTALLATION
13
fig. 17a
fig. 9a
Tall edge