19
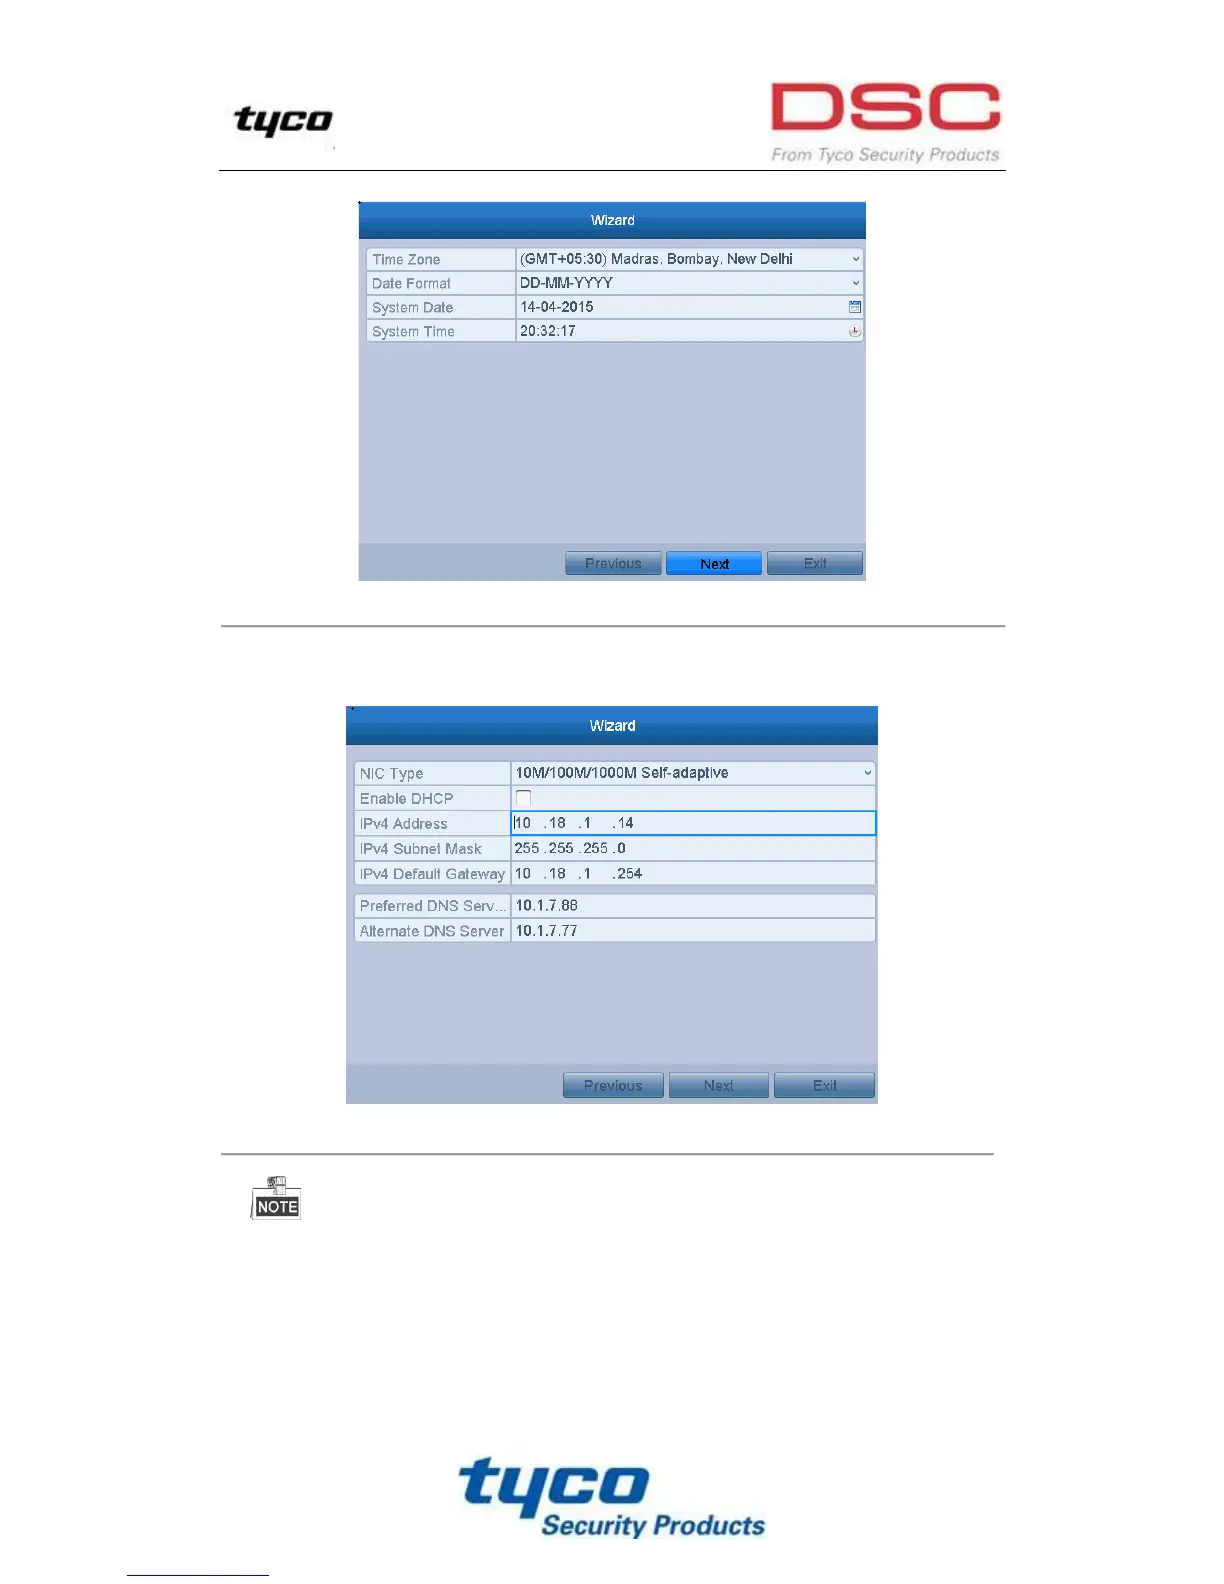
5. Click the Next button to enter the date and time settings window, as shown in Figure 2. 5.
Figure 2. 5 Date and Time Settings
6. After the time settings, click Next button which takes you back to the Network Setup Wizard window, as
shown in Figure 2. 6.
Figure 2. 6 Network Configuration
And for the models which has the built-in PoE switch network interfaces, the internal NIC IPv4 address
should be configured for the cameras connecting to the PoE interface of the NVR.
7. Click Next button after you configured the network parameters, which takes you to the HDD Management
window, shown in Figure 2. 7.