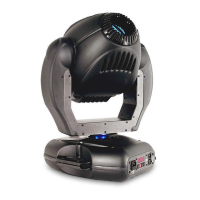
11.1-DMX Addresses
EVO can be used in 2 different DMX modes: 32 DMX control channels (Default) or 24
DMX control channels.
Here below is described the DMX channels addressing for the controller when EVO is
set to 32 and 24 DMX control channels:
32 channels mode (Default)
Projector 1 A001
Projector 2 A033 If you want to select the next projector, just add “32”
Projector 3 A065
….. A….
projector 6 A161
24 channels mode
Projector 1 A001
Projector 2 A025 If you want to select the next projector, just add “24”
Projector 3 A049
….. A….
projector 6 A121
11.2-Selecting the DMX address
1) Press the UP-DOWN key until you reach the required DMX channel. The numbers
on the display will start to flash (but the new DMX address hasn't yet been set).
2) Press ENTER to confirm your selection. The numbers on the display will stop
flashing and the projector is now setted to the new DMX address.
TRICKS:
If you keep pushed the UP or DOWN keys, the channels are calculated more quickly
and you get a faster selection.
12- FIRMWARE UPDATING
Warning:
This procedure require a base knowledge of computer applications and Windows
Hyperterminal program. Please refer to an authorised D.T.S. service centre.
To update the software version of EVO you need:
- D.T.S. RED BOX interface (D.T.S. Code: 03.LA.008)
- USB-DMX Driver for the D.T.S. RED BOX interface
- “D.T.S. Firmware upgrade utility” program installed on the PC
- Latest software release available for EVO unit
Updating the software version.
Please follow the procedure below to perform the update:
1. Install the D.T.S. RED BOX USB-DMX driver on the PC you will use to update the
unit software.
2. Connect the D.T.S. RED BOX interface to the PC by using a USB cable.
3. Connect the D.T.S. RED BOX interface to the fixture by using a DMX cable.
4. Send the new software version into the unit by using “D.T.S. Firmware upgrade
utility” program.