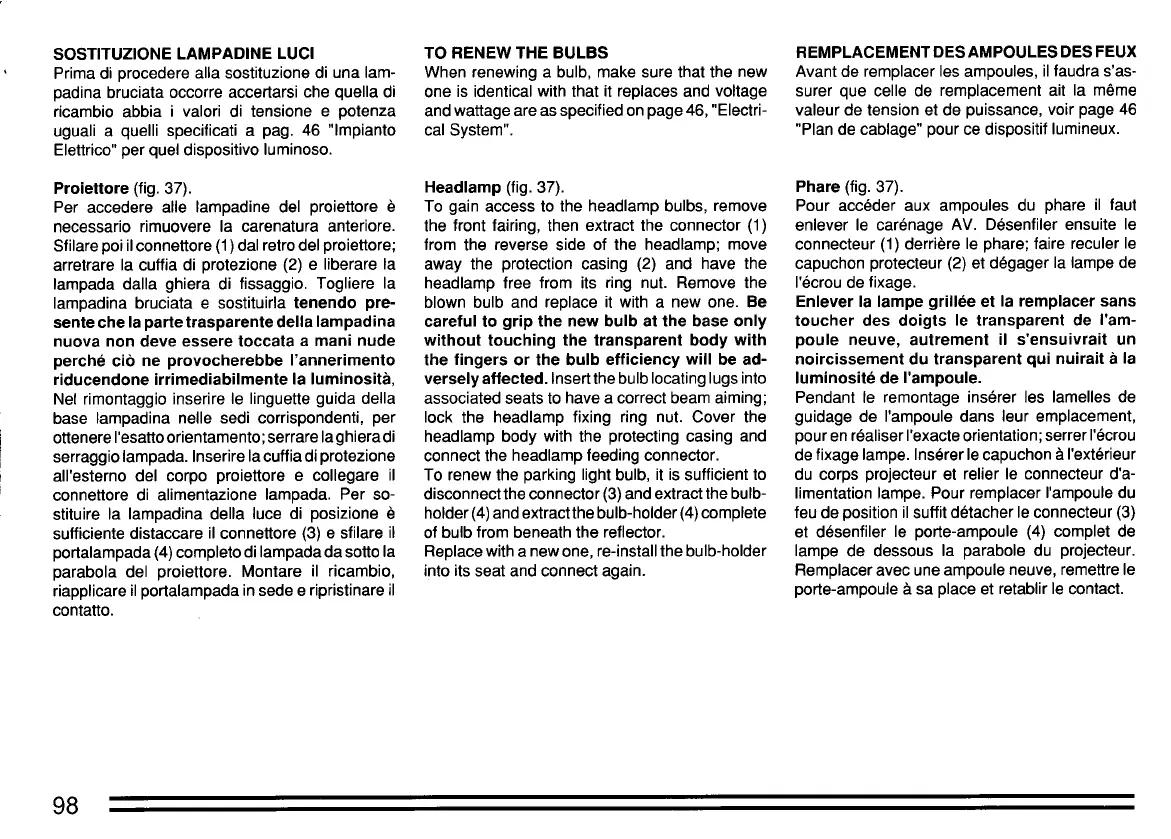
SOSTITUZIONE LAMPADINE LUCI TO RENEW THE BULBS REMPLACEMENTDESAMPOULESDESFEUX
Prima di procedere alla sostituzione di una lam- Wh en renewing a bulb, make gure that the new Avant de remplacer les ampoules, il faudra s'as-
padina bruciata occorre accertarsi che quella di one is identical with that it replaces and voltage surer que Geile de remplacement ait la même
ricambio abbia i valori di tensione e potenza and wattage are as specified on page 46, "Electri- valeur de tension et de puissance, vair page 46
uguali a quelli specificati a pag. 46 "Impianto cal System". "Plan de cablage" pour ce dispositif lumineux.
Elettrico" per quel dispositivo luminoso.
Proiettore (fig. 37). Headlamp (fig. 37). Phare (fig. 37).
Per accedere alle lampadine del proiettore è To gain access to the headlamp bulbs, remove Pour accéder aux ampoules du phare il faut
necessario rimuovere la carenatura anteriore. the front fairing, th en extract the connector (1) enlever le carénage AV. Désenfiler ensuite le
Sfilare poi il connettore (1) dal retro del proiettore; trom the reverse side of the headlamp; move connecteur (1) derrière le phare; faire reculer le
arretrare la cuffia di protezione (2) e liberare la away the protection casing (2) and have the capuchon protecteur (2) et dégager la lampe de
lampada dalia ghiera di fissaggio. Togliere la headlamp tree trom its ring nut. Remove the I'écrou de fixage.
lampadina bruciata e sostituirla tenendo pre- blown bulb and replace it with a new one. Be Enlever la lampe grillée et la remplacer sans
sente che la pafte trasparente della lampadina careful to grip the new bulb at the base only toucher des doigts le transparent de I'am-
nuova non deve esse re toccata a man i nude without touching the transparent body with poule neuve, autrement il s'ensuivrait un
perché ció ne provocherebbe I'annerimento the fingers or the bulb efficiency will be ad- noircissement du transparent qui nuirait à la
riducendone irrimediabilmente la luminosità, versely affected.lnsertthe bulb locating lugs into luminosité de I'ampoule.
Nel rimontaggio inserire le linguette guida della associated seats to have a correct be am aiming; Pendant le remontage insérer les lamelles de
base lampadina nelle sedi corrispondenti, per jack the headlamp fixing ring nut. Cover the guidage de I'ampoule dans leur emplacement,
ottenere I'esattoorientamento;serrare laghieradi headlamp body with the protecting casing and pour en réaliser I'exacte orientation; serrer I'écrou
serraggio lampada. Inserire la cuffia di protezione connect the headlamp feeding connector. de fixage lampe. Insérer le capuchon à I'extérieur
all'esterno del corpo proiettore e collegare il To renew the parking light bulb, it is sufficient to du corps projecteur et relier le connecteur d'a-
connettore di alimentazione lampada. Per so- disconnect the connector (3) and extract the bulb- limentation lampe. Pour remplacer I'ampoule du
stituire la lampadina della luce di posizione è holder(4) and extractthe bulb-holder (4) complete jeu de position il suffit détacher le connecteur (3)
sufficiente distaccare il connettore (3) e sfilare il of bulb trom beneath the reflector. et désenfiler le porte-ampoule (4) complet de
portalampada (4) completo di lampadada sotto la Replace with a new one, re-install the bulb-holder lampe de dessous la parabole du projecteur.
parabola del proiettore. Montare il ricambio, into its seat and connect again. Remplacer avec une ampoule neuve, remettre le
riapplicare il portalampada in sede e ripristinare il porte-ampoule à sa place et retablir le contact.
contatto.
98