Stack Assembly
Before assembling a stack, inspect all of the components
for possible damage — especially the surfaces that are to
be joined. Look for non-at surfaces (concave, convex),
stress cracks, chips, or gouges. Any of these irregularities
will affect the operation of the stack and could cause
further damage. Contact the Dukane Ultrasonics Tooling
Department concerning a damaged component.
When the components have been inspected and are found
to be free of any damage, continue with the following
steps:
1. Inspect the contact surfaces for smoothness and
cleanliness. Pitting or a buildup of old grease and dirt
on the surface will interfere with the transfer of energy
from one component to another.
2. Remove any foreign matter from the threaded stud
and the mating hole. Tighten the stud in the stack
component that is most distant from the transducer
according to the following stud torque values:
Stud Thread
Size
Torque
inch-lbs foot-lbs Nt-meters
1/2 in. x 20 12-18 1 - 1.5 1.4 - 2
3/8 in. x 24 12-18 1 - 1.5 1.4 - 2
M8 x 1.25 12-18 1 - 1.5 1.4 - 2
3. Coat one of the contact surfaces with a thin coat of
high-pressure grease. A small packet is supplied with
the system. We recommend Dow–Corning #4 (or #111
as an alternate).
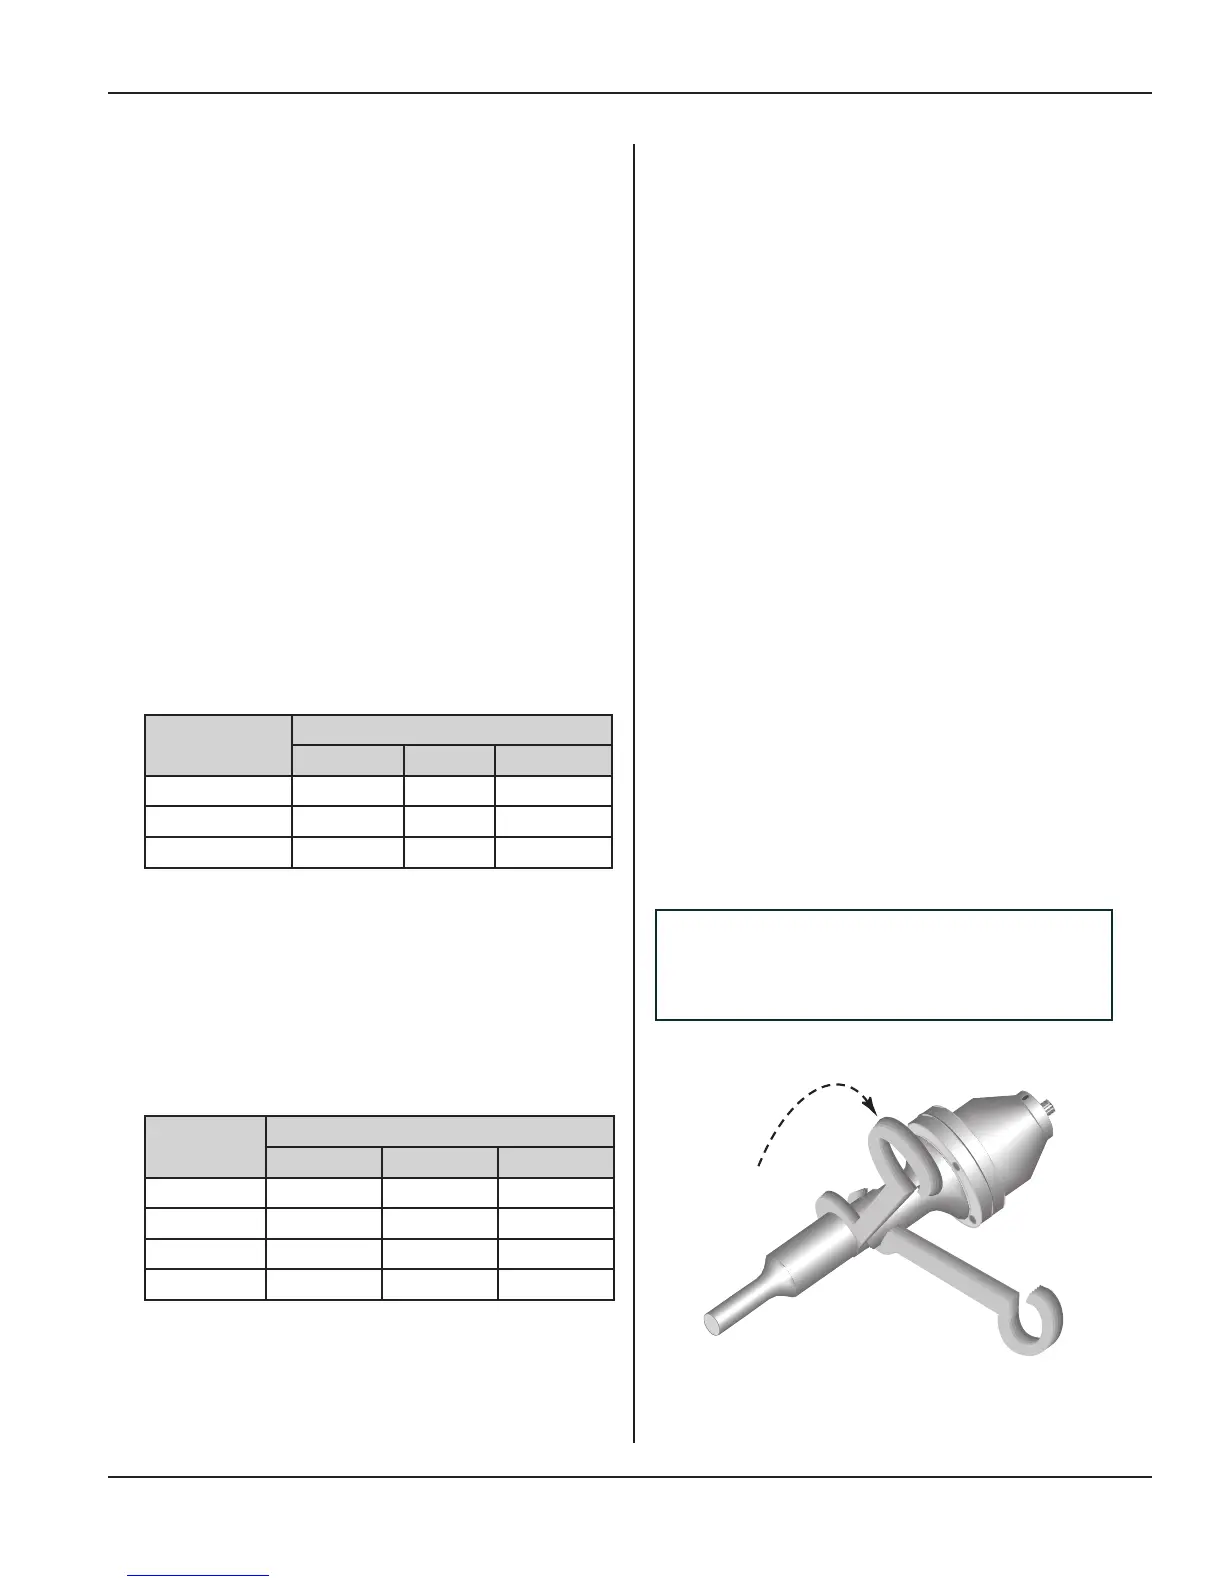
4. Thread the components together and tighten (Refer to
Table 7-II) by applying torque as follows:
Stack
kHz
Torque
inch-lbs foot-lbs Nt-meters
15 540 45 61
20 420 35 47.5
30 216 18 24.4
40 216 18 24.4
Figure 7-5 Assembling Components
Table 7-I Stud Torque Values
Table 7-II Horn/Booster Torque Values
NOTE
Do not apply any grease or lubricant to
the stud.
Page 83
Dukane Manual Part No. 403-594-02
Section 7 - Acoustic Stack/Fixture Setup