14
Owner's Manual for Duke Flexbake 5
TM
Proof and Bake Oven with WiFi Connectivity
INSTALLATIONcontinued
Wall
Wall Mounting
Bracket
Hole Drilled In Wall
For Fixing Bracket
Wall
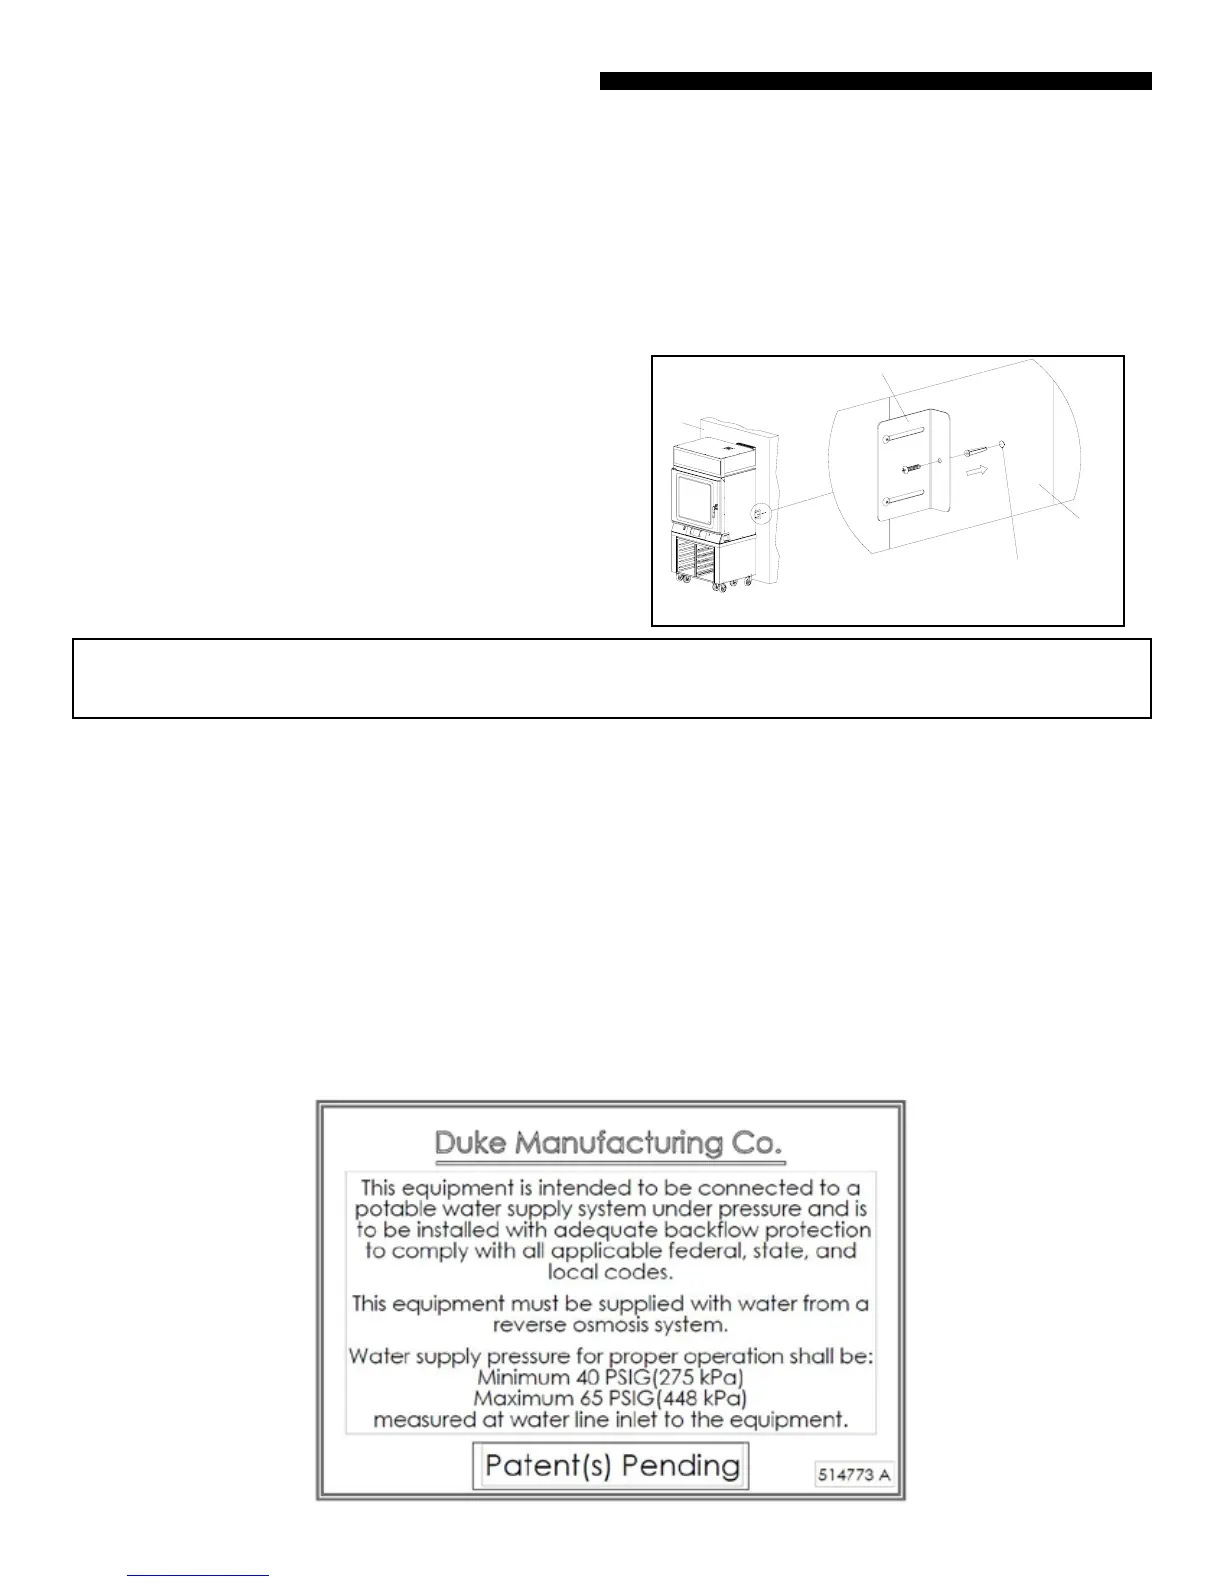
STEP 4 Insert the wall anchors into the holes.
STEP 5 Position the Wall Mounting Brackets against the wall.
STEP 6 Insert the screws into the Wall Mounting Bracket.
STEP 7 Ensure that the Brackets are rmly against the wall and
tighten the screws securely.
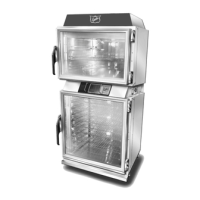
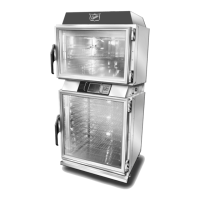
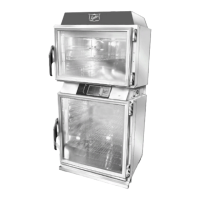
TECHNICAL DESCRIPTION AND APPLICATION NOTES FOR DUKE FLEXBAKE 5
TM
PROOF AND BAKE OVEN BACKFLOW PREVENTER SYSTEM
Check with your local authority having jurisdiction regarding approvals for connecting the Duke Flexbake 5
TM
Proof
and Bake Oven to a potable water supply before making any plumbing connections. Plumbing code requirements
vary, but European Union (CE) and other jurisdictions require a backow prevention device that is factory-installed
or available as a kit (P/N 600187). The backow prevention device used on Duke Flexbake 5
TM
Proof and Bake Oven
protects water supply systems by preventing the reverse ow of non-potable water into the potable domestic water
system. The device consists of two independently acting check valves, internally force-loaded to a normally closed
position and designed/constructed to operate under intermittent or continuous pressure conditions. The two main
components of the Duke backow preventer system are:
• Dual Check Valve type backow preventer that conforms to ANSI/ASSE standard #1024 and is CSA standard B64.6
certied.
• Inlet water strainer equipped with 100-mesh screen and installed up stream of the backow preventer. The
screen is conveniently located below the backow preventer, for easy access during cleaning/replacement.
INSTALLATION OF WALLBRACKETS
NOTE: Verify interconnections and function prior to installing optional wall
brackets
STEP 1 Mount the Wall Mounting Brackets with screws
provided with the Proof and Bake Oven.
STEP 2 Extend the Wall Mounting Bracket towards the wall
by sliding it through the slot provided but do not tighten the
screws.
STEP 3 Mark the Wall and Drill holes for the wall anchors.