21
Owner’s Manual for Duke Flexbake 5
TM
Proof and Bake Oven with WiFi Connectivity
DOOR ADJUSTMENT & GASKET MAINTENANCE -cont.
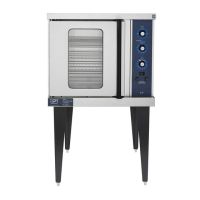
Step 7. Remove the 2 screws securing the door latch plastic
housing cover. Remove the 1 screw securing the tab for
supporting the plastic housing cover. Remove the 3 screws
securing the door latch handle assembly to the door. Rotate
the handle 180 degrees and reassemble. Move the tab to the
opposite side and reattach. Reassemble the plastic housing
cover. (FIG 5 and 6)
FIG 5
FIG 6
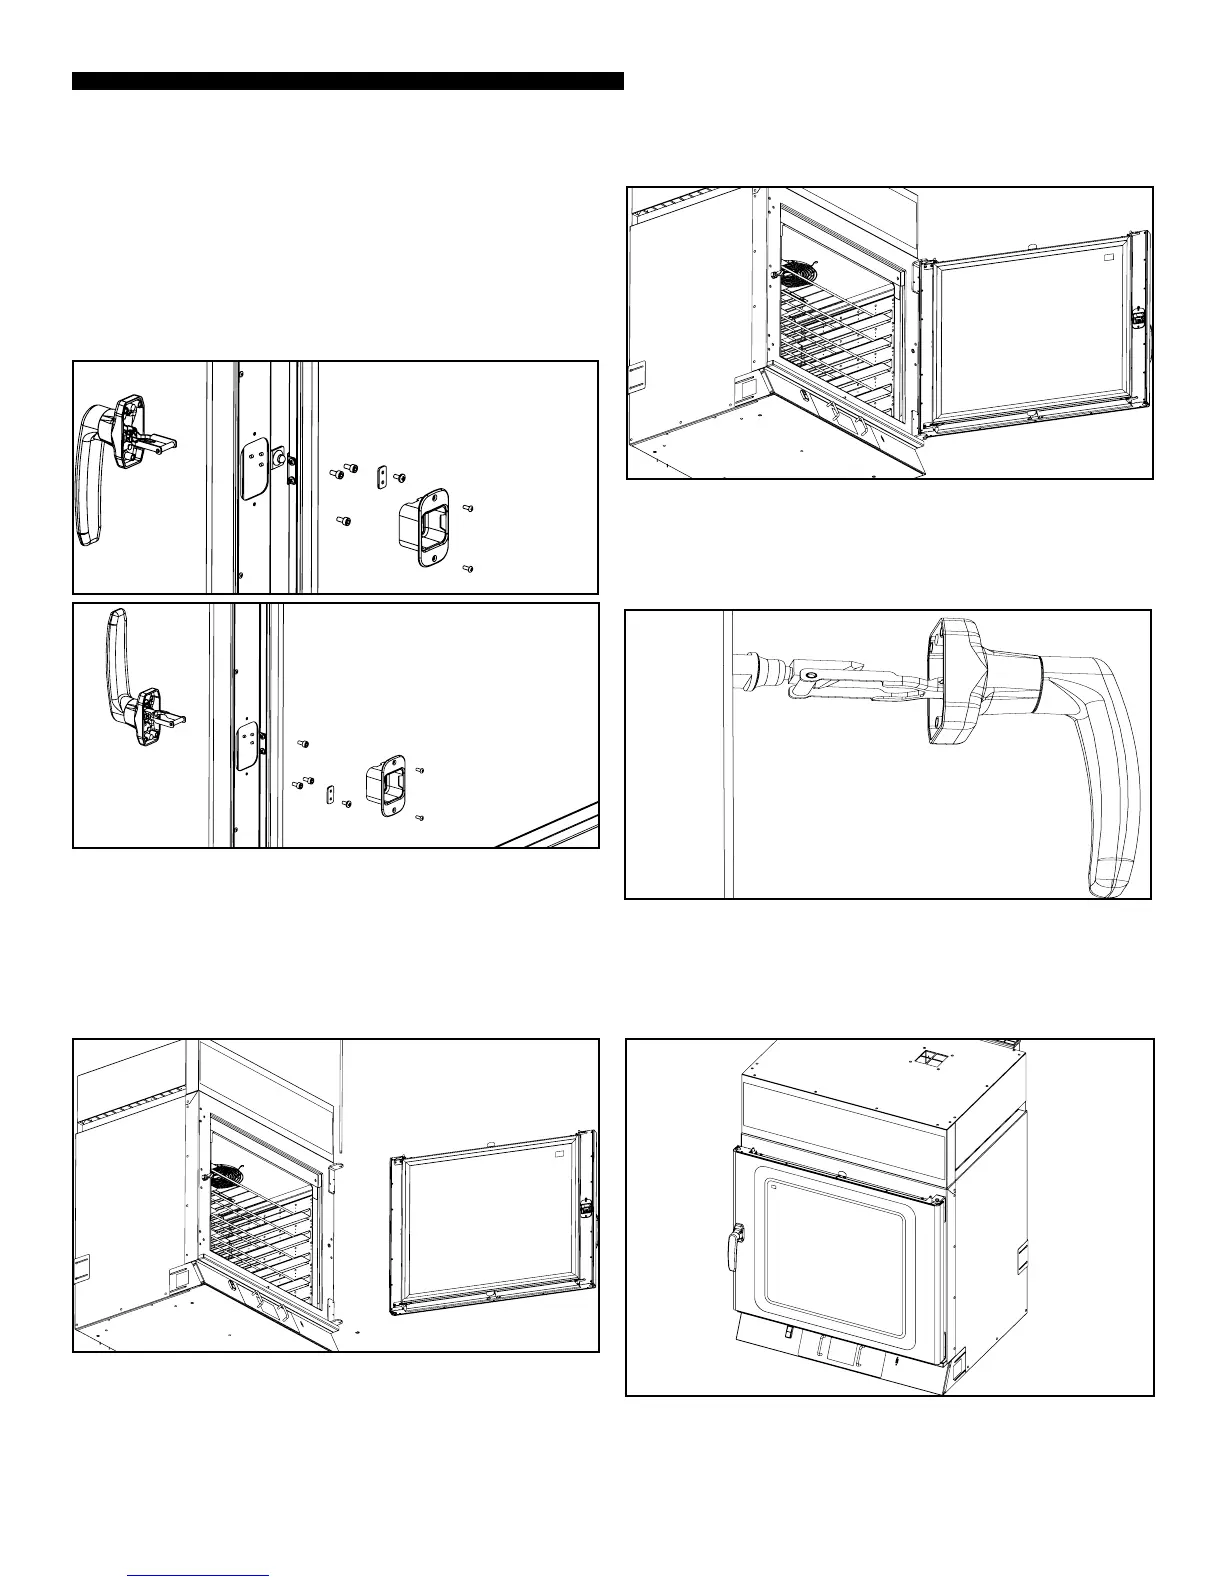
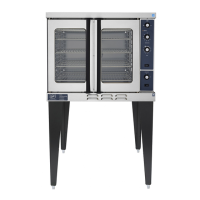
Step 8. Using an assistant, hold the door in place and reattach
door to hinges with the hinge pin. NOTE: Make sure the
upper and lower bushings are properly in place. Reinstall the
lower hinge pin retaining ring. (FIG 7 and 8)
FIG 7
FIG 8
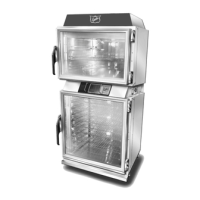
Step 9. Still using an assistant, make sure the door is level
with the oven body and that the door latch roller is in contact
with the strike upper catch surface (FIG 9) then tighten the
hinge screws permanently. (FIG 10).
FIG 9
Step 10. Refer to the DOOR GASKET LEAK TEST section of this
manual to verify the proper seal of the door gasket.
FIG 10