Page | 50
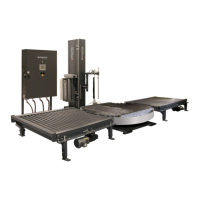
PHOTOEYE ADJUSTMENT (DIFFUSE)
1. Standard direction of the material being scanned
2. Optical axis sender
3. Optical axis receiver
4. Mounting hole Ø 5.2mm
5. LED indicator green: power on
6. LED indicator yellow: status of received light beam
7. Adjustment of scanning distance: double teach button
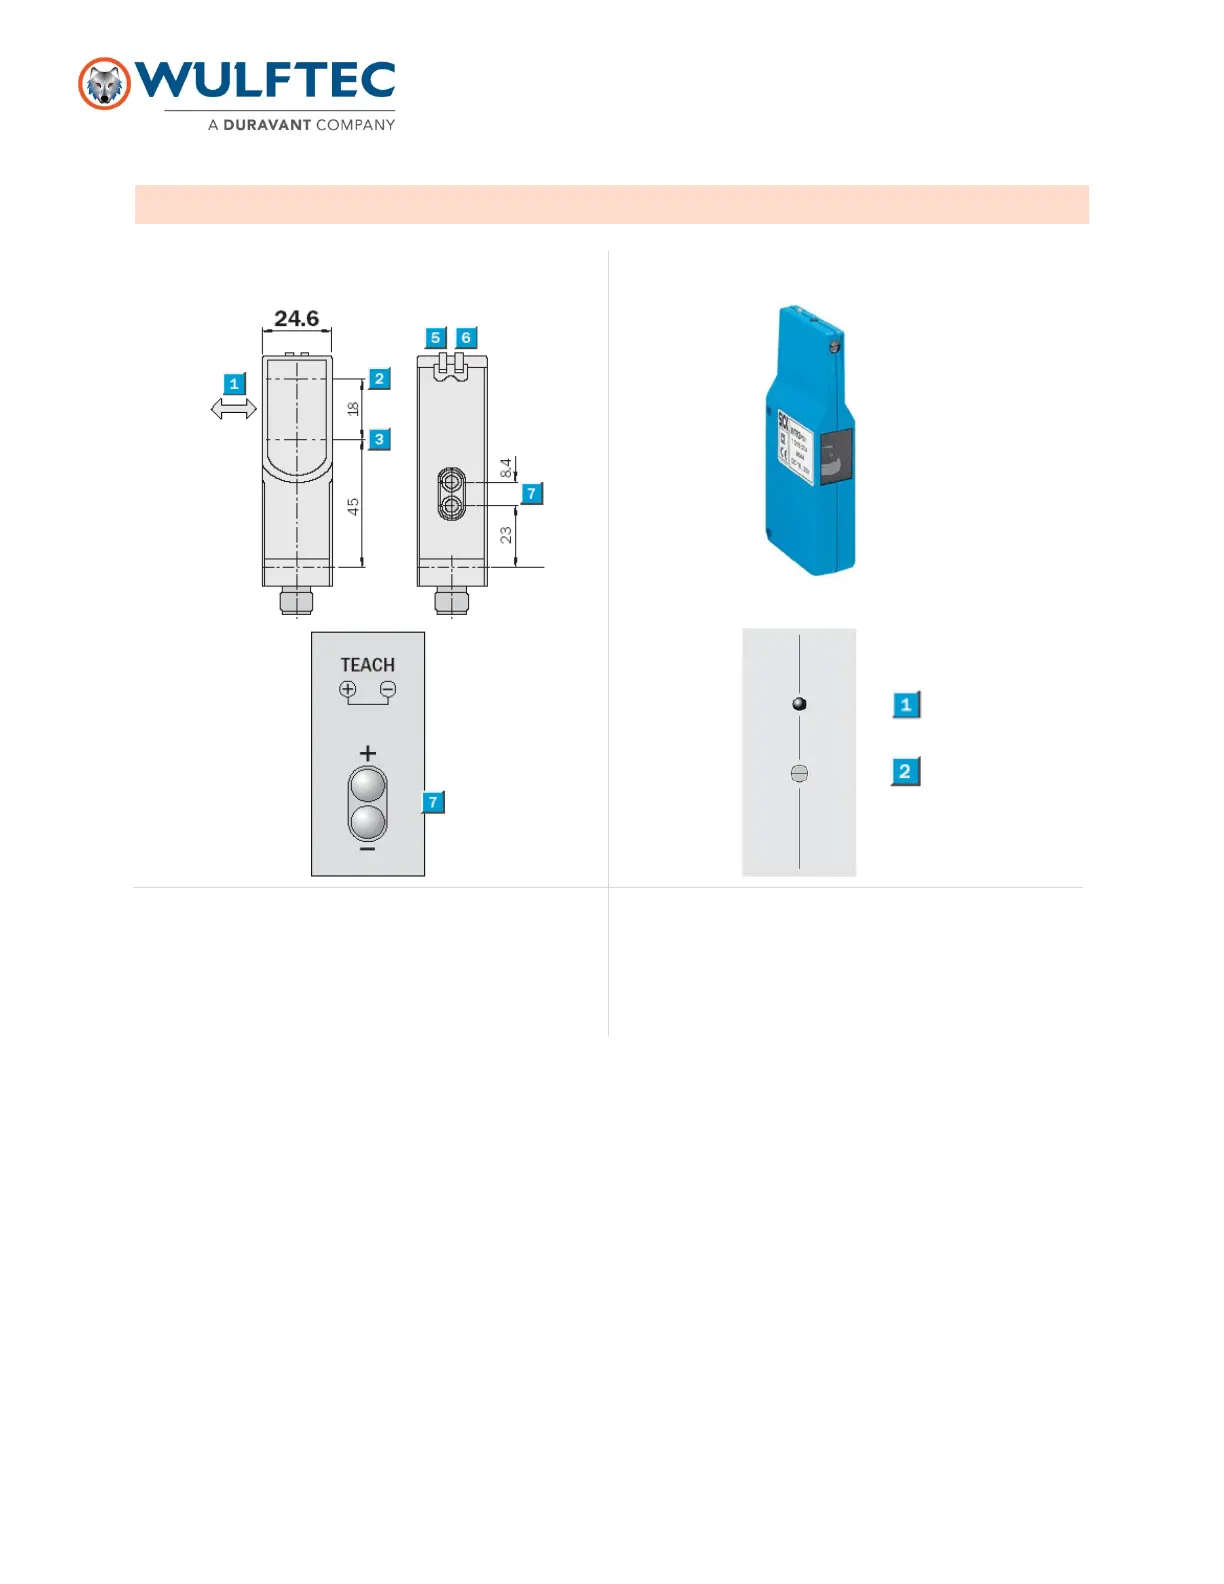
1. LED signal strength indicator
2. Sensing range adjustment
Diffuse Photoeye (standard and conveyor)
LED Indicators: Each sensor features two LED indicators to help you program and use the sensor.
Green: The green LED indicates “power”. When this indicator is lit, power is on.
Amber (Yellow): The amber or yellow LED indicates “status.” This indicator will light up when an output signal is
activated.
Sensitivity adjustment on std diffuse PE: To adjust sensitivity, place a load at the middle of the turn table or at the
center of the axis of rotation then press & hold both button (+) & (-) until the led flashes. If you want to fine tune the
sensitivity you can press (+) OR (-) until you read the load at the desired distance.
Adjustments on conveyor diffuse PE: To adjust, place a cardboard box about ¾ of the conveyor (on the side
farthest from the PE. Adjust sensitivity from there.