EasyManuals Logo

Dymo LabelWriter 400 User Manual

Dymo LabelWriter 400
8 pages
To Next Page IconTo Next Page
To Previous Page IconTo Previous Page
Page #2 background imageLoading...
Page #2 background image
2
Quick Start
Follow these steps to install the LabelWriter printer and print your first label.
1. Unpacking your LabelWriter Printer
NOTE
For Windows, do not plug the printer into your computer until asked to do so
during the software installation.
1 Unpack your printer and save the packing materials.
2 Make sure you have all the items shown in Figure 1.
Your LabelWriter printer is a direct thermal printer and does not use toner, ink
cartridges, or a ribbon. Instead, it uses heat from a thermal print head to print on
specially treated labels. Labels are the only supplies you will ever need to buy.
Figure 1
Power adapter
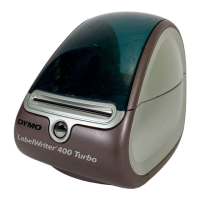
LabelWriter printer
CD-ROM
Roll of labels
Power cable
Quick Start Guide
USB cable

Other manuals for Dymo LabelWriter 400

Questions and Answers:

Question and Answer IconNeed help?

Do you have a question about the Dymo LabelWriter 400 and is the answer not in the manual?

Dymo LabelWriter 400 Specifications

General IconGeneral
PC connectedYes
Standard interfacesUSB
Tape size60 mm
CompatibilityPC & Mac
Product colorBlue, Silver
Built-in barcodesCode 39, ITF-14
Package depth593 mm
Package width255 mm
Package height238 mm
Weight and Dimensions IconWeight and Dimensions
Depth240 mm
Width149 mm
Height222 mm
Weight1540 g

Related product manuals