7
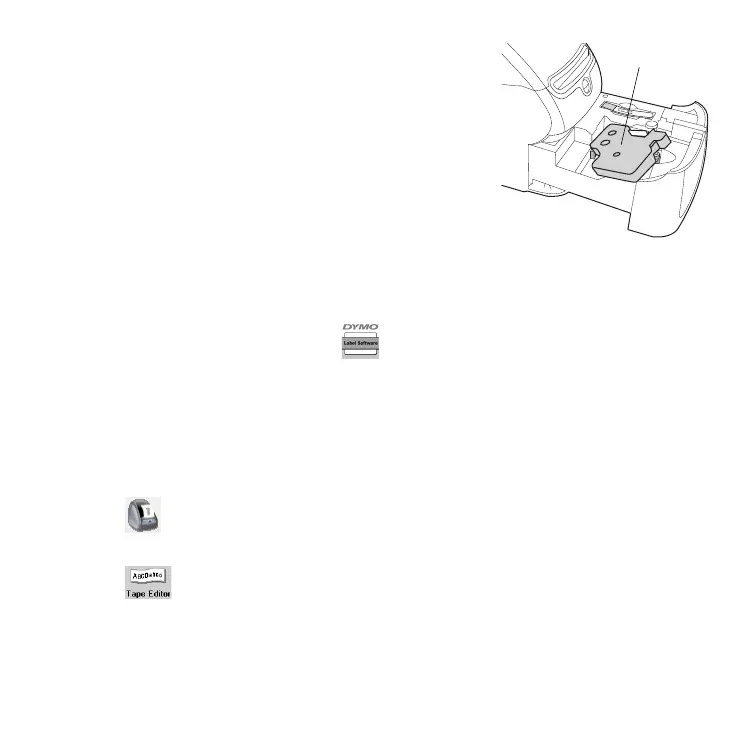
3 Insert the cassette and press firmly until it clicks
into place. Make sure label and ribbon are
positioned correctly. See Figure 12.
4 Press the button to close the label cassette tray.
You are now ready to print your first label.
5. Printing your First Label
To print an address label
1 Start DYMO Label Software by doing one of the following:
• For Windows, click Start, then Programs>DYMO Label>DYMO Label.
• For Macintosh, double-click in the DYMO Label folder.
The first time you open the application, you are asked to register the
software. Registering the software ensures that you will be informed of any
software updates. You are also asked to enter your default return address.
2 At the main window, click once on the address label and type an address.
3 Select a font setting that you like from the Formatting toolbar.
4 Click to print the label.
To print a D1 plastic label
1 Click to display the Tape Editor.
2 Make sure that the Tape Width selection matches the size of the tape
cassette loaded in the tape tray.
3 Type some text on the label.
Push down gently
Figure 12

 Loading...