Adjusting Set Point Values
You will need a 0–1 mA meter for this procedure. If a meter was supplied with
the speed switch, you can use it. Otherwise, you can use a DPM-105 meter, or
any 0-1mA ammeter.
The external meter should be calibrated : “0–1 mA = 0 to full-scale input
frequency” of the SST-2000A/H.
See the specification sheet or serial number label that accompanied the unit for
the full-scale frequency value.
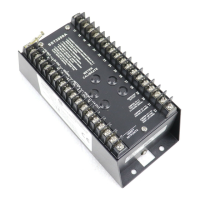
1 Observe polarity. Connect an external 0-1 mA meter to terminals
7 (–) & 8 (+).
2 Depending on the set point to be adjusted, connect a temporary
jumper from :
t
Terminal 16 to 12 (for Set point 1) or
t
Terminal 16 to 13 (for Set point 2) or
t
Terminal 16 to 14 (for Set point 3) or
t
Terminal 16 to 15 (for Set point 4)
3 The 0–1 mA meter will now indicate the current value for the chosen
set point (see Fig. 4-14, page 31).
4 If necessary, first adjust the selected set point using procedures
outlined in Adjusting Individual set points, page 28.
5 Remove the temporary jumper.
6 The output from terminals 7 & 8 will again provided the standard
0–1 mA proportional output.
7 Repeat steps 1–5 for additional set points.
32
Chapter 4
You can adjust set points while the engine or other
device is operating. However, if you adjust a set point
relay to a value lower than the current operating
speed, the relay will trip.
WARNING