Installation, Operation and Service Manual LKAT
2
Portable
© 2018 DynAmp, LLC Page 16
047312 A
tape on the mounting angle surface on the outside of the bus bar. Do not over tighten
bus mounting screws.
Front View Side View
Figure 4.1
Installation Configuration with Mounting Angles
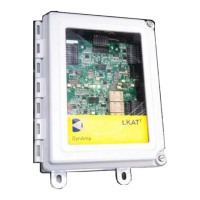
4.5 METERING UNIT
The location of the Metering Unit should be determined by the following factors:
1. Ambient air temperature must stay in the specified range at all times.
2. The location should not be exposed to direct sunlight.
3. The location should be within reach of the head cables supplied with the system.
Standard head cable length is 33 feet (10 meters). Extra-long head cables may also be
ordered for special applications.
4. Connect the two connectors from the ITC cable to the Metering Unit.
5. A 3-conductor power cable is supplied with the system. Connect power cable to the
Metering Unit.
4.6 SYSTEM CHECKOUT
Recheck all wiring connections against the drawings to ensure proper installation. Energize
the LKAT2 System. Confirm that the green status LEDs are illuminated. If accuracy
diagnostic LED lights red, skip to “Troubleshooting an Accuracy Diagnostics Fault
Indication” in the “Theory of Operation” section of this manual
Energize the rectifier to the desired test current. Calculate the expected Metering Unit
output signal magnitude at the test current.
The measured Metering Unit output signal magnitude should be equal to (or very close to)
the expected value that was calculated.
If the Digital Display option is included in the Metering Unit, the displayed kA level should
also be equal to (or very close to) the expected value that was calculated.
Refer to “Specifications” section of this manual for more information.
 Loading...