14
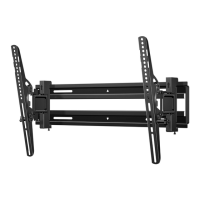
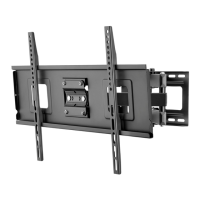
Large Extended Tilt Mount
www.dynexproducts.com
STEP 5 - Option 3: Install on a steel stud wall
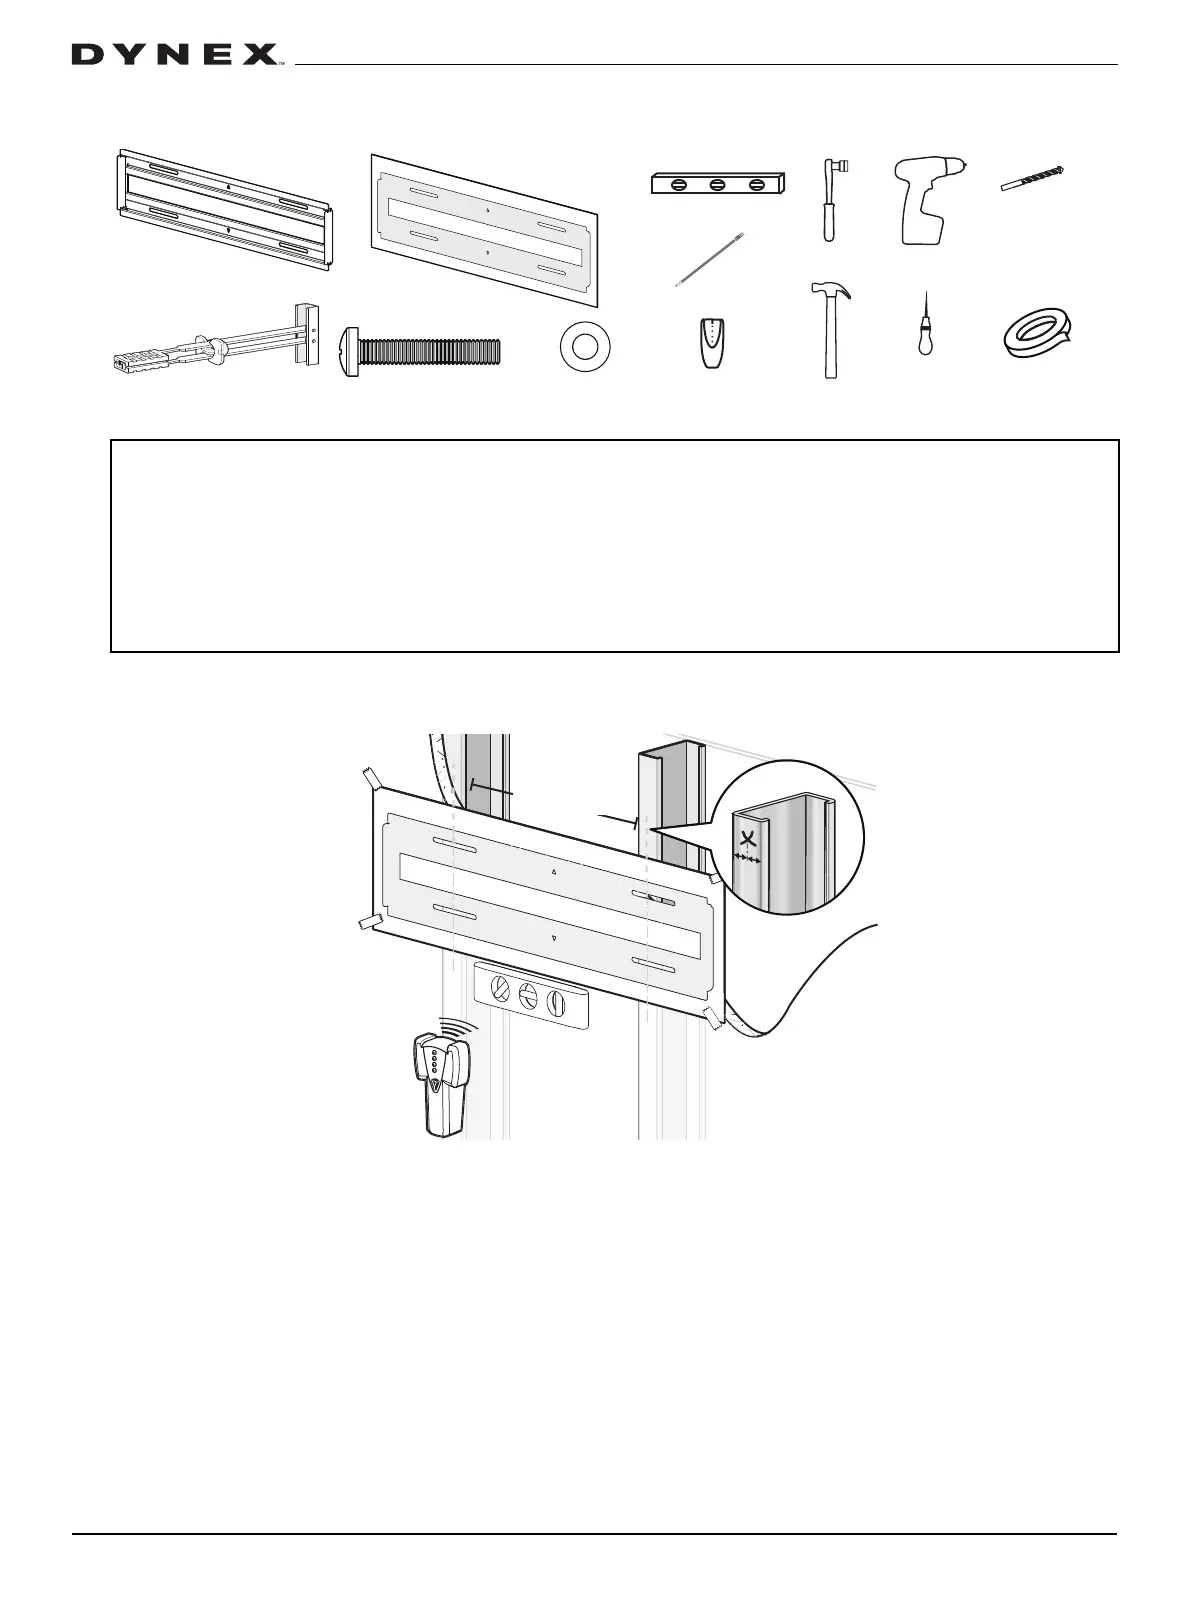
You’ll need (Note: Steel stud installation kit not included)
1 Align the center of the wall plate template at the height (a + b) you determined in the previous step, make sure that it is
level, then tape it to the wall.
CAUTIONS:
• Studs must be at least 2 x 4 in./25 gauge.
• If the back side of the wall is unfinished, drywall must be installed to a minimum of one stud left and right of the stud(s) being used
to install the TV mount.
• Drywall must be a minimum of 1/2 in. (13 mm) thick on each side of the studs, and a minimum clearance of 1 in. (48 mm) behind the
wall is required.
• Pilot holes MUST be drilled to a depth of 1 in. (26 mm), using a 1/2 in. (13 mm.) diameter drill bit.
• Steel stud anchors must be centered on the studs.
• Stud type and structural strength must conform to the North American Specification for the Design of Cold-Formed Steel Structural
Members [362 S 125 18, C-Shape, S - Stud Section].
• Drywall must be secured to studs with screws 12 in. (304.8 mm) on center.
1/2 in.
masonry drill
bit
Hammer
Socket wrench
Drill
Edge-to edge
stud finder
Tape
1/4-20 x 1-3/4 in screw (4)
Level
Pencil
Wall plate template
1/4 in. washer (4)
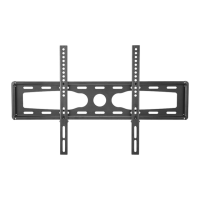
Wall plate
Awl
1/4-20 Snap Toggle BB (4)