EasyManuals Logo

Dynojet Power Commander III Installation Instructions

Dynojet Power Commander III
5 pages
To Previous Page IconTo Previous Page
Page #5 background imageLoading...
Page #5 background image
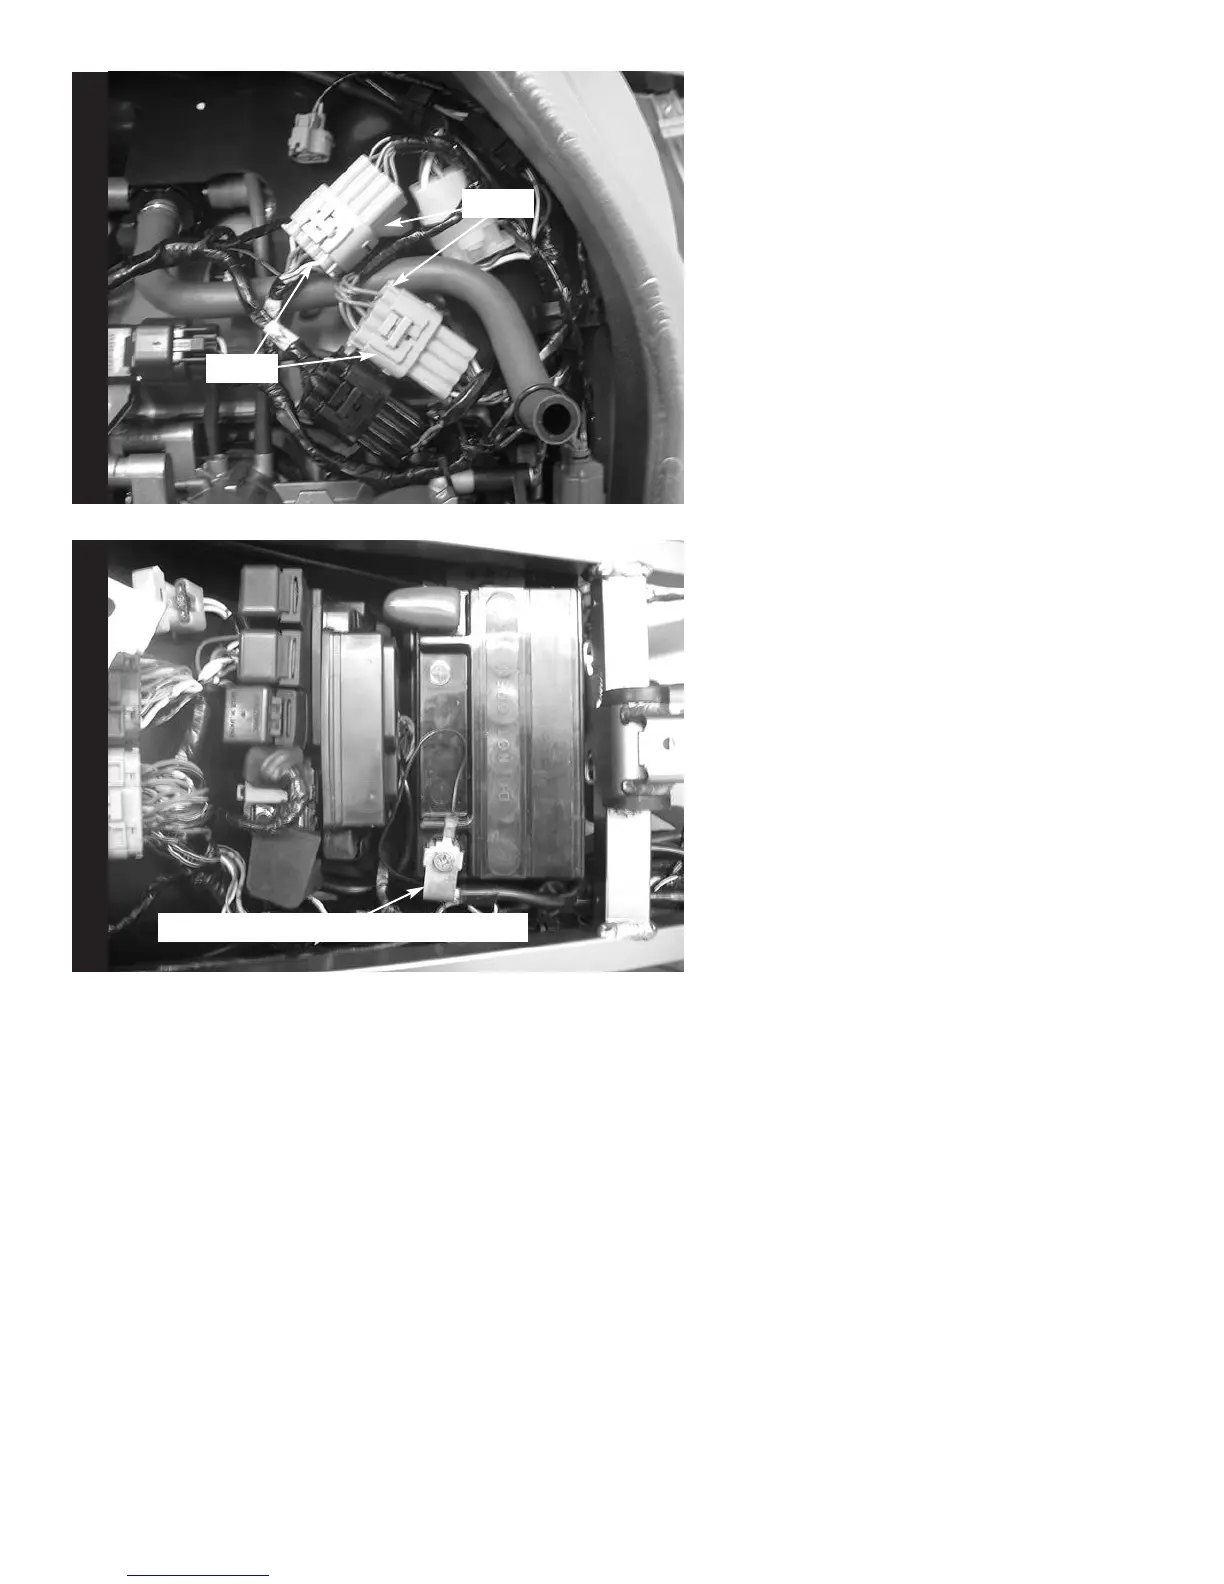
11. Plug the other connectors
from the PCIII in-line of
the stock TPS connectors
(Fig. J).
12. Connect the ground wire
from the PCIII to the
negative side of the battery
(Fig. K).
13. Make sure all connections
are secure and that the
wiring harness will not get
pinched or chaffed.
14. Reinstall the air box.
15. Reinstall the tail section.
16. Bolt the fuel tank down into
position.
Fig. JFig. K
2004 Kawasaki ZX6RR - PCIII USB - 5i213-411 www.powercommander.com
Stock
PCIII
Connect PCIII Groundwire to Negative

Other manuals for Dynojet Power Commander III

Questions and Answers:

Question and Answer IconNeed help?

Do you have a question about the Dynojet Power Commander III and is the answer not in the manual?

Dynojet Power Commander III Specifications

General IconGeneral
BrandDynojet
ModelPower Commander III
CategoryMotorcycle Accessories
LanguageEnglish

Related product manuals