Assembly and Operation Instructions
2600A-Plus_MAR2024 PAGE 2
HELPFUL HINTS
Read the directions before assembly.
If your spreader does not spread evenly, be sure “FRONT” on the GEARBOX points to the front of the spreader. The
impeller must turn clockwise when pushing forward. Reversing the GEARBOX during assembly will cause issues.
Your spreader is calibrated for three miles per hour, which is a brisk walking speed. Slower or faster speeds will
change the spread pattern. Wet fertilizer will also change the spread pattern and flow rate. Do not use powdered
materials as it will damage the gearbox.
Gears are permanently lubricated at the factory. Do not open the GEARBOX or dirt may enter.
ASSEMBLY INSTRUCTIONS
STEP 1: Remove and identify all loose parts from carton
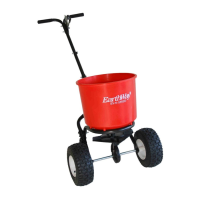
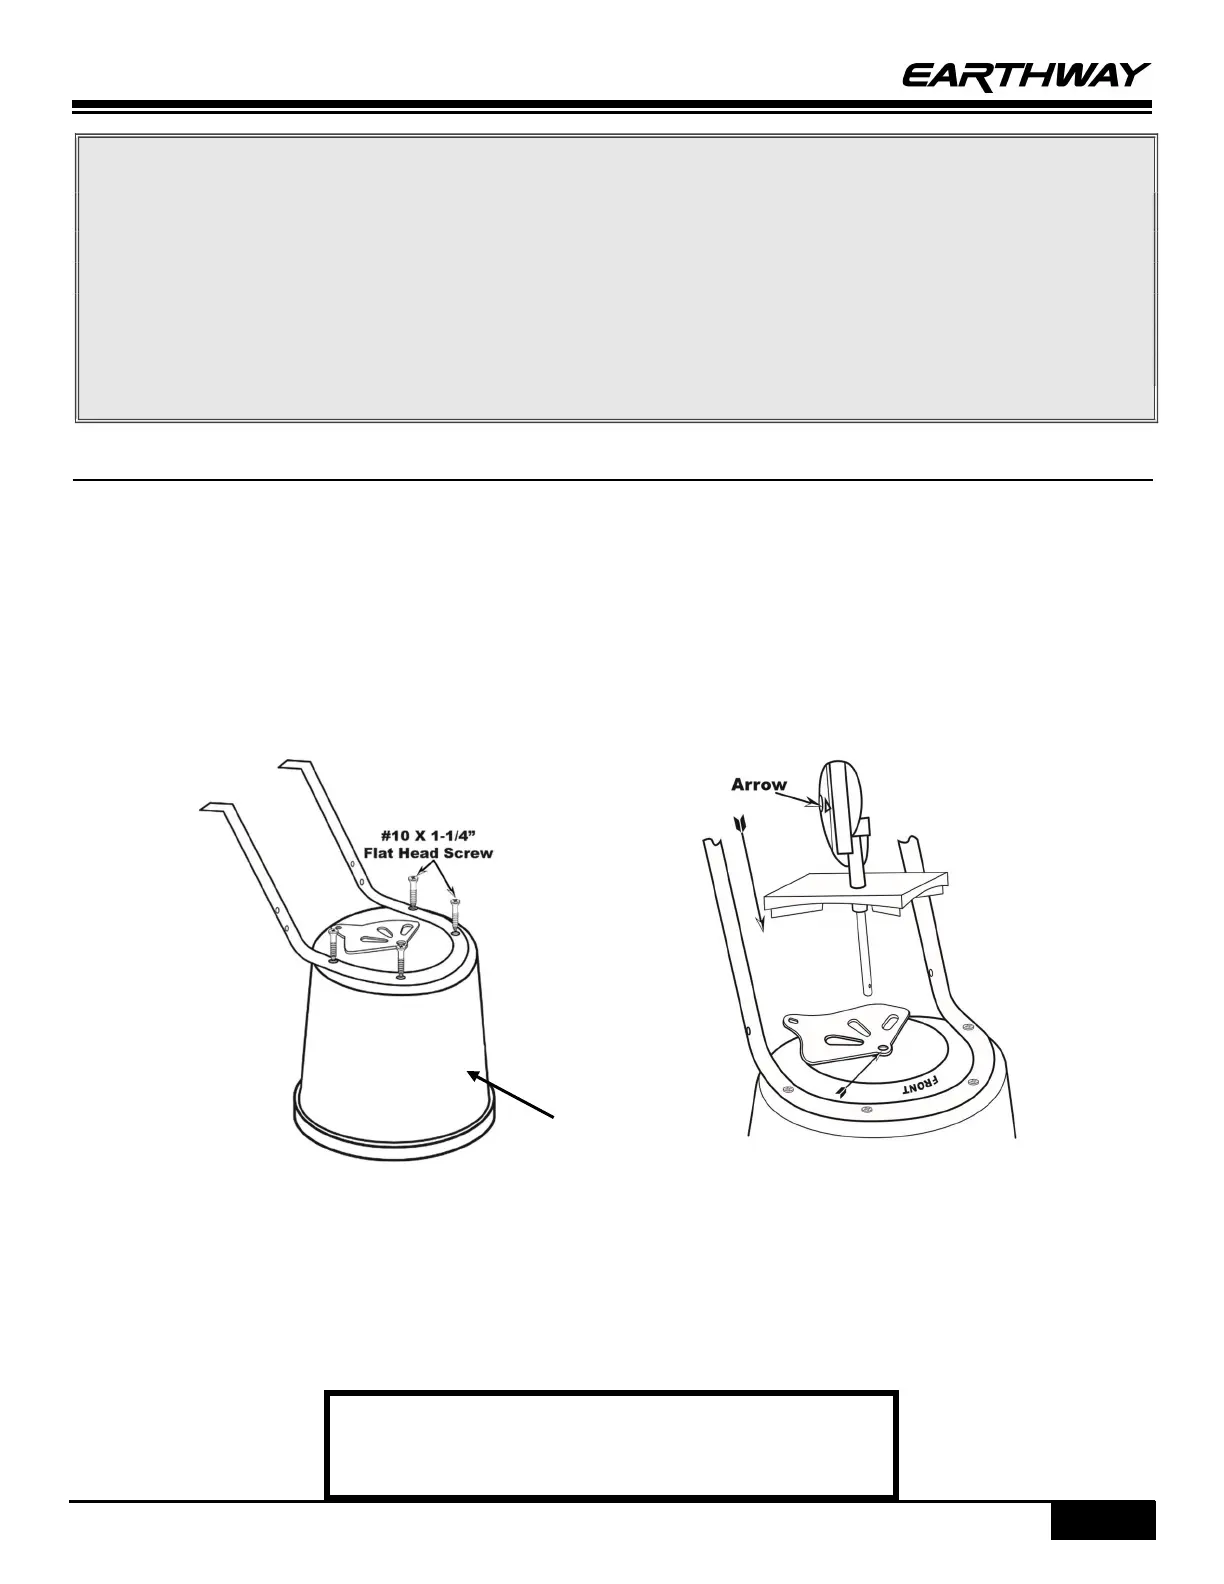
STEP 2: Position hopper as shown in Image 1. Install Frame using (4) #10 x 1 ¼” Flat Head Phillips screws.
TIGHTEN THESE NOW
STEP 3: Install Gearbox by inserting the Pinion Shaft into hole in center of Hopper’s bottom (see Image 2). The ARROW
on the Gearbox must point to FRONT of the Hopper. Follow label instructions on hopper.
STEP 4: Install Lower Handles (left and right) onto Frame and secure with (2) ¼-20 X 2 ¼ inch bolts through hole in
Frame Braces and through the hole in the Frame. Secure with (2) ¼”-20 nylon lock nuts on the ends. DO NOT TIGHTEN
DOWN ALL THE WAY.
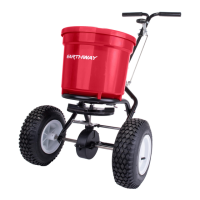
STEP 5: Slide the Axle (coast wheel side first) through the right side Lower Handle and into the Gear Box (with the
arrow facing the FRONT). You will need to rotate the Axle to engage with the Gear Box, then slide it through the left side
Lower Handle as shown in Image 3.
Remove agitator when using Rock Salt to prevent gearbox
damage
(Logo)