3
Instruction Leaet IL01301010E
effective January 2013
Installation and Removal Instructions
for Series NRX Spring Release, Latch
Check Switch and Motor Operator
EATON CORPORATION www.eaton.com
Section 2: Installation of spring release
Proceed with the following eight steps:
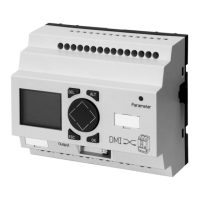
Step 1: Remove the four screws holding the front cover in place (two
on each side of the cover).
Figure 3. Step 1
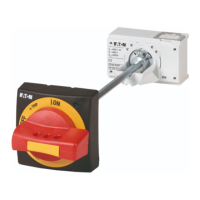
Step 2: Remove the front cover. Pull down on the charging handle to
simplify removal.
Figure 4. Step 2
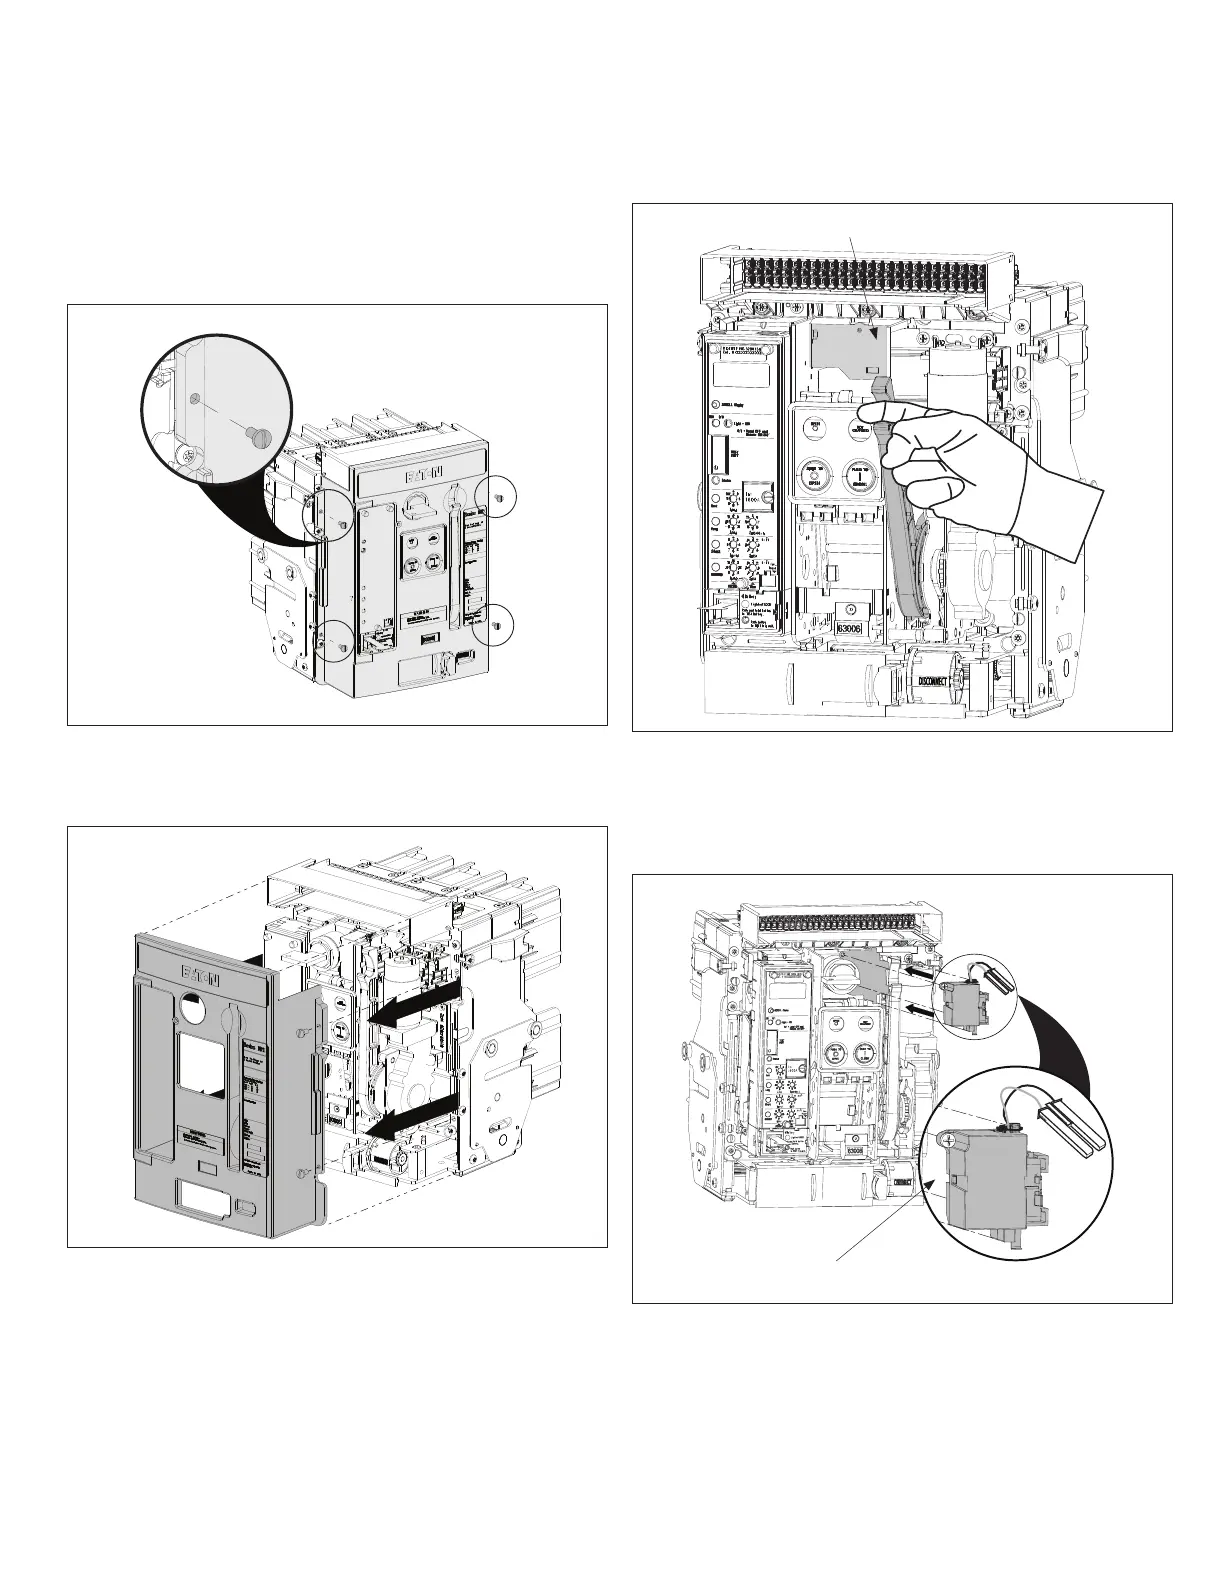
Step 3: To gain access to the mounting location, pull the charging
handle down as shown in Figure 5.
Figure 5.
SR Mounting Location
Step 3
Step 4: Position the spring release as shown to begin the installation
process (Figure 6).
Note: The spring release is secured in its mounted position with one captive
retaining screw.
Figure 6.
Captive Mounting Screw
Step 4

 Loading...