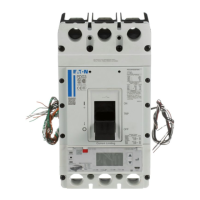
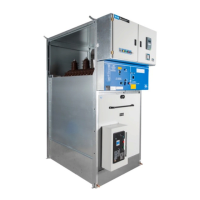
Eaton PDI WaveStar TFA Static Transfer Switch Installation and Operation Manual P-164001113—Rev 01 23
MMoouunnttiinngg wwiitthh ssiiddee aanndd rreeaarr bbrraacckkeettss
In constrained spaces, the Installer may not be able to reach the rear mounting holes of the side floor brackets.
1. Determine the position of the TFA floor stand and TFA STS precisely, including clearances.
2. Create floor cutouts for the floor stand.
3. Using corner all-thread screws, adjust height of floor stand to match raised floor.
4. Attach rear brackets to floor stand (see Figure 9 and Figure 11) using recommended hardware stack in
Figure 9.
5. Place floor stand in floor cutout location. Attach the floor stand corner mounting plates to the floor using (4)
screws or bolts for each corner plate. Installer chooses attachment hardware.
6. Place the TFA STS so that the TFA STS side bracket holes are over the floor stand holes. Use a forklift or
palette jack rated for the unit’s weight. Insert forks from the front of the unit. Do not tilt the unit more than
10°.
7. Using the front bracket holes, attach the left and right floor brackets to the floor stand using recommended
hardware stack in Figure 10.
8. The unit has pre-drilled holes for attaching the rear brackets. Place the TFA STS so that the holes are over
the rear brackets.
9. Attach the frame of the TFA STS to the rear floor brackets using the recommended hardware stack in
Figure 9. You will have to reach through the cable entry/exit section to secure the brackets to the STS.
NOTE See also Figure 24, “Floor Stand Attachment Hardware.”
Installation TFA STS 250-600A Models
 Loading...