4
Quick Start Guide IL02601011E
Effective October 2009
Power Xpert® Meter 2000 Gateway Card Kit
EATON CORPORATION www.eaton.com
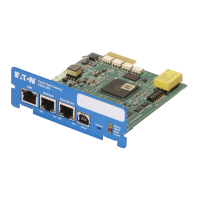
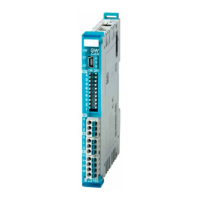
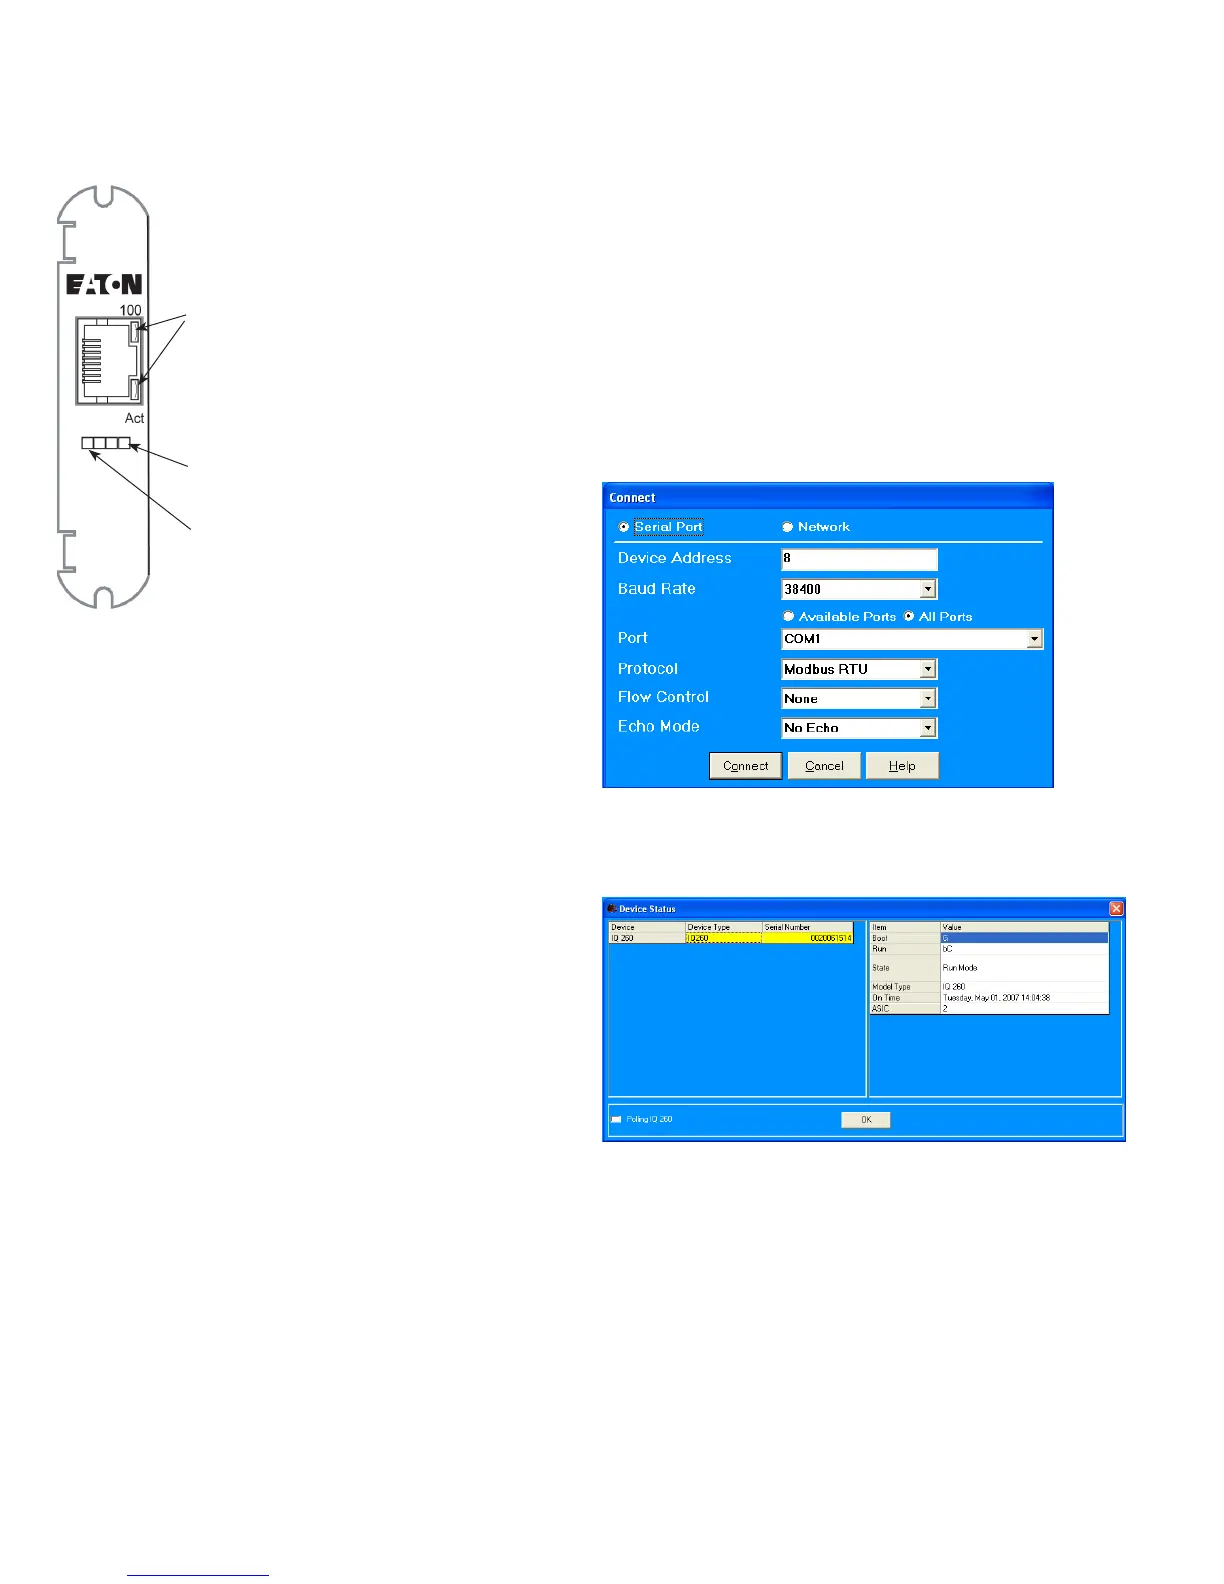
Location of LEDsFigure 8.
Check Meter Firmware
If the meter firmware is lower than version 14, you must upgrade
the firmware. You can check the firmware version of a powered
meter from the front panel.
Press 1. m e n u .
Press the down button until 2. Info is flashing (line A).
Press 3. e n t e r .
An initial three-line display of values appears. After a few sec-4.
onds, a second set of values appears. The firmware version number
is in the middle line.
If the meter firmware version is 14 or greater, you do not need 5.
to upgrade the firmware and can proceed to Configure the Gateway
Card on page 5.
If you must upgrade the firmware, continue on with this proce-6.
dure.
Press 7. m e n u .
Press the down button until 8. CfG is flashing (line A).
Press 9. e n t e r .
Press the down button until 10. POrt is flashing (line A).
Press 11. e n t e r .
The 12. Adr (address) screen appears. Record the address:
Address___________ 13.
Press 14. e n t e r . The bAUD screen appears. Record the baud rate:
Baud rate:_________15.
Press 16. m e n u twice.
Connect to the Meter for Firmware Upgrade
This procedure requires an RS-232 to RS-485 serial adapter, as you
must connect to the meter through the RS-485 port.
Place the CD that accompanied your upgrade kit into the PC’s 1.
CD/DVD drive.
Install the Eaton Meter Configuration Software (double-2.
click EatonMCSSetup.exe in the root folder of the Eaton Meter
Configuration Software CD).
After installation, launch the Configuration Software.3.
Click the 4. Connect icon on the title bar or Connection > Quick
Connect.
Make sure the 5. Serial Port radio button is selected.
Enter the 6. Device Address you previously recorded.
Select 7. Baud Rate you previously recorded from the pull-down
menu.
Select the port you are using from the pull-down menu. The 8.
Available Ports/All Ports radio buttons determine which port selec-
tions the menu displays.
Select 9. Modbus RTU from the Protocol pull-down menu.
Select 10. Flow Control: None.
Select 11. Echo Mode: No Echo.
Connection screenFigure 9.
Click the 12. Connect button. You will see the Device Status screen.
Device Status ScreenFigure 10.
Upgrade the Firmware
At the Eaton Meter 1. Configuration screen, select Tools > Flash
Me. You will see the following screen.
Status LED
Power LED
Ethernet jack LEDs
 Loading...