6
Quick Start Guide IL02601011E
Effective October 2009
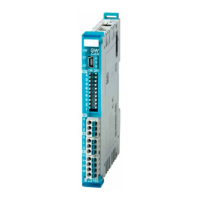
Power Xpert® Meter 2000 Gateway Card Kit
EATON CORPORATION www.eaton.com
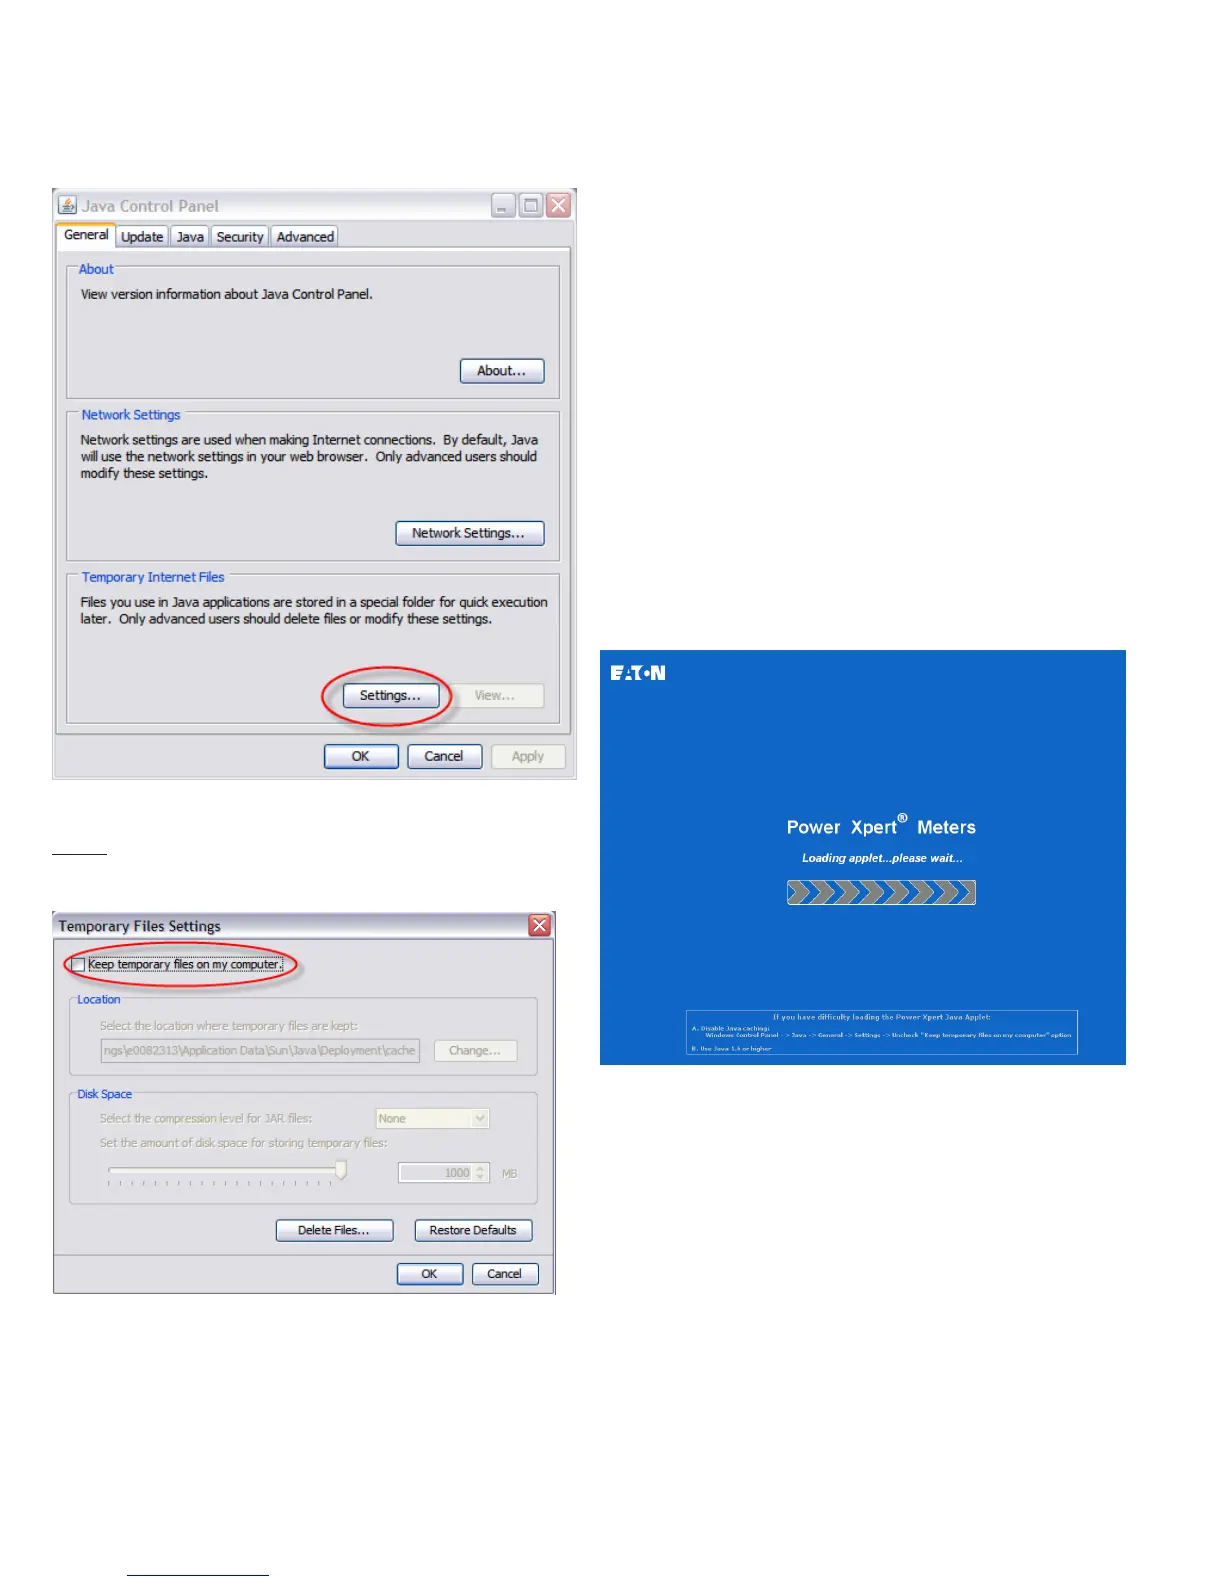
Settings ButtonFigure 12.
Ensure the 3. Keep Temporary Files on My Computer check box is
cleared.
Keep Temporary Files on My Computer check boxFigure 13.
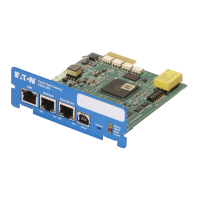
Connect the PC to the Gateway Card through the seven-foot 4.
Ethernet cable shipped with the kit.
There are two green lights (LEDs) located on the Gateway Card’s
Ethernet port. If the Ethernet cable is connected to an active
Ethernet port on the PC both lights should be illuminated (the light
labeled Act may be flickering reflecting network activity).
The card’s default Ethernet IP address is 192.168.1.1. Set the PC’s 5.
address to an address on the same subnet, such as 192.168.1.100.
To do this, use the following steps:
Click Window’s 1. Start.
Choose either 2. Settings > Control Panel (Windows 2000) or
Control Panel (Windows XP).
In the 3. Control Panel, click Network Connections and right-
click Local Area Connection. Select Properties from the shortcut
menu.
Click the 4. Properties button.
In the 5. Properties dialog box, select Internet Protocol (TCP/IP)
and click the Properties button.
In the 6. Internet Protocol (TCP/IP) Properties dialog box, select
Use the following IP address and enter the following in the IP
address field: 192.168.1.100
Click 7. OK throughout the various dialog boxes.
Launch your Java-enabled web browser and navigate to the fol-6.
lowing IP address: 192.168.1.1
If an information screen appears stating the certificate cannot be
verified and asking if you want to run anyway, select run.
Java will load and then the meter’s Home page will appear.
Loading PageFigure 8.
Click the 7. Setup button or the Setup Meter link. The Setup page
will appear.
 Loading...