Page 14 IM02601004E www.eaton.com
2 Quick Start Guide for the Meter Module
2.6. Programming the Meter Module using the Embedded Web Server Interface
NOTE: The set up of the Ethernet ports on the CE card must be done through the local
conguration port of the CM card or with the display. After the CE Ethernet port is con-
gured, the meter can be programmed remotely through the LAN/WAN connection.
1. Connecting a laptop to the meter module using the local Ethernet browser interface
CMI:
A. Install Java (if not already on the PC). To do this, download the latest version
of Java J2SE JRE (Java Runtime Environment) from www.java.sun.com and
install it.
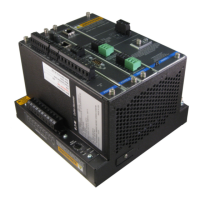
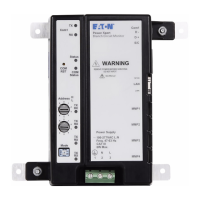
B. Connect the Laptop to the Meter Module via CM1 port (see gure 7 be-
low) using a UTP Cat5 Cross over cable (this is the red cable, part no.
66B2156H02, shipped with the meter). Note that the IP address of the CM1
port is permanently congured to be 192.168.1.1.
C. Set the laptop’s IP address to 192.168.1.100 by completing the following
steps:
• Click Window’s Start. Then click Settings > Control Panel (Windows 2000) or
Control Panel (Windows XP/Vista).
• In Control Panel, click Network and right-click Local PC Area Connection.
Select Properties from the shortcut menu.
• In the Properties dialog, select Internet Protocol (TCP/IP) and click the Proper-
ties button.
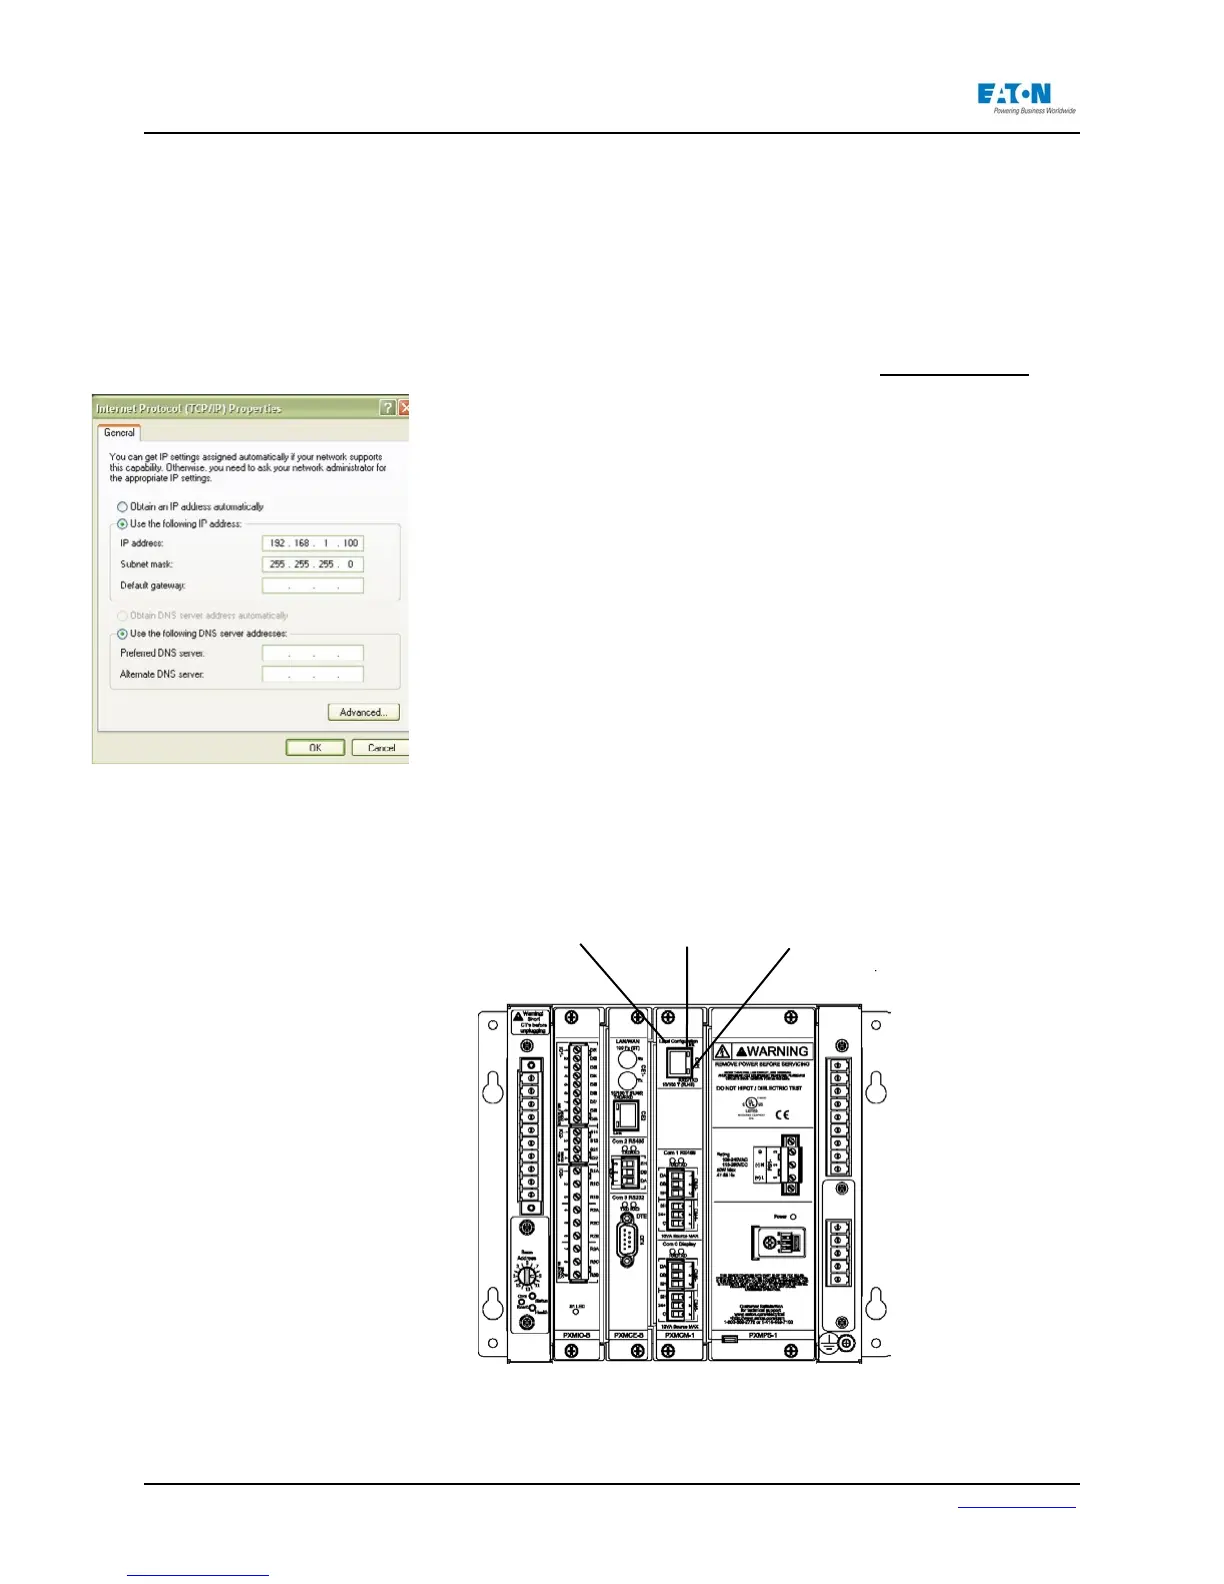
• In the Internet Protocol (TCP/IP) Properties window, select “Use the following
IP address” and then enter the following IP address 192.168.1.100, with a
Subnet Mask set to 255.255.255.0.
• Click OK.
Launch Internet Explorer and then navigate to http://192.168.1.1, then go to
Step 2 in Section 2.6.
NOTE: When connected to a laptop, the Link LED will illuminate and, when communicat-
ing, the TXRX LED will icker.
Figure 7: Connect Laptop to Meter Module
Link LEDCM1
TXRX LED
 Loading...