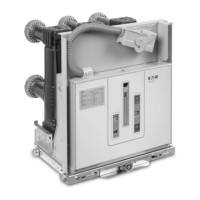
Before placing the circuit breaker in service,
follow the installation procedure given below
carefully. Not following the procedure can lead
to a failure to uncover damage that may have
resulted in faulty breaker operation.
5.1 Initial Inspection and
Operation
Before attempting to put the circuit breaker in service, it
should be examined carefully and operated manually
and electrically three times. It is highly recommended
that Section 3 (Receiving, handling & storage) and
Section 5 (circuit breaker description & operations) are
closely reviewed before proceeding with installation
into switchgear.
Manual Operation Notice:
During operation, excessive force on the close button
can cause damage. Maximum forces on the “CLOSE”
and “OPEN” buttons must not exceed 50 N. Not
following these warnings when pushing the close
button could cause the electromagnetic interlock to
become damaged and jam the mechanism.
5.2 Manual Operation Check
Withdraw the charging handle as shown in Fig. 5-1 &
Fig. 5-2. Charge the closing spring by turning the
handle clockwise, as shown in Fig. 5-3. When the
closing spring is charged, the indicator of the spring
charged state (Fig. 3-4) turns to “charged”.
Return the handle to its original resting place and
press the “close button” (Fig. 5-4). The closing spring
becomes discharged and the breaker closes. Note the
indicator now reads “CLOSE”. Now press the “open”
button (Fig. 5-5). The breaker is now open and the
indicator reads “OPEN”.
After completing this check, leave the closing springs
“discharged” and the breaker contacts “open” until
another check is ready to be performed. Check the
breaker operation three times using this procedure.

 Loading...