ENGLISH
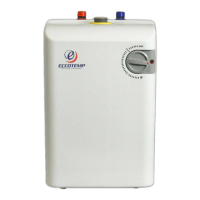
PLEASE NOTE: MINI TANKS ARE FOR INDOOR PERMANENT INSTALLATIONS ONLY. BEFORE POWERING THE WATER HEATER, BE SURE THAT THE SYSTEM IS COMPLETELY FILLED WITH WATER
AND ALL AIR IS REMOVED. THIS MANUAL AND ALL ECCOTEMP CONTENT IS SUBJECT TO CHANGE WITHOUT NOTICE. PLEASE VISIT SUPPORT.ECCOTEMP.COM FOR MORE INFORMATION.
10
Support: Support.Eccotemp.com Shop Online: www.Eccotemp.com Phone: 866-356-1992
Installation Instructions
Water connections should be in close orientation to the install site. Conrm there is
enough allowance for the water intake and outake hoses to reach the water heater.
Note: If your water pipes are copper or bronze be sure to use dielectric
connections to prevent corrosion. Failure to do so may cause damage to your
tank and void your warranty. In order to protect the water heater from heat
damage due to soldering, solder a piece of tubing to a threaded union tting
before screwing the union to the tank.
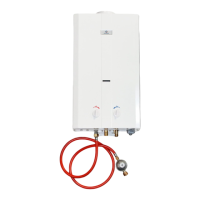
1. Install a shut o valve in line with the cold-water pipe.
2. Connect the cold water pipe to the inlet nipple, marked with a blue ring.
3. Connect the hot water pipe to the outlet nipple, marked with a red ring.
WATER CONNECTIONS
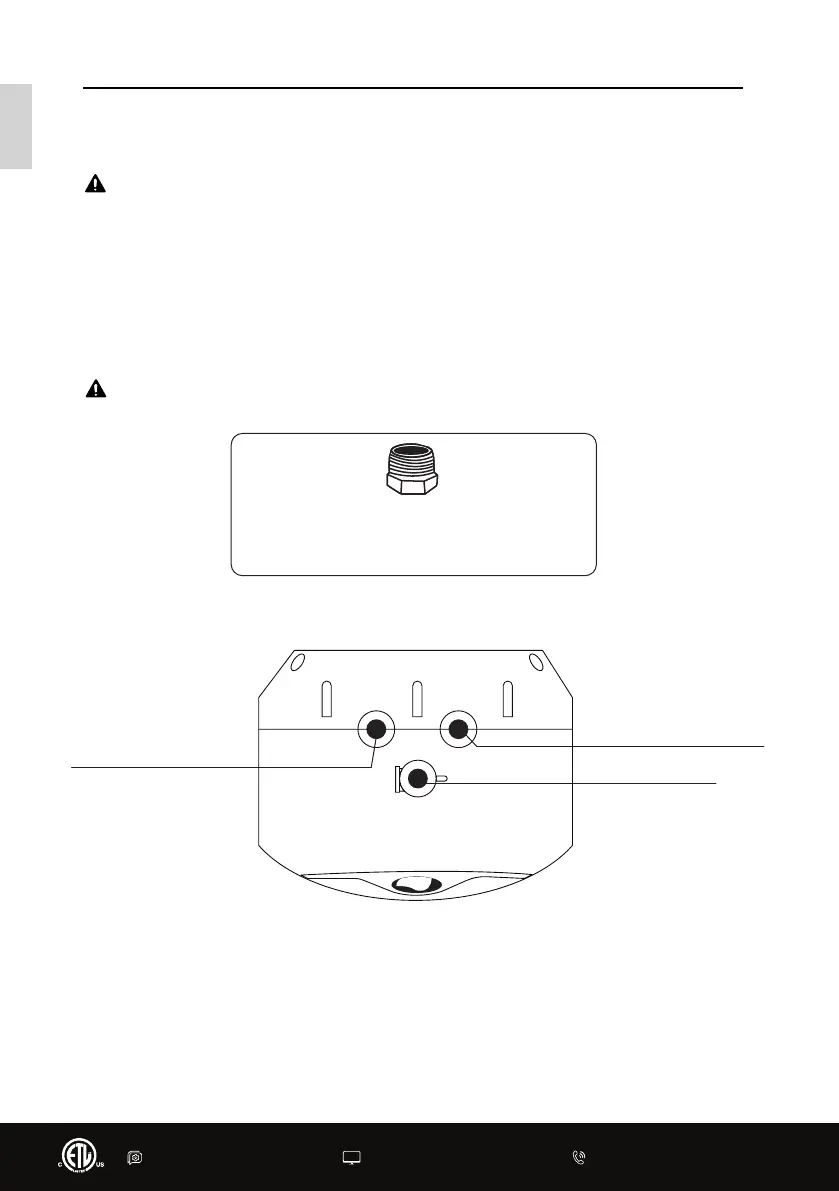
NOTICE: Do not attempt to remove rubber washer.
*Adaptors may be required for
hot & cold water connections.
Sold separately.
IMPORTANT: Failure to provide dielectric insulation may result in premature
tank or nipple failure and may void your warranty. The Temperature & Pressure
Relief valve (T&P valve) is for servicing and the valve should be in the open
position when the water heater is in operation. DO NOT APPLY HEAT DIRECTLY
TO INLET OR OUTLET CONNECTIONS.
View of the Top
Cold Water Connection
Hot Water Connection
Temp & Pressure
Relief Valve
Front
Back
 Loading...