45
EN
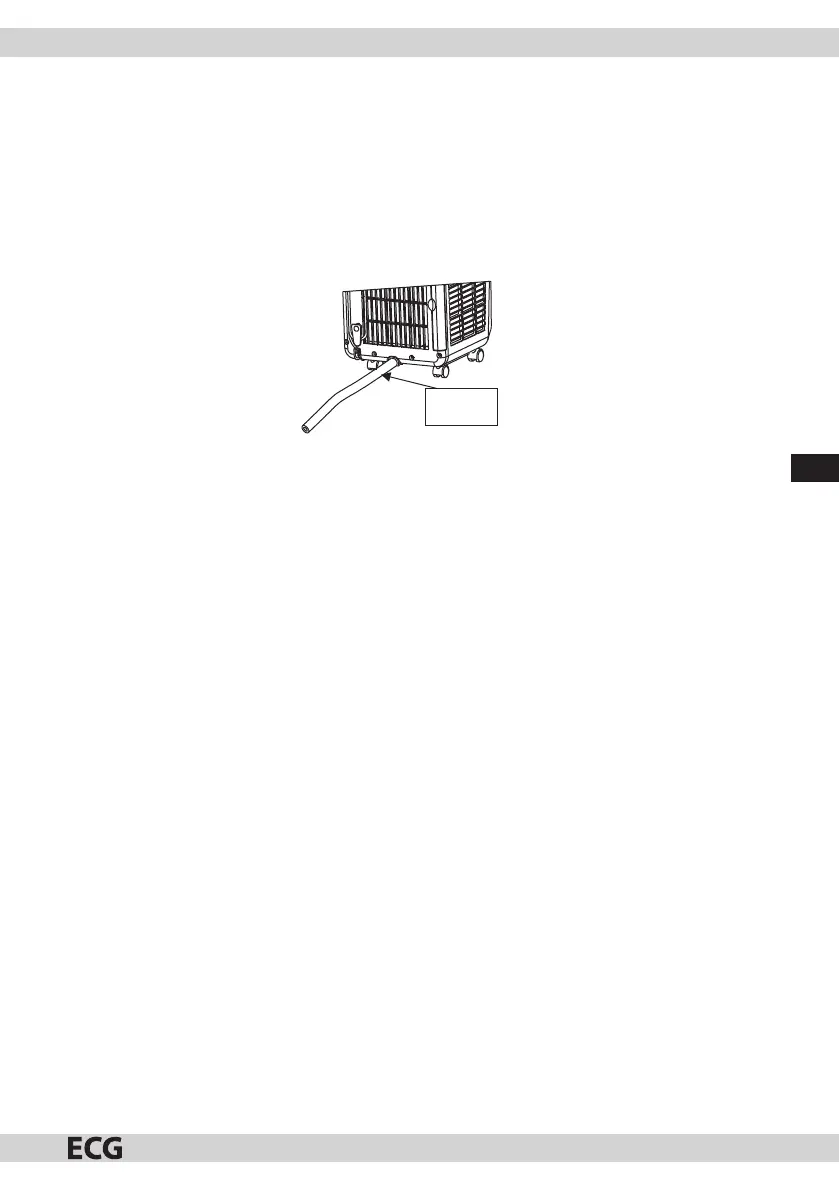
2. Place the PVC hose with an external diameter of 13 mm and clearance of 8-10 mm on the water drain
( g.20).
3. Have the drain tube lead into the toilet or outside.
Note: The drain tube must be installed if no water is in the base. We recommend not using continuous
draining when the device is running, to ensure device cooler radiation during cooling mode and
the improvement of the cooling e ciency. Use continuous draining in heating mode; otherwise the
device could switch o because of it being lled with water. Place the drain tube in an inaccessible
area, at aheight lower than the water drain and make sure the tube is not folded. Keep the drain lid
and stopper in aproper storage location when you plan to use continuous draining.
Drain tube
Fig. 20
Device storage
1. Unscrew the drain lid, remove the stopper and drain the water into another container that will retain the
water.
Note: the tilting angle of the device shall not be greater than 30°.
2. Start the device, switch to fan mode with low speed and leave the device in this mode for half aday. This
will dry the inside of the device and prevent mould build up.
3. Switch the device o , unplug the power cord, wind the power cord around the cable reel holder, insert the
plug into auniversal connector on the back side of the device; apply the stopper and drain lid.
4. Disconnect the hot air exhaust tube kit and store properly.
Note: when disconnecting the exhaust tube kit hold the exhaust tube Cclip with your hand and pull the
clip out using evenly distributed force, once the clip is separated from teh latching position, turn it
clockwise and then disconnect the exhaust tube kit.
5. Pack the air-conditioner duly into aplastic bag, store in adry area and take the necessary actions to protect
against dust. Make sure the device is kept away from children.
6. Remove the batteries from the remote controller and store properly.
Note: make sure the device is kept in adry area. Any accessories shall be properly protected.