11
Before you start
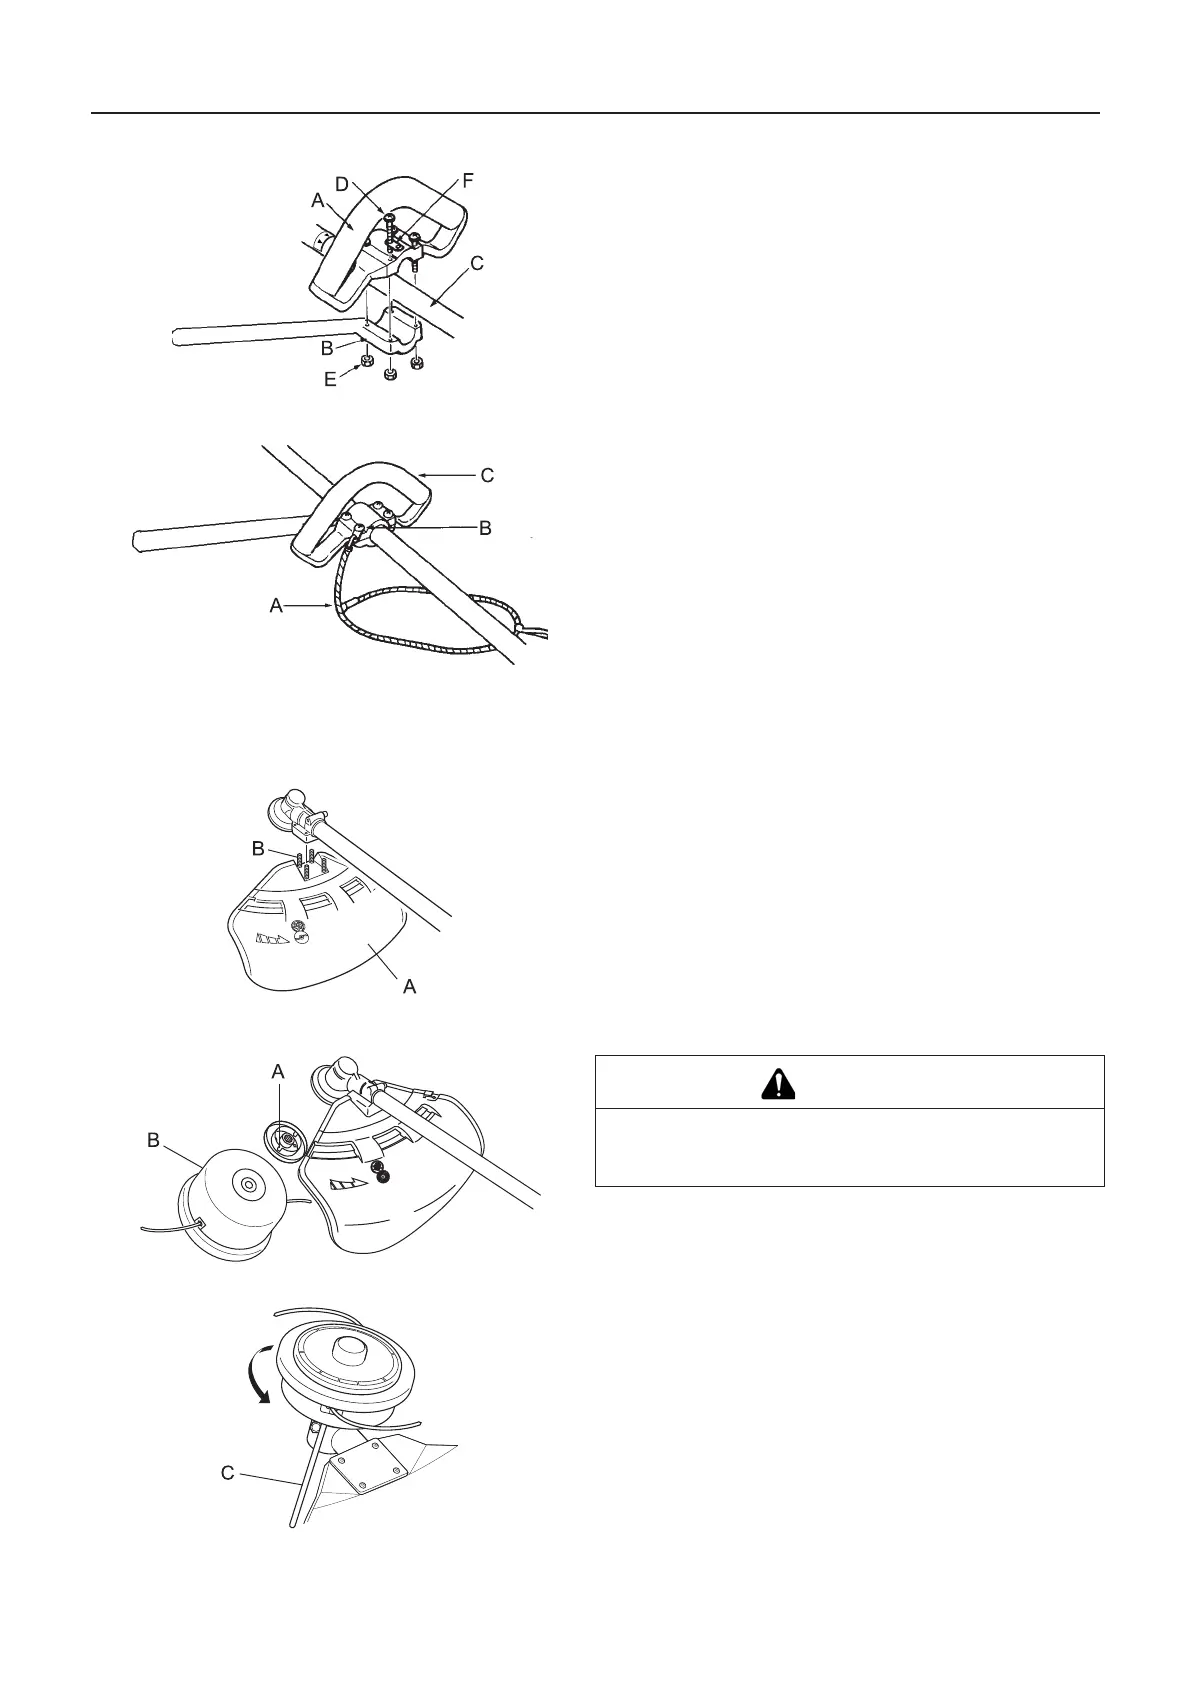
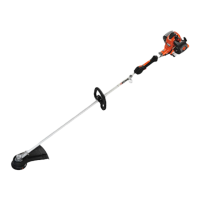
Loop handle assembly
1. Assemble the front handle (A) and bracket (B) on the shaft
tube (C) loosely.
2. Adjust the location of the front handle to a convenient posi-
tion.
3. Tighten the screws (M5×35) (D) and nuts (E) securely. - One
of the 4 screws must be tighten together with the hanger (F)
as illustrated.
Shoulder harness
1. Suit the length of knapsack band to comfort.
2. As the strap is elastic and adjustable, it is preferable to con-
nect the strap (A) to the hangers (B) located on the front han-
dle (C) and the left or right knapsack band to maintain a
fatigueless and comfortable operation.
Installation of shield
1. Fit shield (A) to mounting portion of angle transmission and
tighten 4 bolts (B).
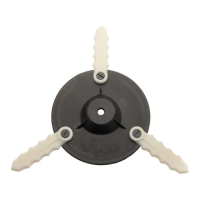
Installing nylon line cutting head
1. Insert locking tool into a hole located on the right side of an-
gle transmission while forcing retainer spring to the left side.
2. Insert locking tool further into blade retainer fixing slot (A) to
fix output shaft.
3. Thread nylon line cutting head (B) onto shaft (anticlockwise)
until it is tight.
4. Remove locking tool (C).
1. Front handle
2. Hanger
3. Strap
CAUTION
Fix output shaft securely using locking tool in order to
prevent it form rotating when nylon cutting head is
mounted.