Advanced Set-Up
Setting The Trigger
There are three adjustment points on the trigger - the
Front Stop Trigger
Screw
, the
Rear Stop Trigger Screw
and the
Return Strength Trigger Screw
.
As standard each Eclipse Ego comes with a factory-set trigger travel of
approximately 2mm in total length: one millimetre of travel before the
firing point, and one millimetre of travel after the firing point.
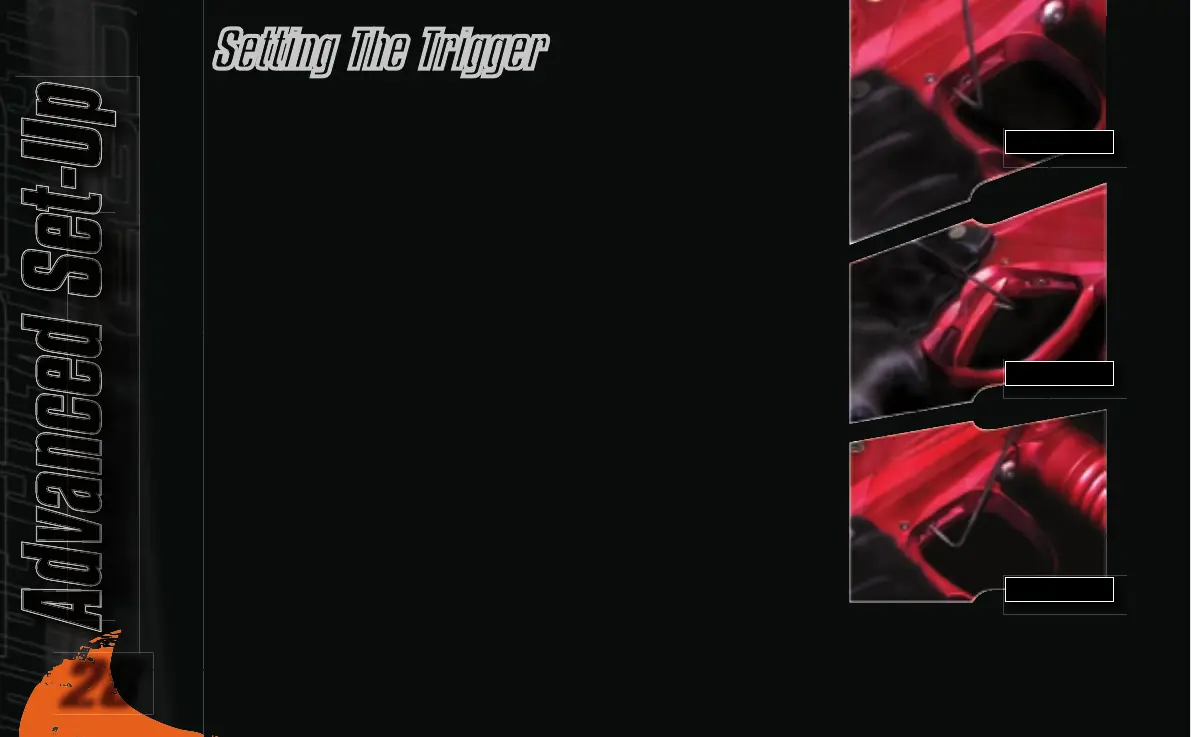
The
Front Stop Trigger Screw
is used to set the amount of trigger travel
prior to the marker firing. Turn this screw clockwise to reduce the
amount of travel. Do not turn the screw too far or the trigger will be
pushed past its firing point and the marker will not work. Turn this screw
counter clockwise to increase the amount of trigger travel
(See Figure 4.1)
The
Rear Stop Trigger Screw
is used to set the amount of trigger travel
after the marker has fired. Turn this screw clockwise to reduce the
amount of travel. Do not turn the screw too far or the trigger will be
prevented from reaching its firing point and the marker will not work.
Turn this screw counter clockwise to increase the amount of trigger
travel
(See Figure 4.2)
The
Return Strength Trigger Screw
is used to adjust the amount of force
with which the trigger is returned to its rest position. Turn the screw
clockwise to increase the amount of force
(See Figure 4.3)
. Do not turn
the screw too far or it will negate the position of the Front Stop Trigger
Screw. Turn the screw counter clockwise to reduce the amount of force.
Do not turn the screw too far or there will not be enough force to return
the trigger.
Once you have set the trigger to your preference, refer to setting the
TT
BAND (see page 37)
, as it is very important that the
TT BAND
and trigger pull
are set up together for the Trigger Transition Filtering to work correctly.
FIGURE 4.1
FIGURE 4.2
FIGURE 4.3
Advanced Set-Up
Advanced Set-Up
28
29