Orientation
Orientation
Installing a Battery
Ensure that the Eclipse Ego is switched off. Lay the
marker on a flat surface in front of you, with the feed
tube furthest away and with the barrel pointing to the
right.
Use a 5/64” hex wrench to remove the three
countersunk screws that hold the rubber grip onto the
frame (Note: a 2mm hex key can also be used). Peel
the grip to the right to expose the electronics within the
frame.
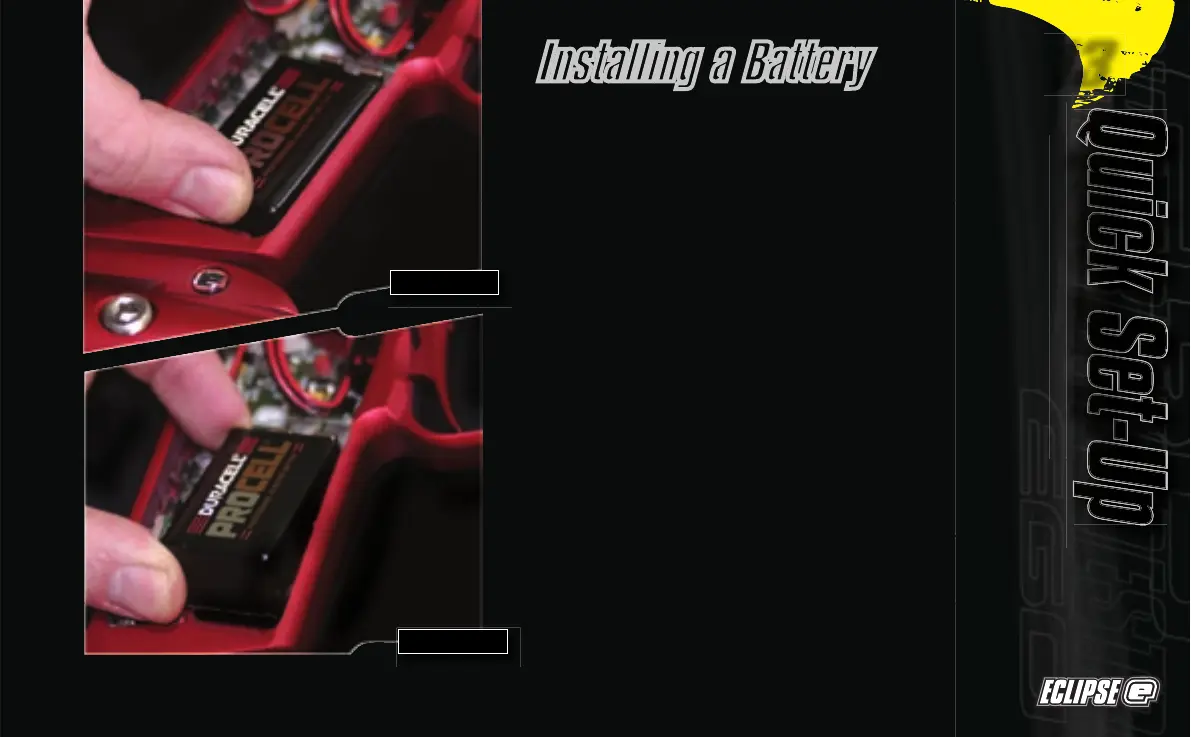
If present, remove the existing battery by sliding your
thumb into the recess below the battery and levering
the battery out of the frame
(See Figure 2.1)
.
Do Not pull on the top of the battery to remove it as this
can cause the battery terminals to bend and will result
in a poor electrical connection.
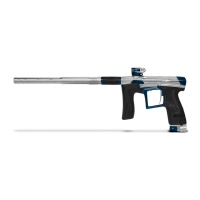
Fit a 9-volt alkaline battery (type PP3, 6LR61 or
MN1604) into the recess with the battery terminals
away from you. The positive terminal should be on the
right hand side, nearest to the side of the frame
(See Figure 2.2).
Ensure that all of the wires are within the recess of
the frame then replace the rubber grip and replace the
three countersunk screws. Do Not over-tighten the
screws.
FIGURE 2.2
FIGURE 2.1