EasyManua.ls Logo

ECS G41T-M6

ECS G41T-M6
70 pages
To Next Page IconTo Next Page
Loading...
Preface
Preface
Copyright
This publication, including all photographs, illustrations and software, is protected
under international copyright laws, with all rights reserved. Neither this manual, nor
any of the material contained herein, may be reproduced without written consent of
the author.
Version 1.0
Disclaimer
The information in this document is subject to change without notice. The manufac-
turer makes no representations or warranties with respect to the contents hereof and
specifically disclaims any implied warranties of merchantability or fitness for any
particular purpose. The manufacturer reserves the right to revise this publication and
to make changes from time to time in the content hereof without obligation of the
manufacturer to notify any person of such revision or changes.
Trademark Recognition
Microsoft, MS-DOS and Windows are registered trademarks of Microsoft Corp.
MMX, Pentium, Pentium-II, Pentium-III, Celeron are registered trademarks of Intel
Corporation.
Other product names used in this manual are the properties of their respective
owners and are acknowledged.
Federal Communications Commission (FCC)
This equipment has been tested and found to comply with the limits for a Class B
digital device, pursuant to Part 15 of the FCC Rules. These limits are designed to
provide reasonable protection against harmful interference in a residential installa-
tion. This equipment generates, uses, and can radiate radio frequency energy and, if
not installed and used in accordance with the instructions, may cause harmful inter-
ference to radio communications. However, there is no guarantee that interference
will not occur in a particular installation. If this equipment does cause harmful
interference to radio or television reception, which can be determined by turning the
equipment off and on, the user is encouraged to try to correct the interference by one
or more of the following measures:
Reorient or relocate the receiving antenna
Increase the separation between the equipment and the receiver
Connect the equipment onto an outlet on a circuit different from that to
which the receiver is connected
Consult the dealer or an experienced radio/TV technician for help
Shielded interconnect cables and a shielded AC power cable must be employed with
this equipment to ensure compliance with the pertinent RF emission limits govern-
ing this device. Changes or modifications not expressly approved by the system’s
manufacturer could void the user’s authority to operate the equipment.

Table of Contents

Question and Answer IconNeed help?

Do you have a question about the ECS G41T-M6 and is the answer not in the manual?

ECS G41T-M6 Specifications

General IconGeneral
Form FactorMicro ATX
SocketLGA 775
Memory TypeDDR3
Memory Slots2
Maximum Memory Supported8GB
PCIe x16 Slots1
PCIe x1 Slots1
PCI Slots2
SATA Ports4
IDE Ports1
USB Ports (Rear)4
Video OutputsVGA
ChipsetIntel G41
LAN10/100 Mbps Ethernet
USB Ports8
USB Ports (Front)4 x USB 2.0

Summary

Introducing the Motherboard

Introduction

Introduces the motherboard, its features, and components.

Feature

Details the key features of the motherboard, including CPU, Chipset, and Memory.

Motherboard Components

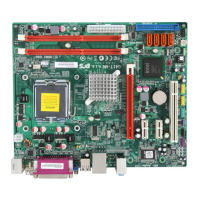
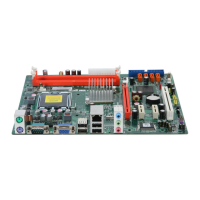
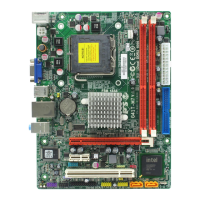
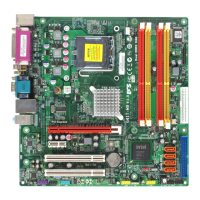
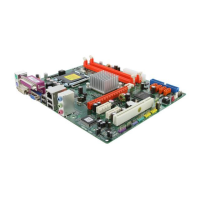
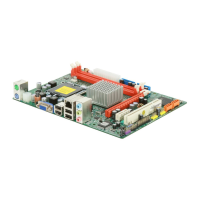
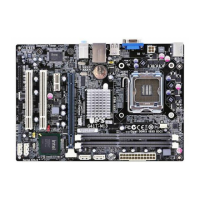
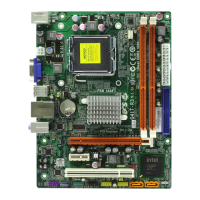
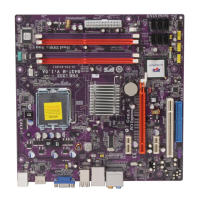
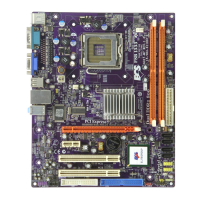
Identifies and lists the various components on the motherboard.

Installing the Motherboard

Safety Precautions

Lists essential safety measures to follow before and during motherboard installation.

Case Selection and Preparation

Guidance on selecting a compatible computer case and preparing it for motherboard installation.

Motherboard Installation

Explains the physical process of mounting the motherboard inside a computer case.

Jumper Settings

Details how to check and set motherboard jumpers for correct configuration.

Installing Hardware

Covers the installation of essential hardware components like the processor and memory.

CPU Installation Procedure

Step-by-step guide for safely installing the CPU onto the motherboard socket.

Installing Memory Modules

Instructions for installing DDR3 SDRAM modules into the motherboard slots.

Expansion Slots

Describes the different types of expansion slots available on the motherboard.

Connecting Optional Devices

Explains how to connect various optional devices like SATA and front panel headers.

Connecting Case Components

Guides users on connecting power cables and case headers to the motherboard.

Front Panel Header

Details the connections for front panel switches, LEDs, and ports.

Connecting IO Devices

Explains rear I/O ports and their functions.

Using BIOS

About the Setup Utility

Overview of the BIOS Setup Utility and its configuration capabilities.

Entering the Setup Utility

Instructions on how to access the BIOS Setup Utility during system startup.

Resetting the Default CMOS Values

Explains how to restore BIOS settings to factory defaults.

Standard CMOS Setup

Details basic system information and configuration within the BIOS.

Advanced Setup

Covers advanced system settings and configurations for performance tuning.

Advanced Chipset Setup

Configuration options related to the motherboard's chipset and memory.

Integrated Peripherals

Settings for onboard peripheral devices like IDE, SATA, Audio, and LAN.

Power Management Setup

Configuration of system power saving modes and wake-up features.

PCIPnP Setup

Settings for devices on the PCI bus and Plug and Play capabilities.

PC Health Status

Monitors system voltages, temperatures, and fan speeds for hardware health.

FrequencyVoltage Control

Adjusts CPU clock speed and system bus frequency for performance.

Load Default Settings

Option to load optimized default settings for system stability.

Supervisor Password

Instructions for setting or changing a supervisor password for BIOS access.

User Password

Instructions for setting or changing a user password for system access.

Save & Exit Setup

How to save changes made in BIOS and exit the utility.

Exit Without Saving

How to discard changes and exit the BIOS utility.

Updating the BIOS

Steps for downloading and installing updated BIOS firmware.

Using the Motherboard Software

About the Software DVD-ROMCD-ROM

Overview of the included software and drivers on the support disc.

Auto-installing under Windows Vista7

Guide to the automatic installation process for drivers and utilities.

Running Setup

Instructions on initiating the software installation process.

Manual Installation

Steps for manually installing drivers if auto-install fails or is unavailable.

Utility Software Reference

Information on available utility software and licensing terms.

Setting Up eJIFFY

Introduction

Introduces eJIFFY as a fast boot program for web browsing and chat.

Installation and BIOS Setup

Steps for installing eJIFFY software and activating it in BIOS.

Entering eJIFFY

How to access the eJIFFY operating environment after boot-up.

Feature Icons

Explains the main icons and their functions within the eJIFFY interface.

Usage FAQ

Frequently asked questions about using eJIFFY features like downloading and language settings.

Trouble Shooting

Start up problems during assembly

Troubleshooting steps for initial assembly and post-prolonged use startup issues.

Start up problems after prolong use

Guidance for resolving startup issues that occur after extended system use.

Maintenance and care tips

Basic advice for maintaining the motherboard to prolong its lifespan.

Basic Troubleshooting Flowchart

A visual guide to diagnose and resolve common PC startup problems.

Related product manuals